Thanks for all the positive comments guys and any suggestions are more than welcome.
Its funny i have picked up so much info of this site with soo many great pics and helpfull posts to help me with my resto.
So thanks again
Rick
63 single cab ute resto
Moderators: warb, Rawdyn, Leroy, byronbus, Tonz Magonz, dmb
-
joeM

- DSKer
- Posts: 288
- Joined: Mon Apr 04, 2011 10:22 pm
- Location: Melbourne Vic
G'day Rick
Thats a great job your doing.
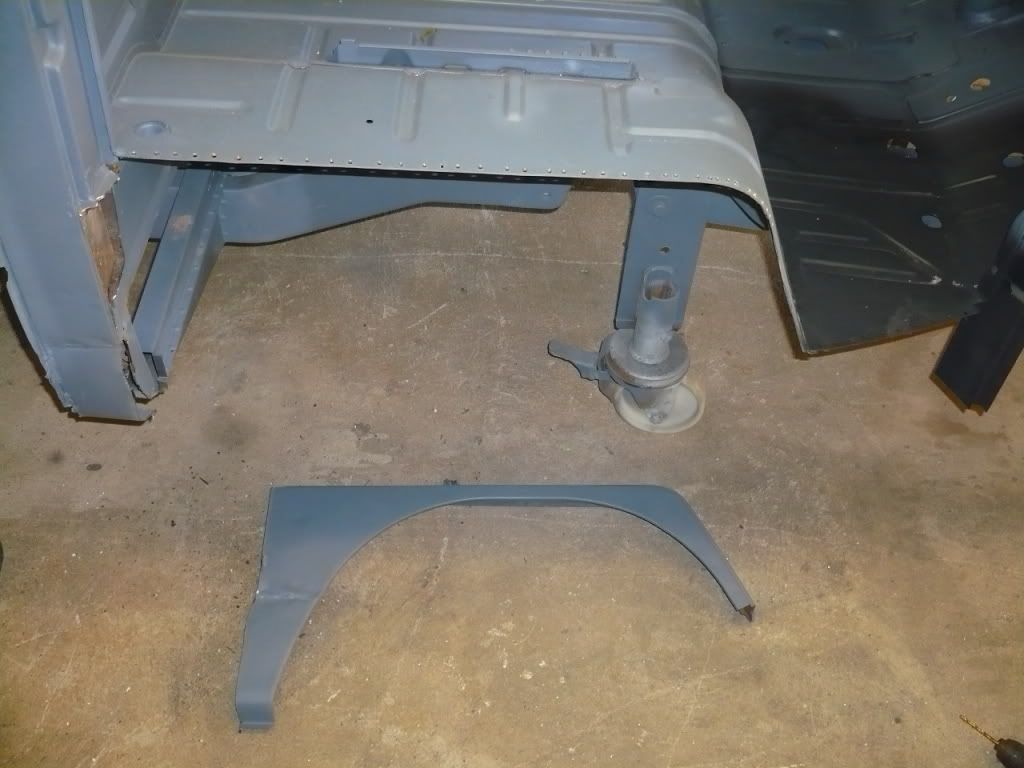
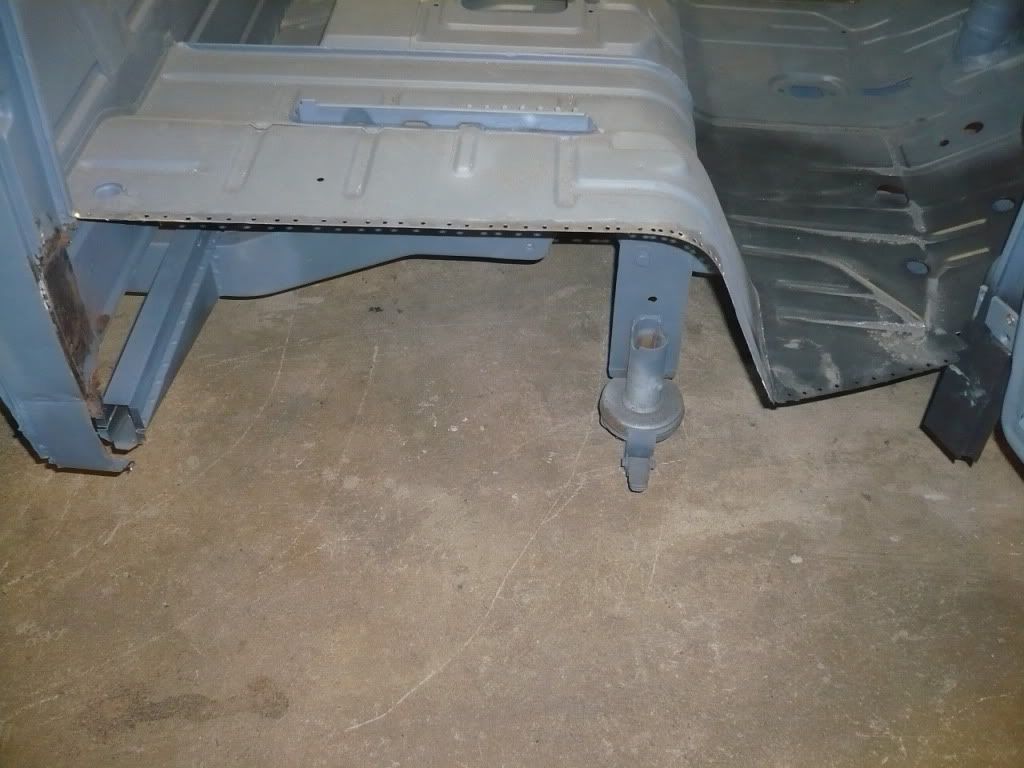
I noticed that the front top hat looks a little different to the one I got for my project. I was wondering if yours was modified to solve the problem of feeding the gear shift tube, clutch tube etc through the top hat?
Thats a great job your doing.
I noticed that the front top hat looks a little different to the one I got for my project. I was wondering if yours was modified to solve the problem of feeding the gear shift tube, clutch tube etc through the top hat?
- Attachments
-
- Yours seems to have a cut in the bottom to allow you to sit the top hat over these tubes, whereas mine are enclosed
- topHat.jpg (42.23 KiB) Viewed 4086 times
-
dawerks
- DSKer
- Posts: 202
- Joined: Fri Feb 04, 2011 3:11 am
- Location: Kold Kanada!
-
bluebus
- DSKer
- Posts: 251
- Joined: Thu Jul 13, 2006 10:26 pm
- Location: East Devonport TAS
Hi there Joe
My front top hat was like yours untill i cut straight down through to the bottom just like dawerks put as it made it real easy.
I thought with the new centre chassis under the top hat it would be plenty strong enough to leave slotted.
With the rear two top hats i did slide them on the end of the tubes with alot of fun!!!!
Cheers Rick
-
joeM
- DSKer
- Posts: 288
- Joined: Mon Apr 04, 2011 10:22 pm
- Location: Melbourne Vic
-
bluebus
- DSKer
- Posts: 251
- Joined: Thu Jul 13, 2006 10:26 pm
- Location: East Devonport TAS
Did a bit more today
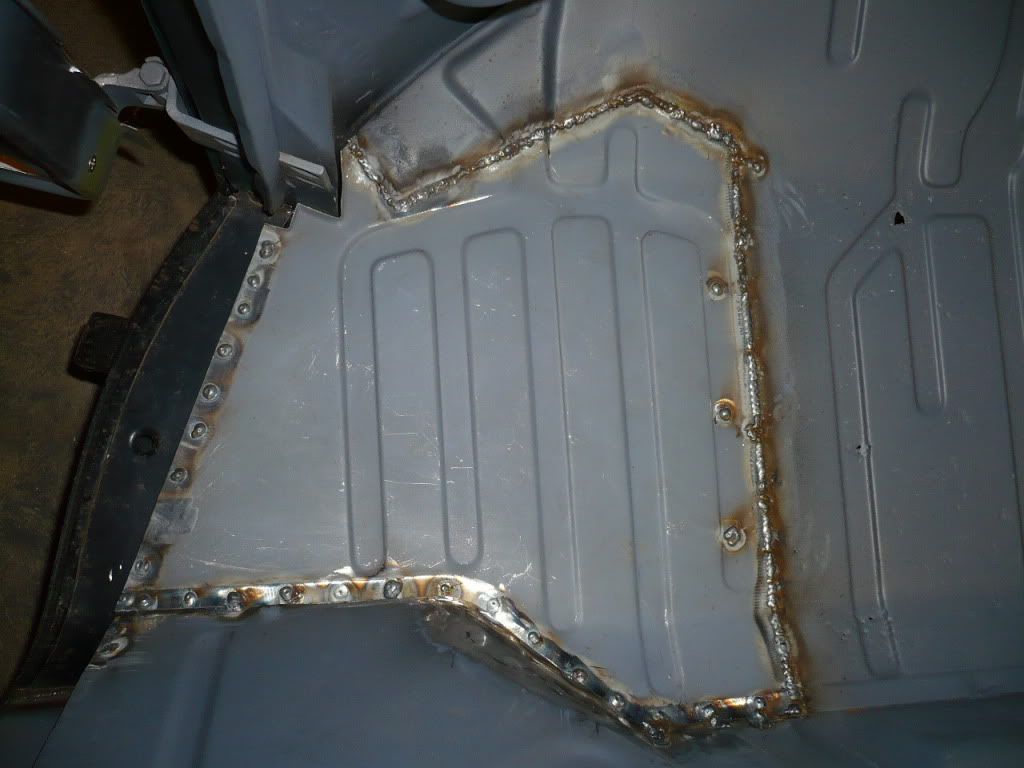
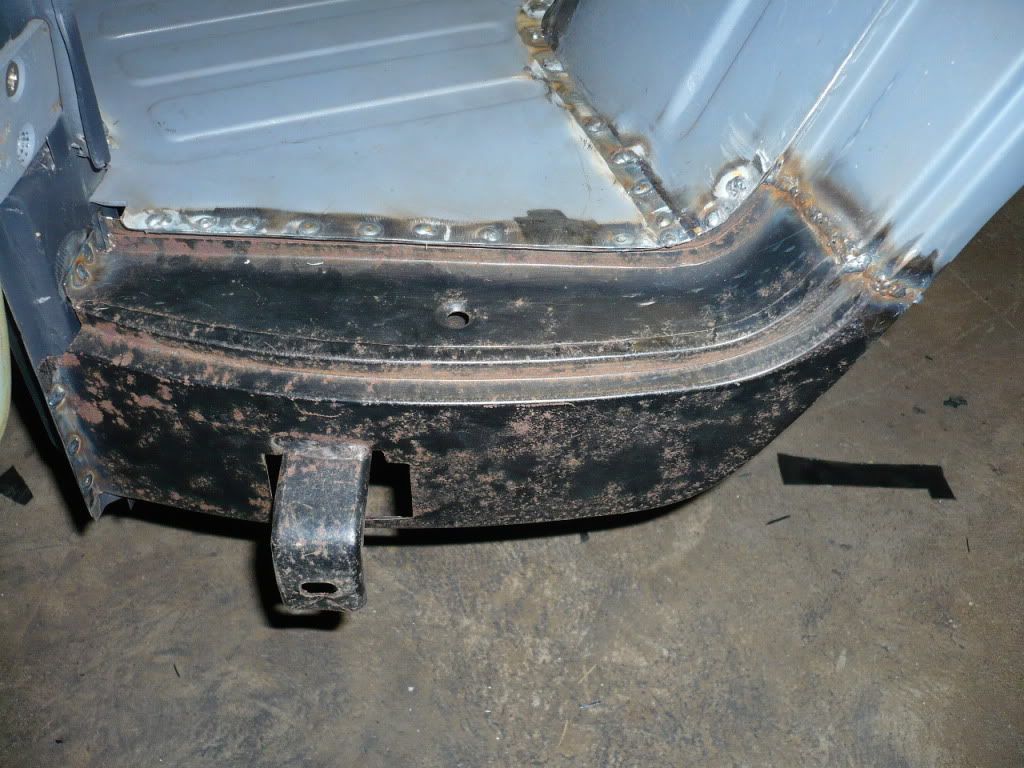
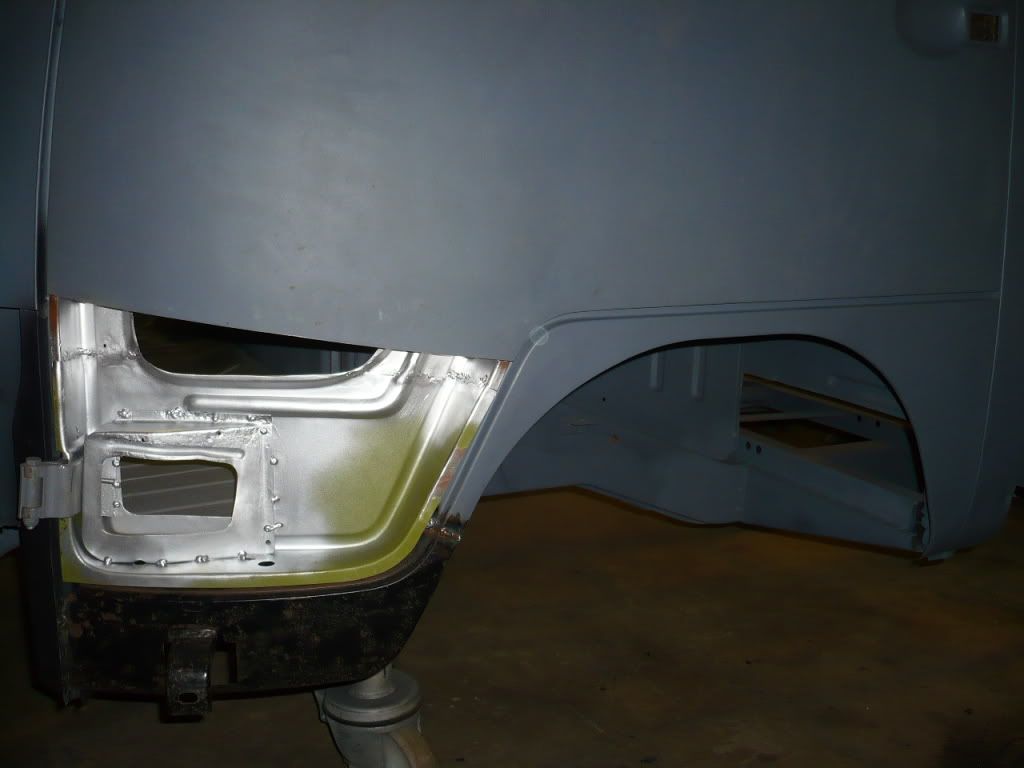
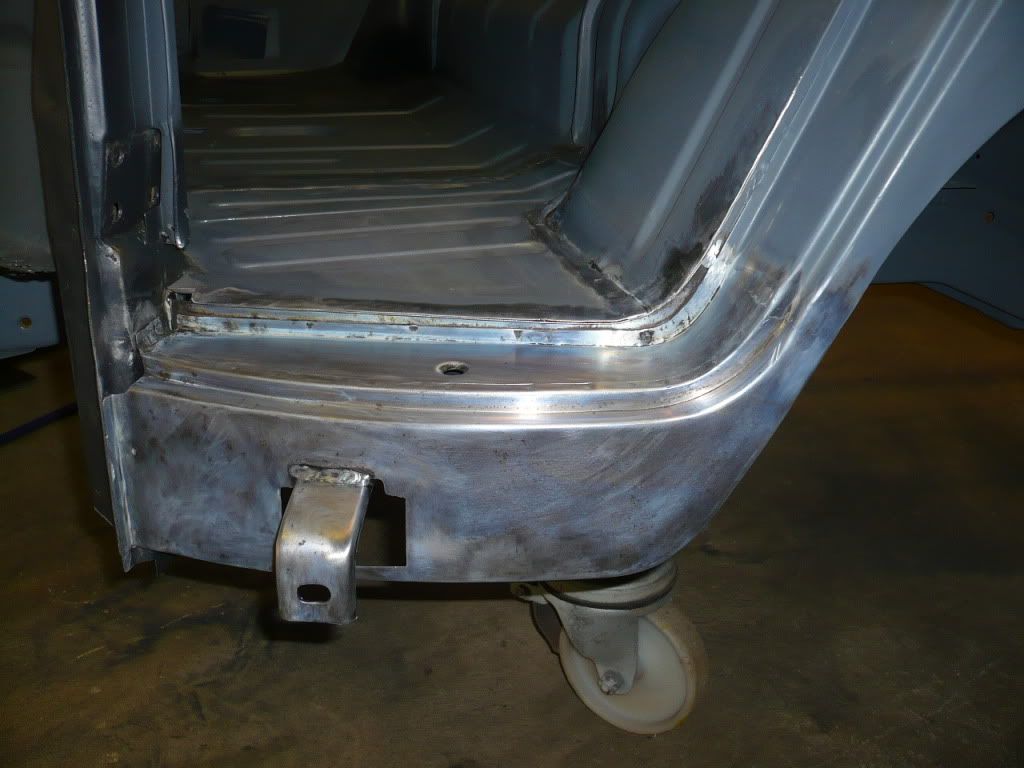
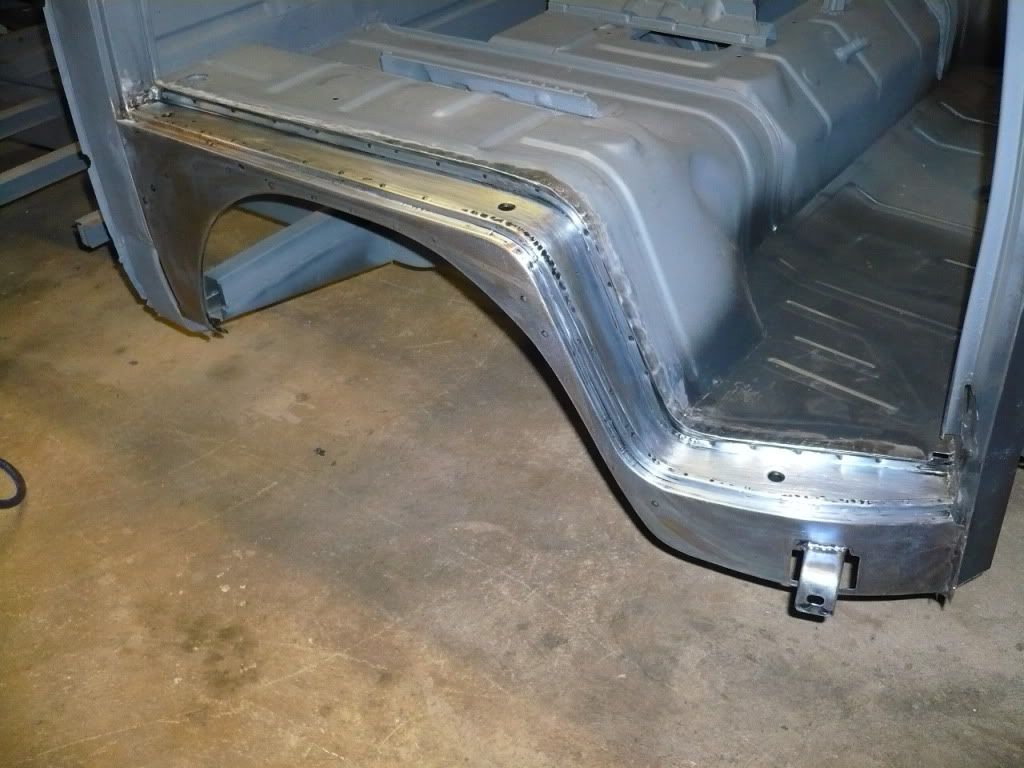
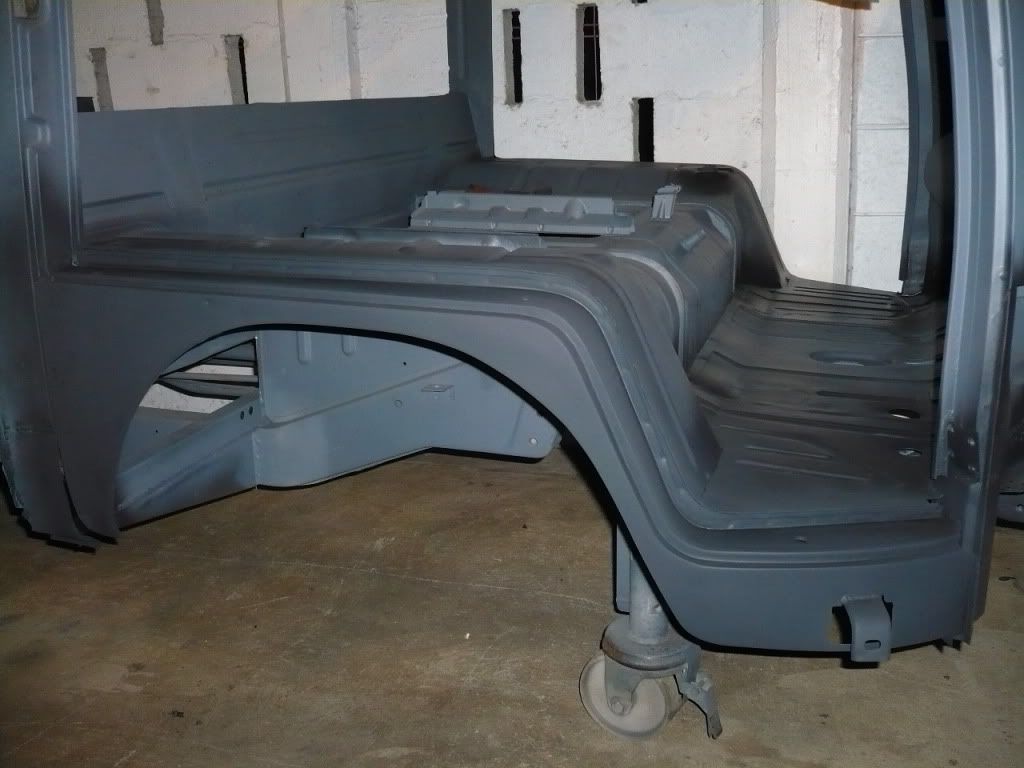
Cut the drivers side dog leg off and went to fit the new one and its wrong as it has not got enough bend where it kicks in down the front and the gap where the rubber goes varies from 18mm to 25mm down the front edge so ordered another from another supplier and the old one is going back.
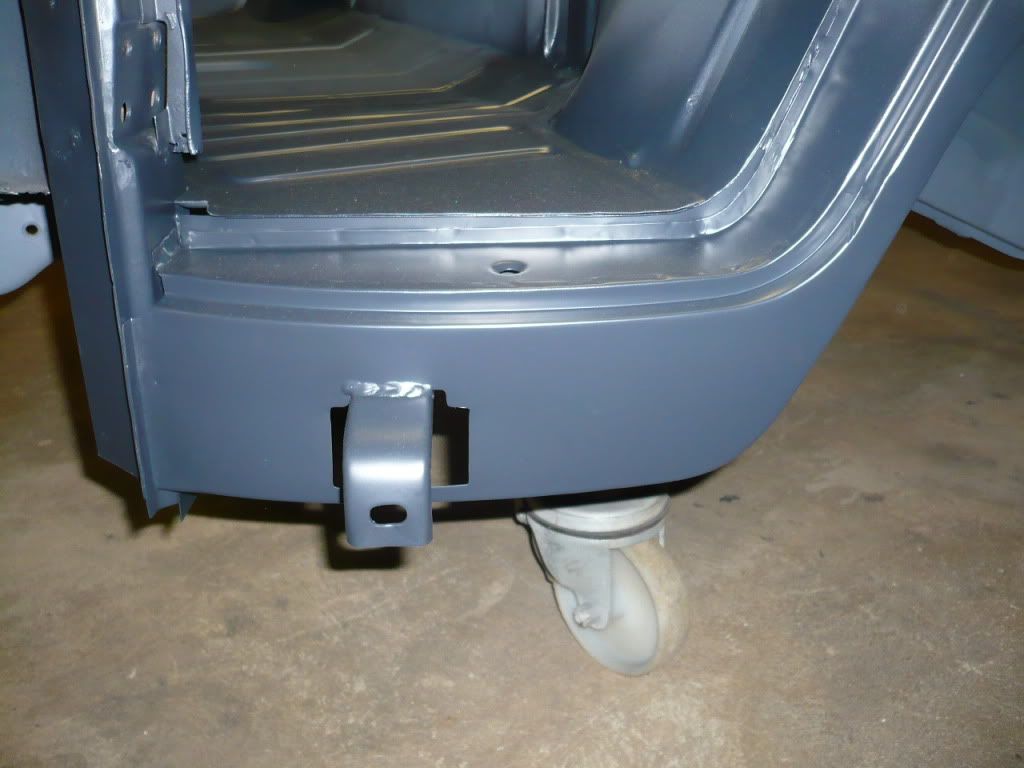
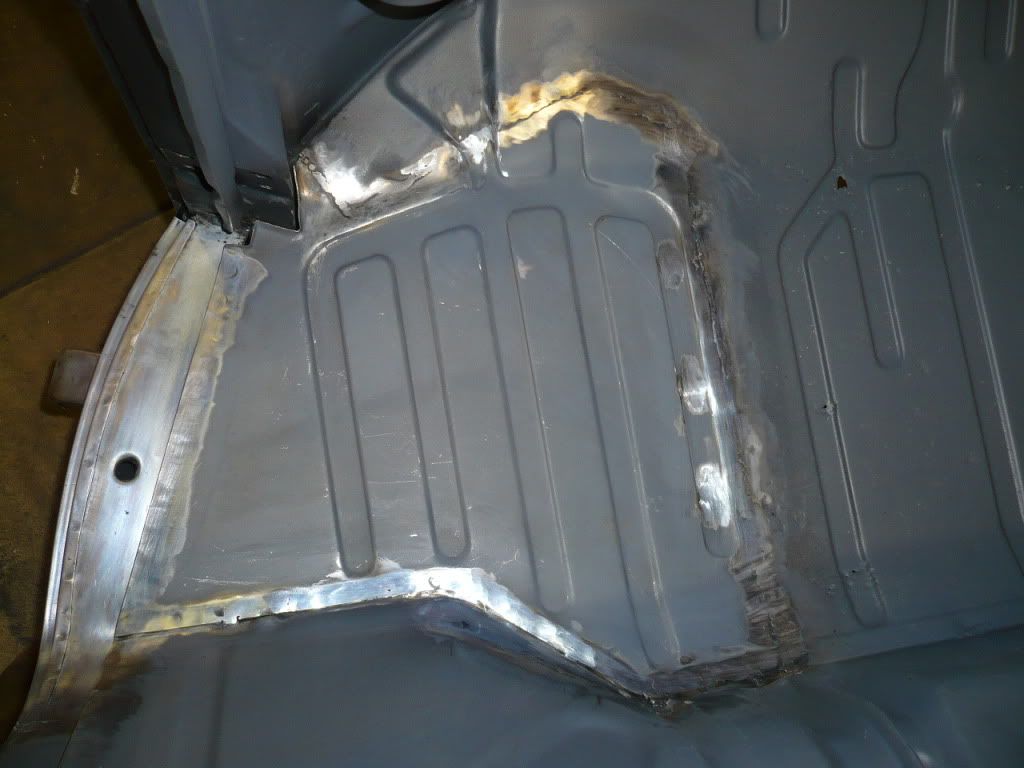
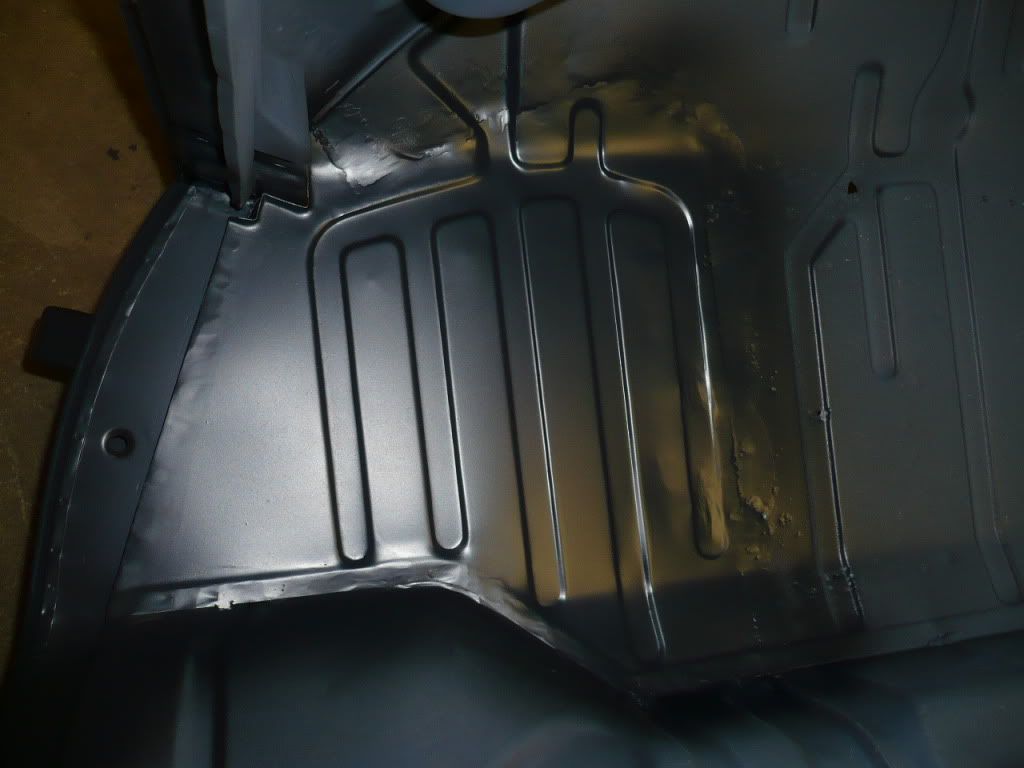
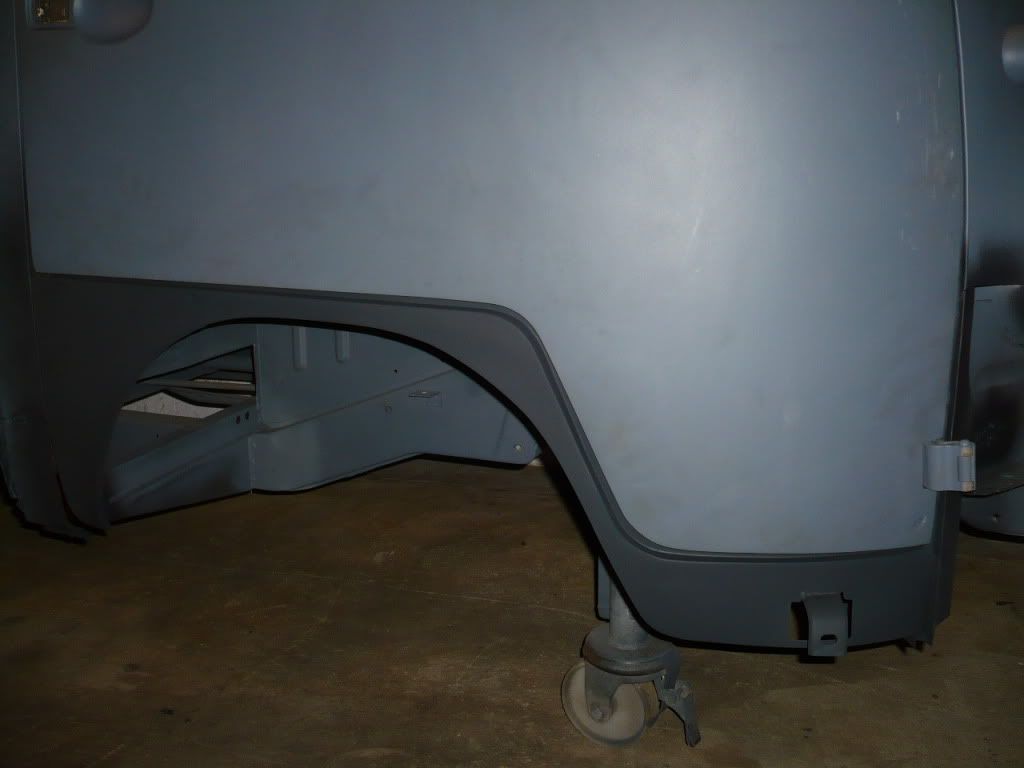
So i went to the passenger side and put the new floor section in and the lower dog leg section and a few other patches on the way.
Cut the drivers side dog leg off and went to fit the new one and its wrong as it has not got enough bend where it kicks in down the front and the gap where the rubber goes varies from 18mm to 25mm down the front edge so ordered another from another supplier and the old one is going back.
So i went to the passenger side and put the new floor section in and the lower dog leg section and a few other patches on the way.
-
bluebus
- DSKer
- Posts: 251
- Joined: Thu Jul 13, 2006 10:26 pm
- Location: East Devonport TAS

-
joeM
- DSKer
- Posts: 288
- Joined: Mon Apr 04, 2011 10:22 pm
- Location: Melbourne Vic
-
daveo
- DSKer
- Posts: 1294
- Joined: Sun Sep 04, 2005 9:47 am
- Location: Turners Beach Tassie
- Contact:
-
MAMMO

- DSKer
- Posts: 163
- Joined: Wed Jun 09, 2010 10:50 am
- Location: leppington sydney west
-
Leroy
- DSKer
- Posts: 2544
- Joined: Thu Jul 05, 2007 11:58 pm
- Location: Brisbane (bayside)
-
bluebus
- DSKer
- Posts: 251
- Joined: Thu Jul 13, 2006 10:26 pm
- Location: East Devonport TAS
-
joeM
- DSKer
- Posts: 288
- Joined: Mon Apr 04, 2011 10:22 pm
- Location: Melbourne Vic
-
bluebus
- DSKer
- Posts: 251
- Joined: Thu Jul 13, 2006 10:26 pm
- Location: East Devonport TAS
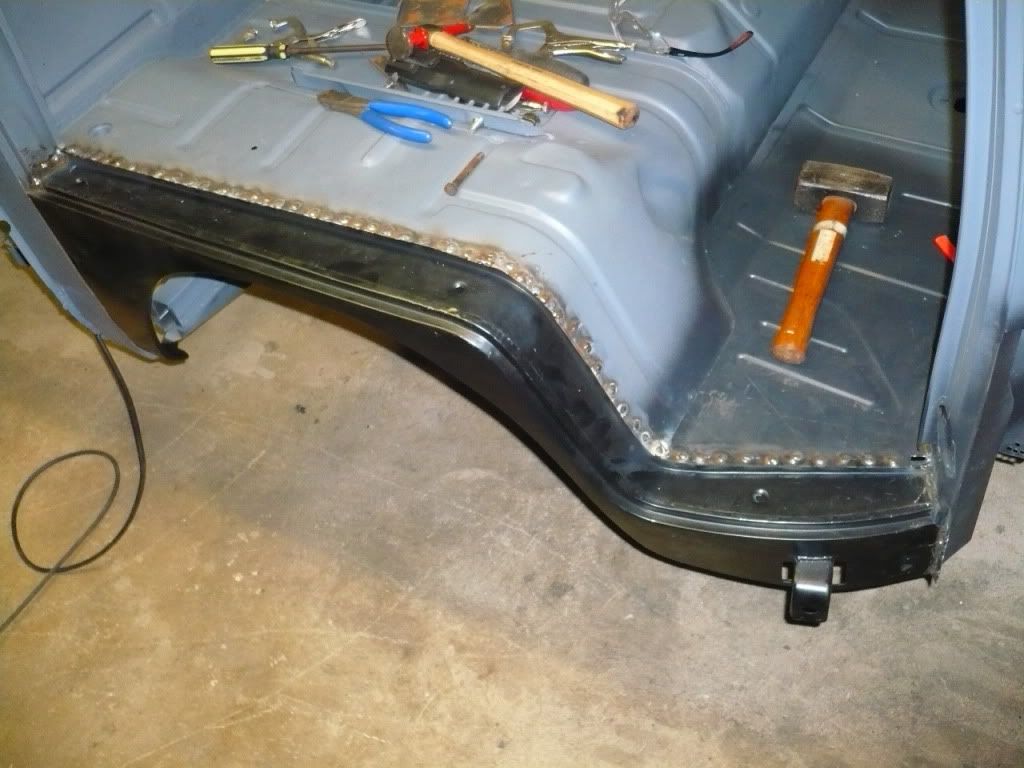
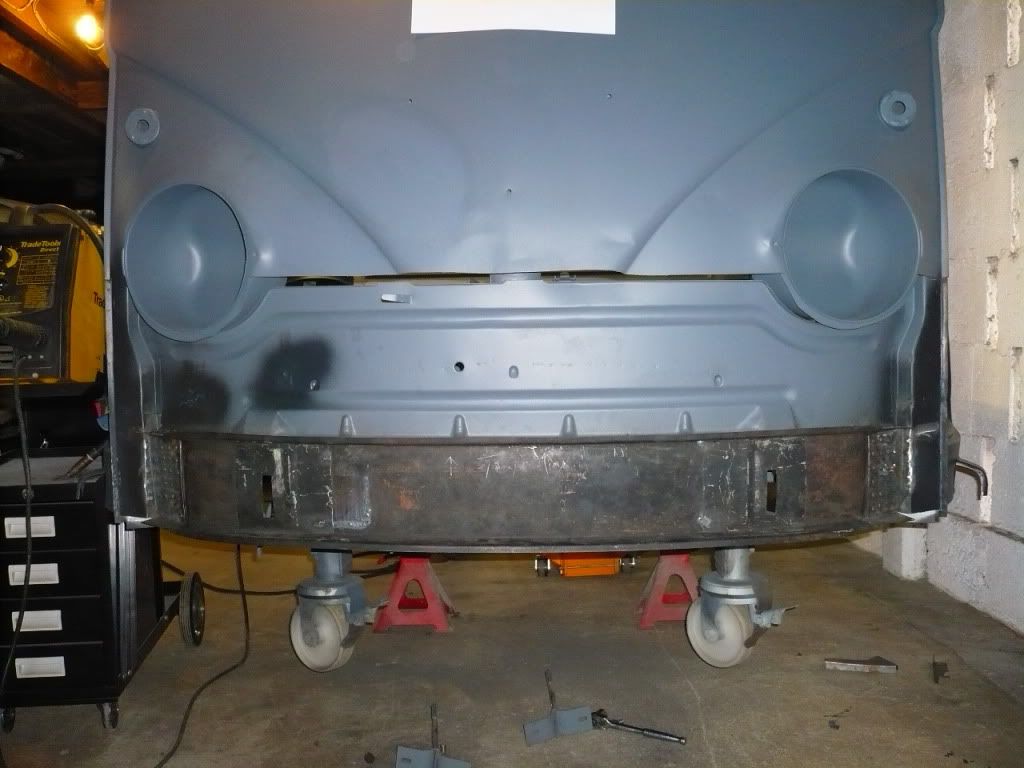
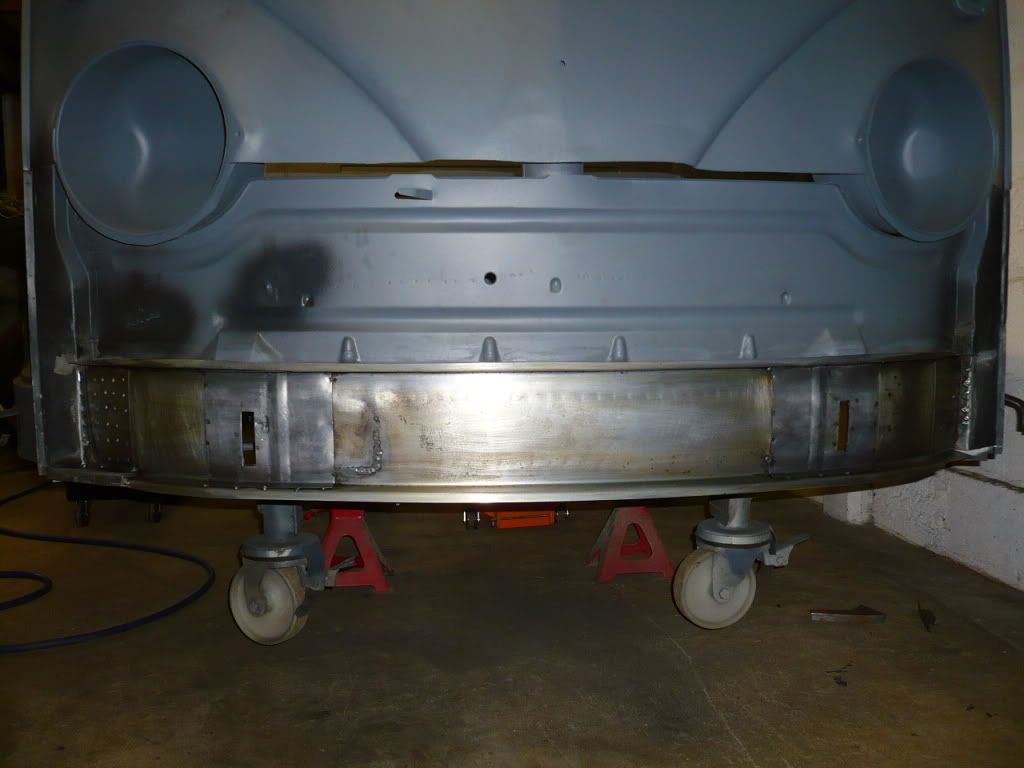
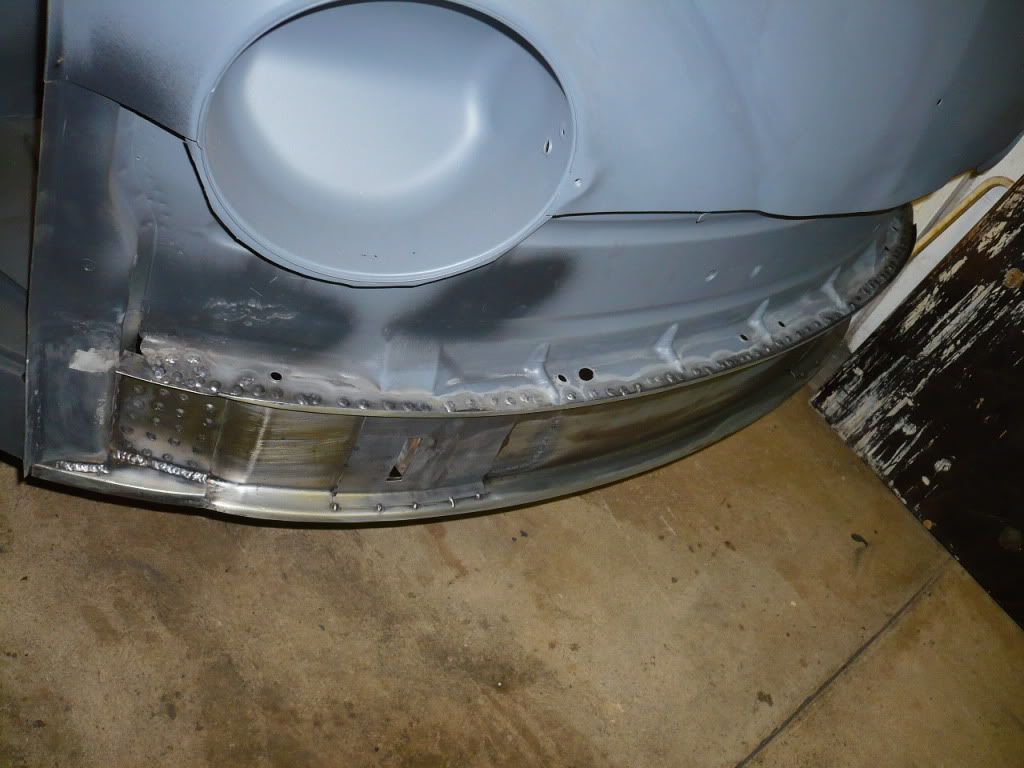
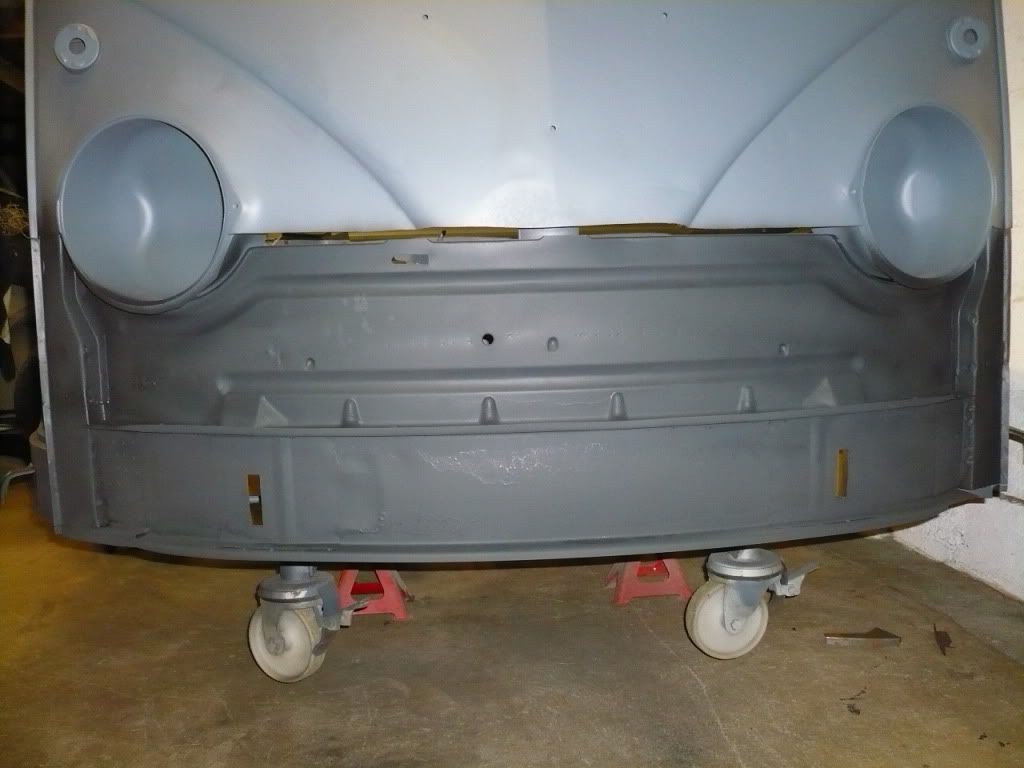
Put the front inner valance in today with lots of measuring and fitting but it all worked out in the end 
Still a few pieces to fit on the ends where the valance fits to the A pillar as i cut the end joiners in to three pieces from one as i did not like the fitment because they stuck out too far.
Its not going any where with the amount of weld on the back of it.
And yes Joe the more welding i do the better i get (i think)
Cheers Rick
-
GFresh

- DSKer
- Posts: 1104
- Joined: Wed Apr 29, 2009 8:12 pm
- Location: Geelong Australia
- Contact: