63 single cab ute resto
Moderators: warb, Rawdyn, Leroy, byronbus, Tonz Magonz, dmb
-
Ian 68

- DSKer
- Posts: 1373
- Joined: Sat May 02, 2009 9:58 pm
- Location: Caloundra, QLD
-
bluebus
- DSKer
- Posts: 251
- Joined: Thu Jul 13, 2006 10:26 pm
- Location: East Devonport TAS
-
Leroy
- DSKer
- Posts: 2544
- Joined: Thu Jul 05, 2007 11:58 pm
- Location: Brisbane (bayside)
-
bluebus
- DSKer
- Posts: 251
- Joined: Thu Jul 13, 2006 10:26 pm
- Location: East Devonport TAS
-
joeM

- DSKer
- Posts: 288
- Joined: Mon Apr 04, 2011 10:22 pm
- Location: Melbourne Vic
-
bluebus
- DSKer
- Posts: 251
- Joined: Thu Jul 13, 2006 10:26 pm
- Location: East Devonport TAS
Hey there Joe
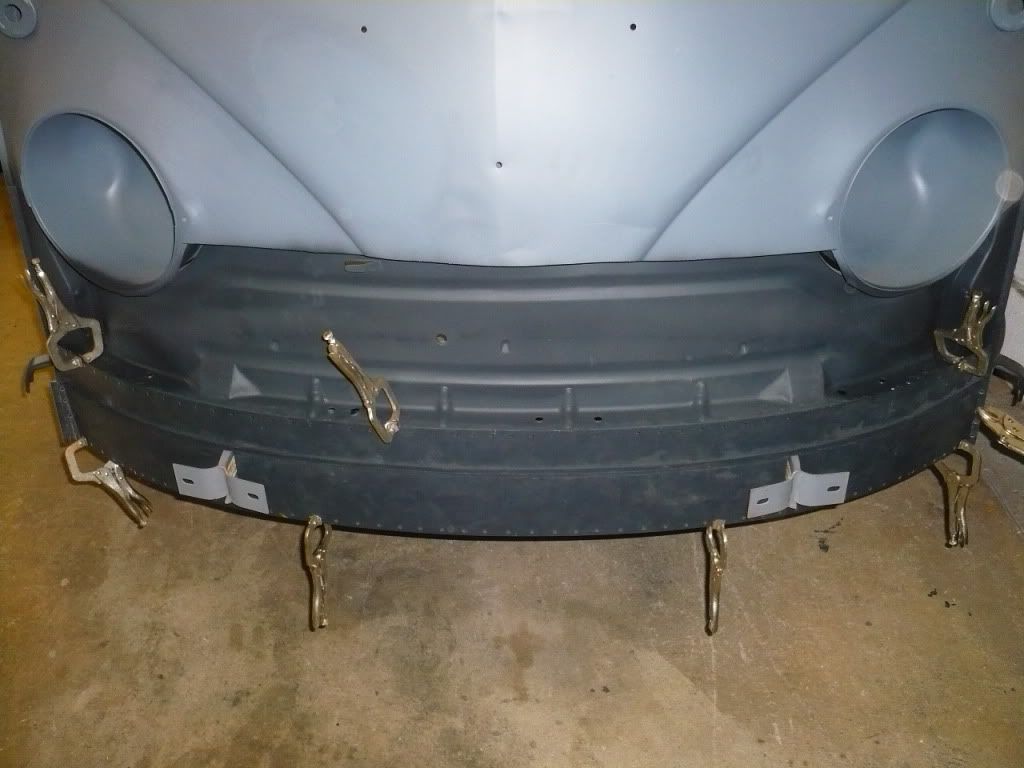
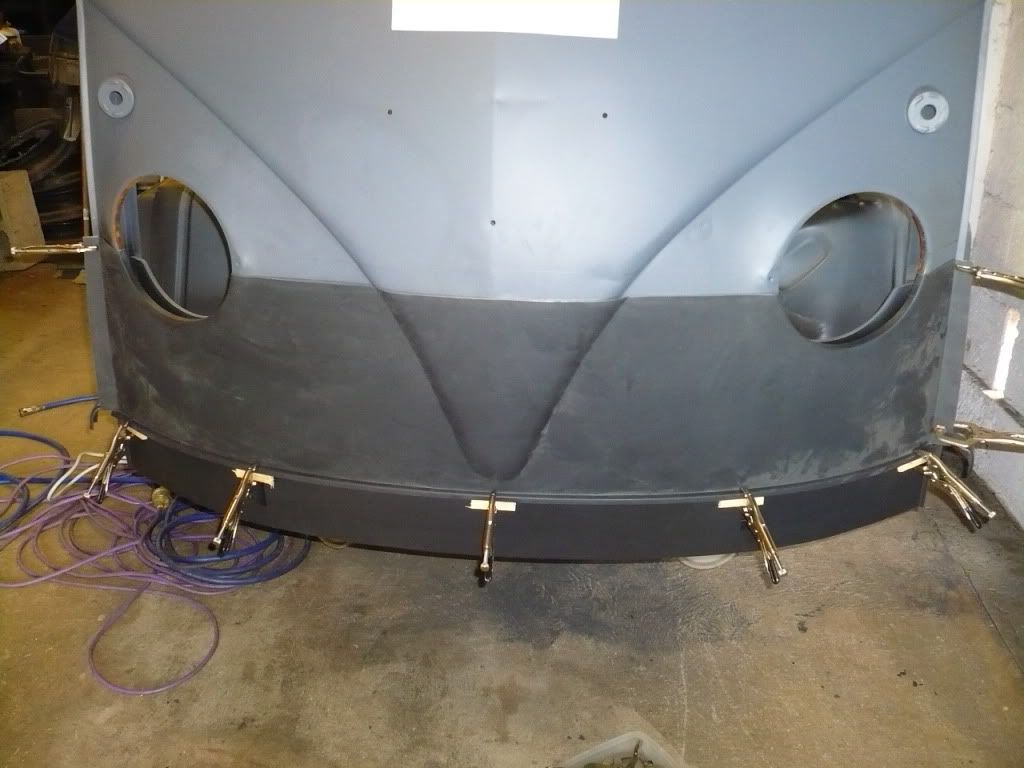
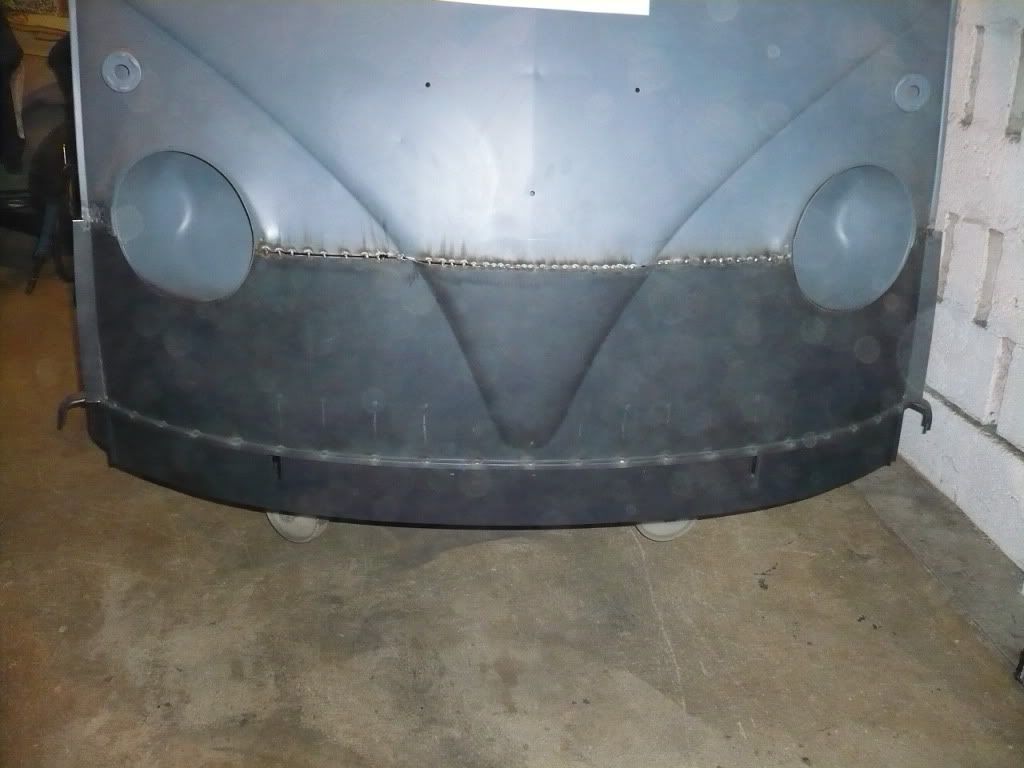
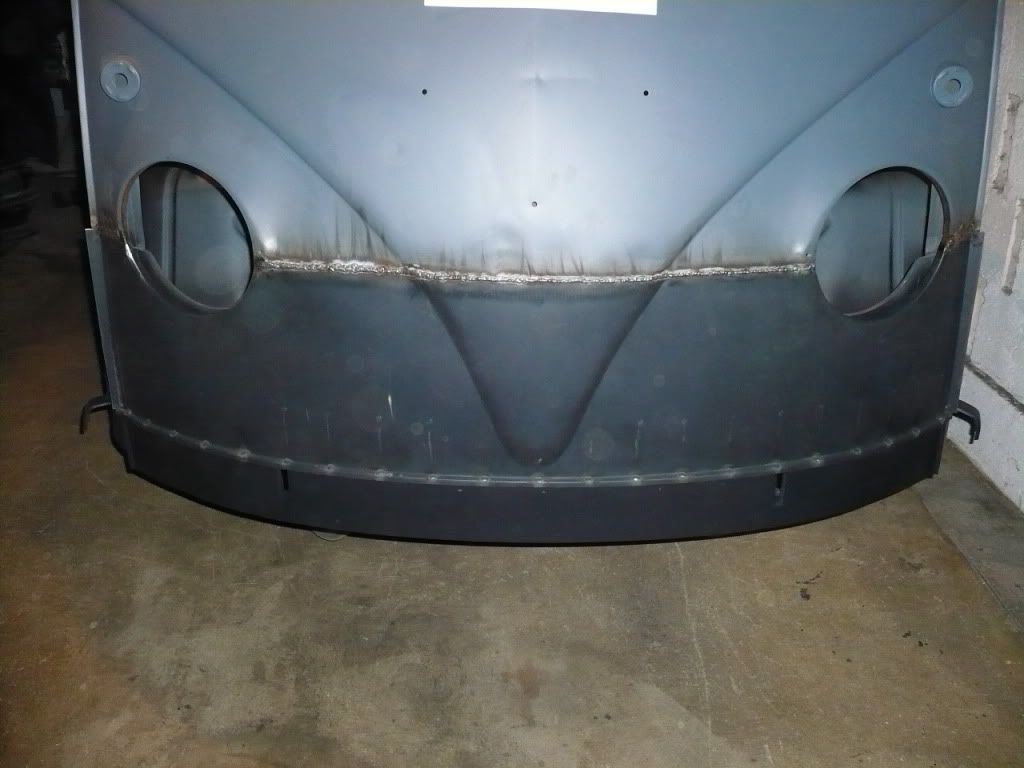
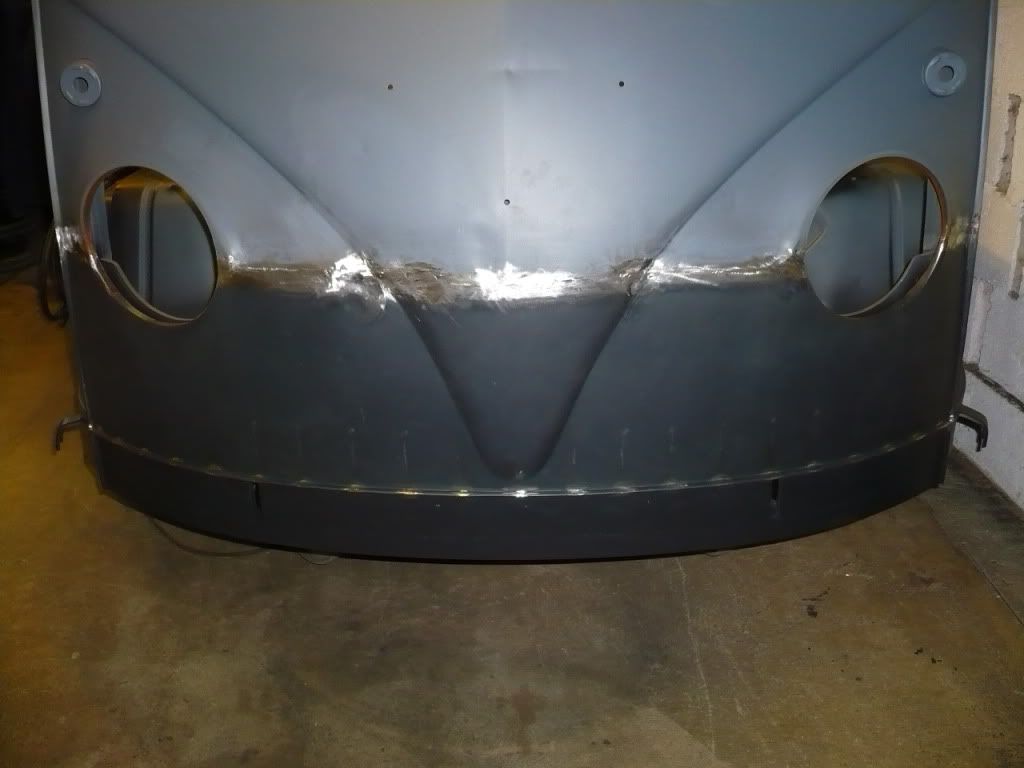
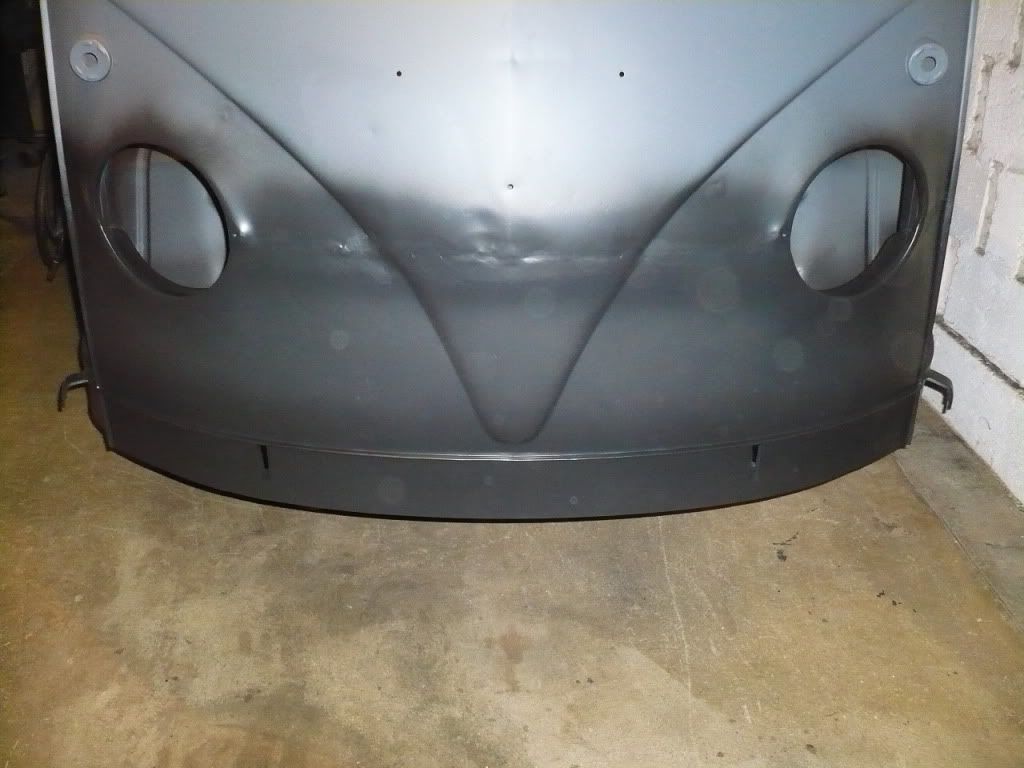
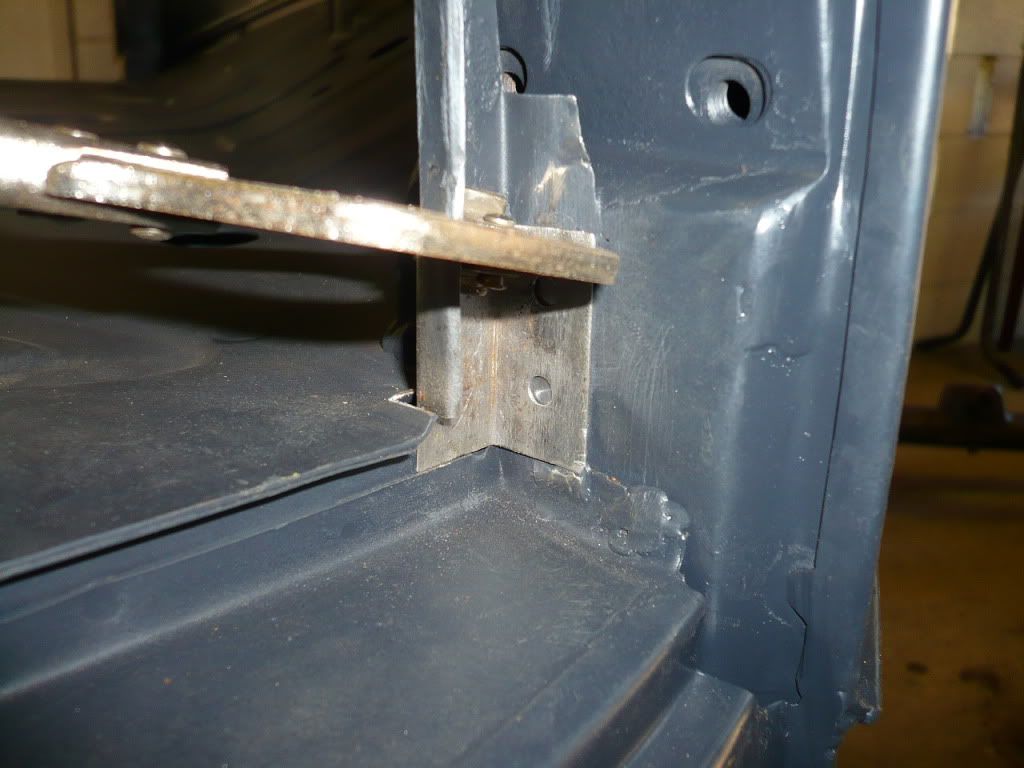
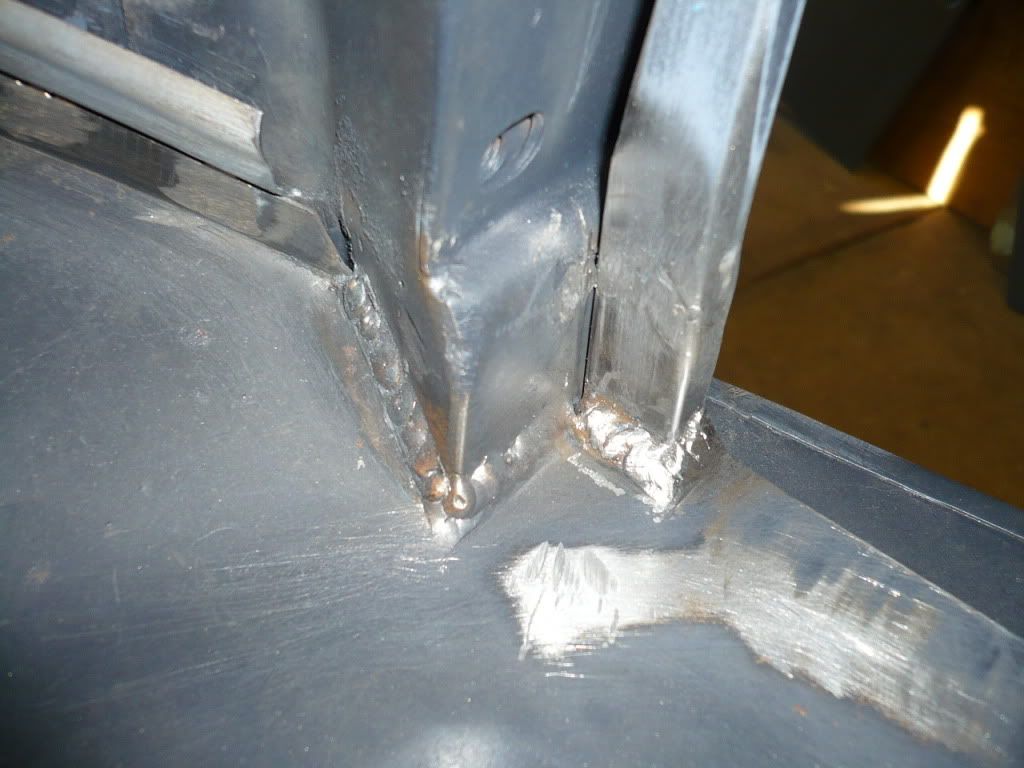
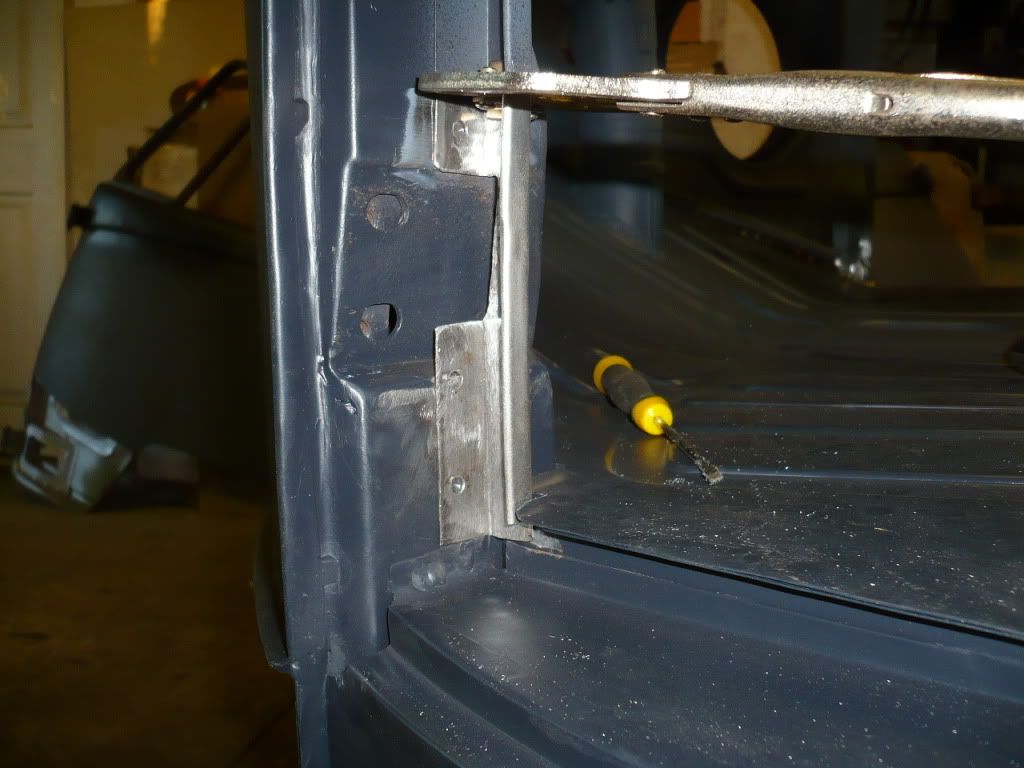
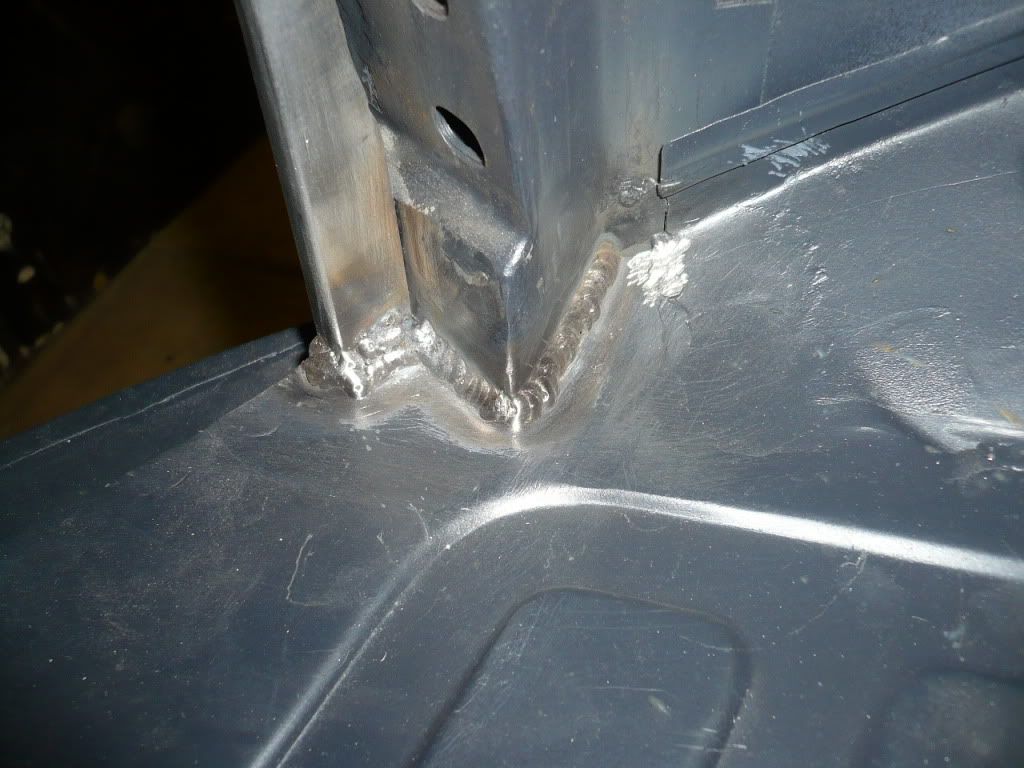
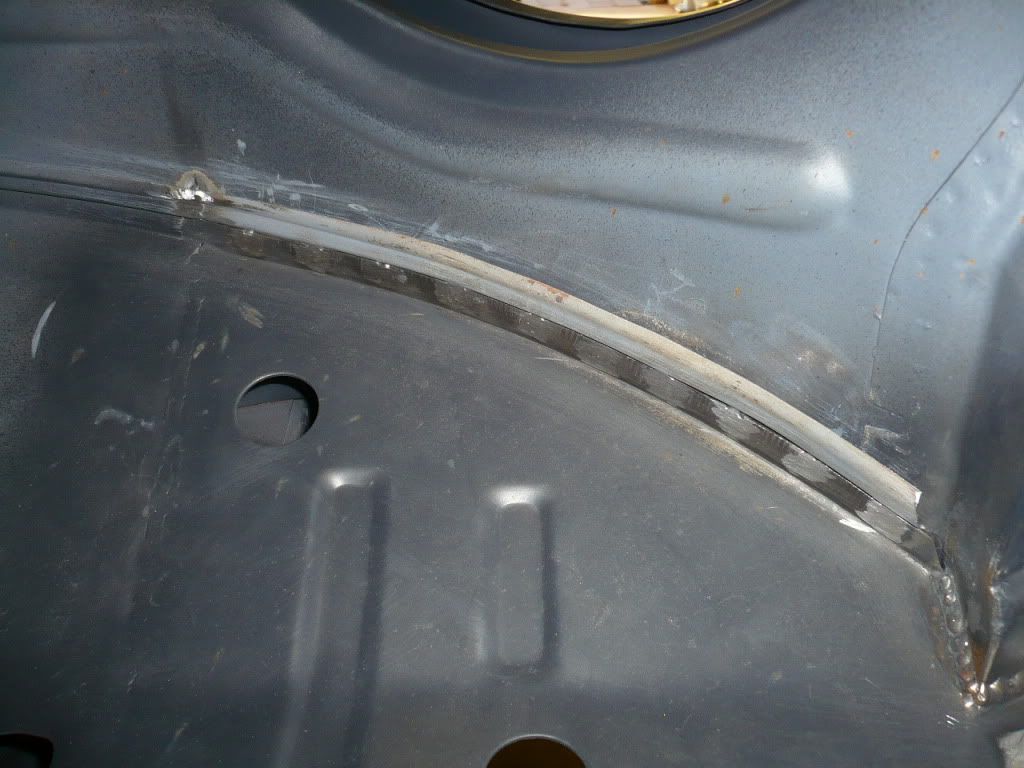
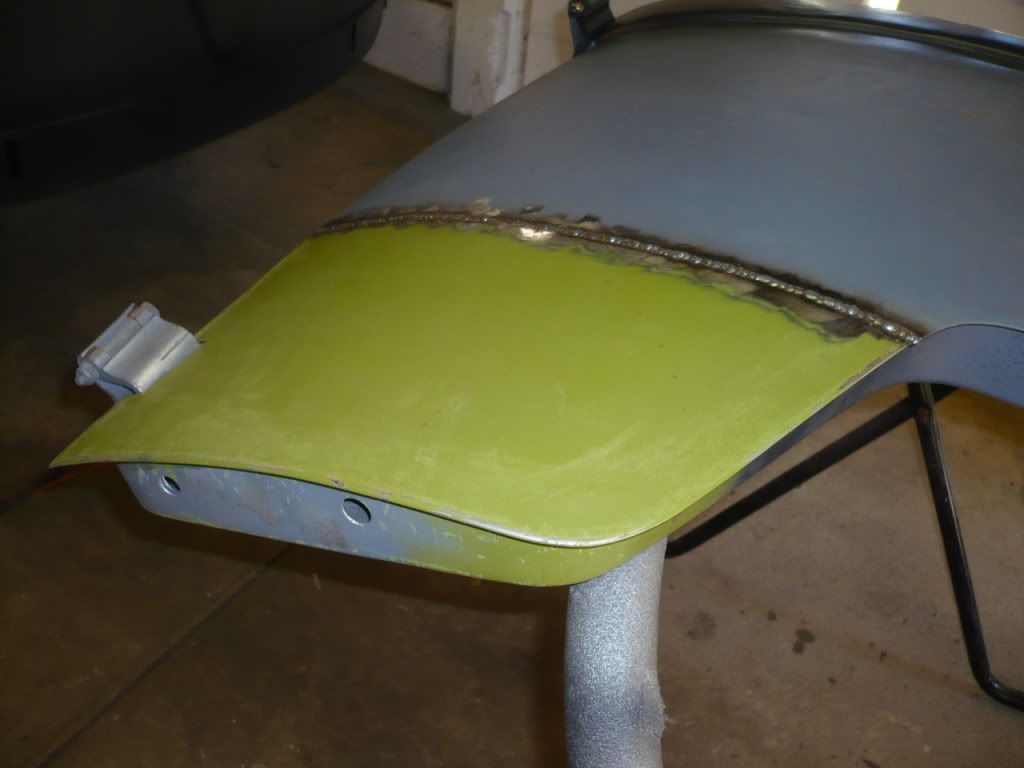
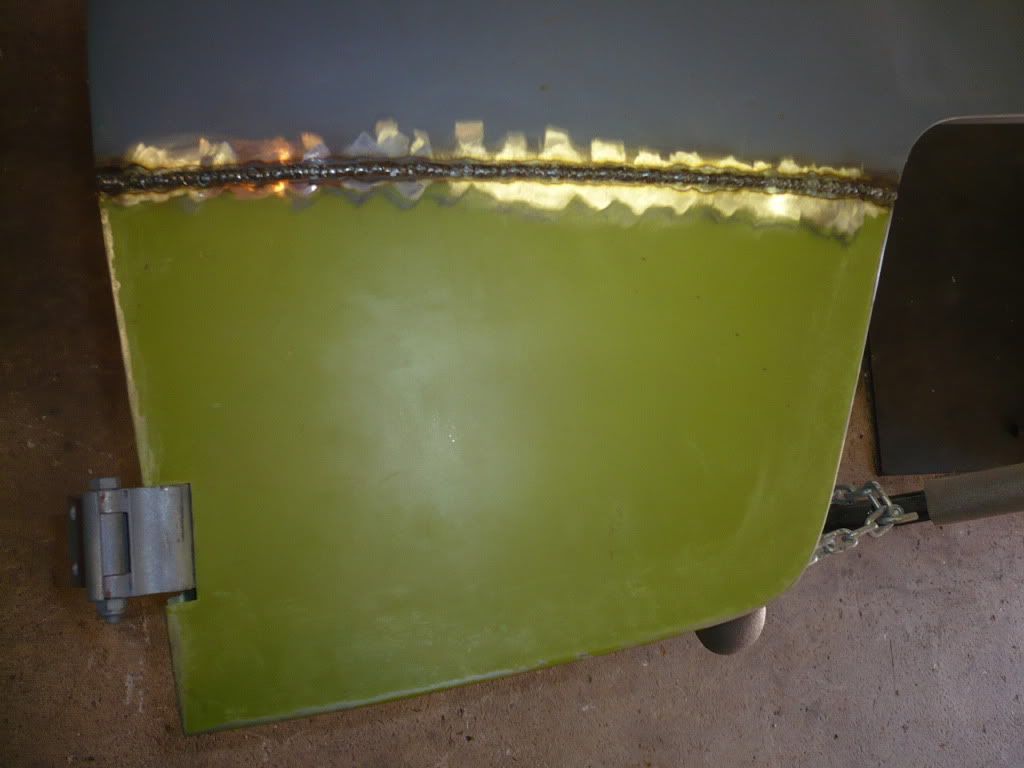
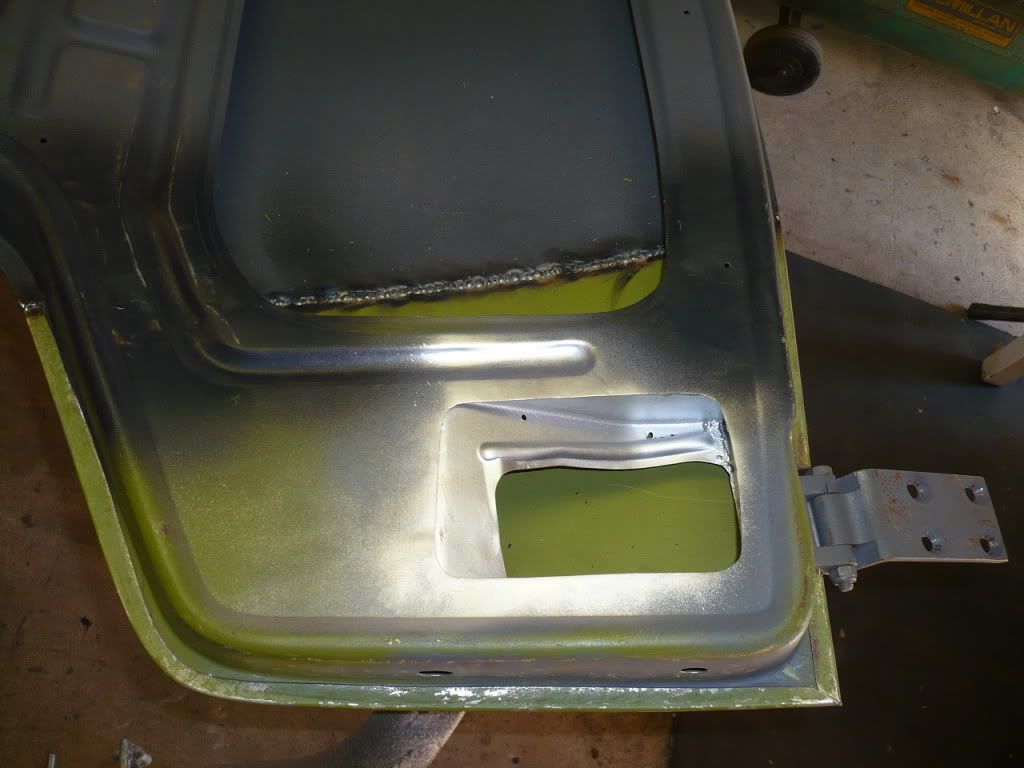
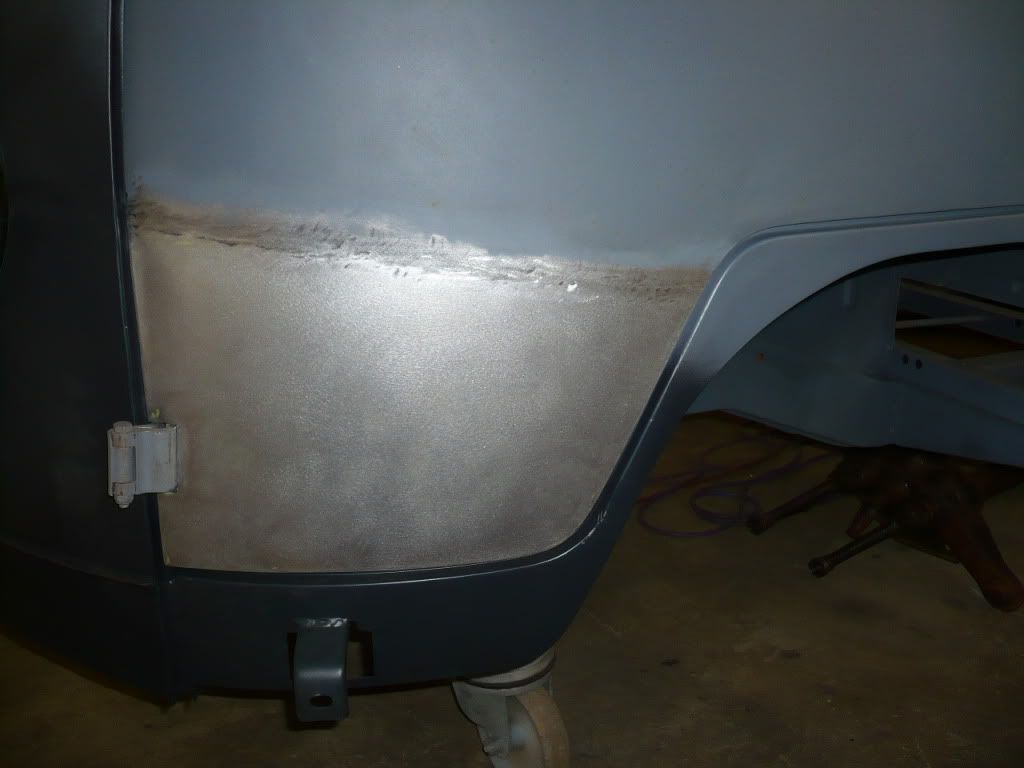
The but weld took a bit of time as i stuffed up the cut on the drivers side as you can see in one of the pics the gap ended up wider than it shold.
All i can say is take your time when welding the front on with one tack at a time like every one has told me.
As for the butt weld i would do it the same way again.
Cheers Rick
-
bluebus
- DSKer
- Posts: 251
- Joined: Thu Jul 13, 2006 10:26 pm
- Location: East Devonport TAS
-
bluebus
- DSKer
- Posts: 251
- Joined: Thu Jul 13, 2006 10:26 pm
- Location: East Devonport TAS
-
Ian 68
- DSKer
- Posts: 1373
- Joined: Sat May 02, 2009 9:58 pm
- Location: Caloundra, QLD
-
joeM
- DSKer
- Posts: 288
- Joined: Mon Apr 04, 2011 10:22 pm
- Location: Melbourne Vic
-
scutemmm
- DSKer
- Posts: 303
- Joined: Sat Dec 20, 2008 8:39 pm
- Location: Batemans Bay
-
daveo
- DSKer
- Posts: 1294
- Joined: Sun Sep 04, 2005 9:47 am
- Location: Turners Beach Tassie
- Contact:
-
bluebus
- DSKer
- Posts: 251
- Joined: Thu Jul 13, 2006 10:26 pm
- Location: East Devonport TAS