Page 1 of 14
63 single cab ute resto
Posted: Sat May 07, 2011 7:26 pm
by bluebus
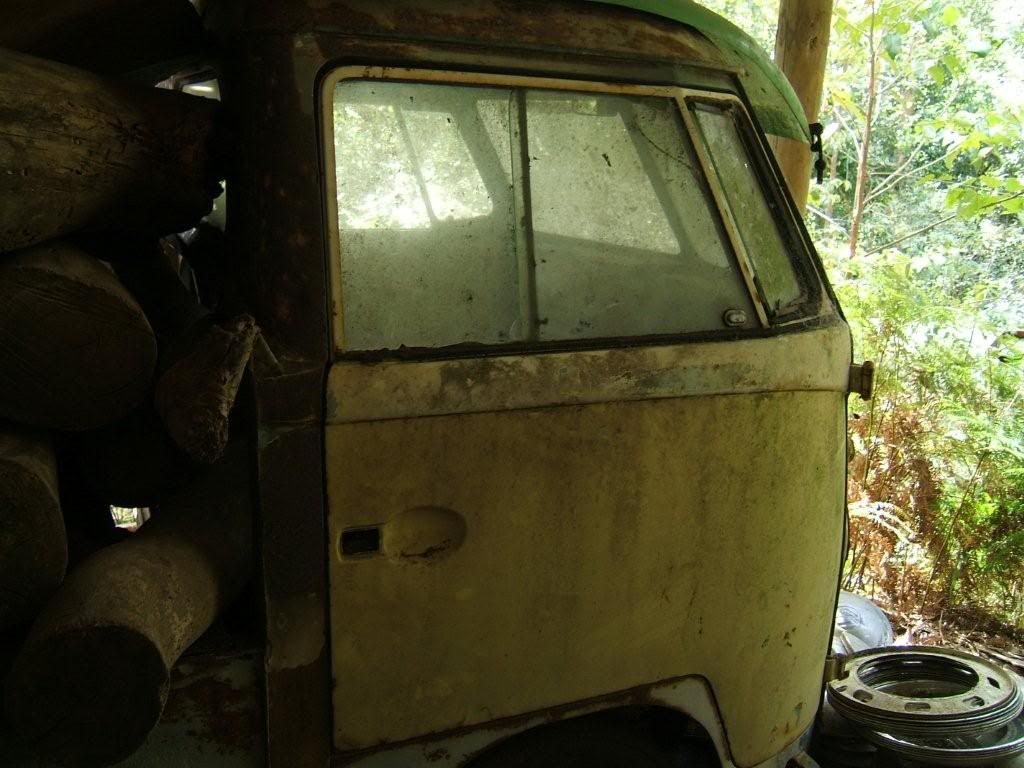
Hey there all just thought it was about time i posted some pics of my 63 single cab ute resto as i know i like checking out other restos.
Im no panel beater painter or welder but giving it a go and having fun.
See if i can work out how to put these pics up.
cheers Rick
Posted: Sat May 07, 2011 10:42 pm
by bluebus
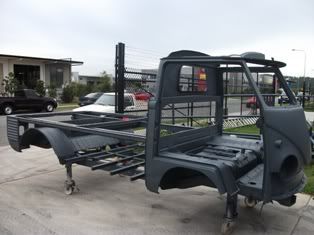
Going to be blasted
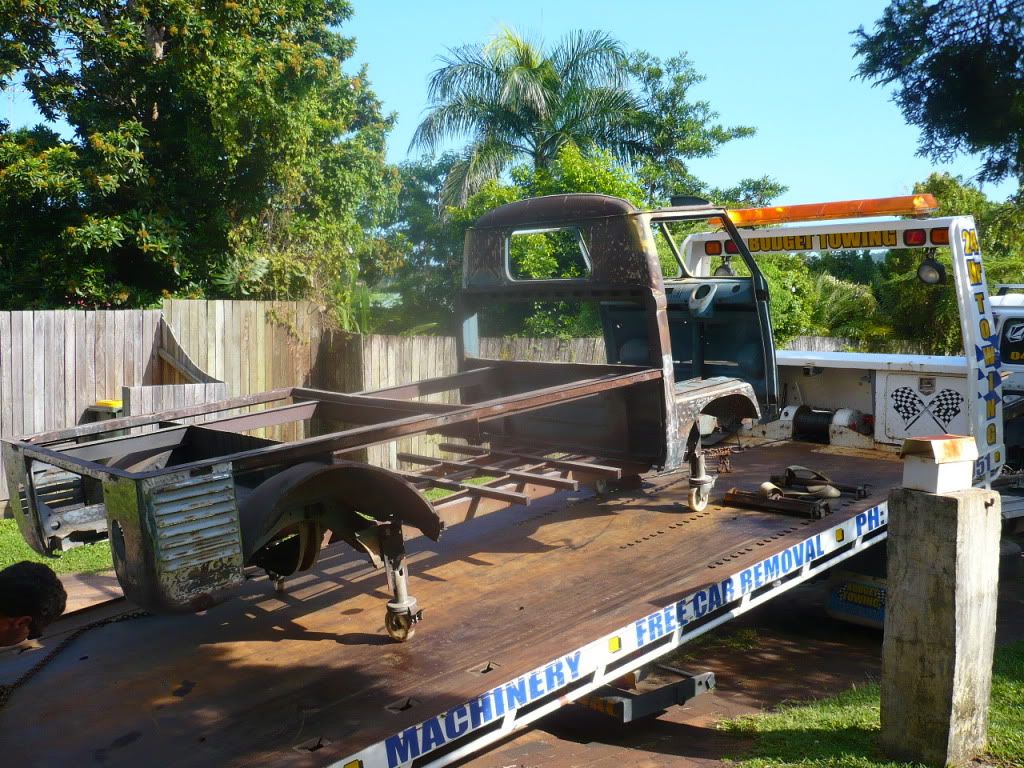
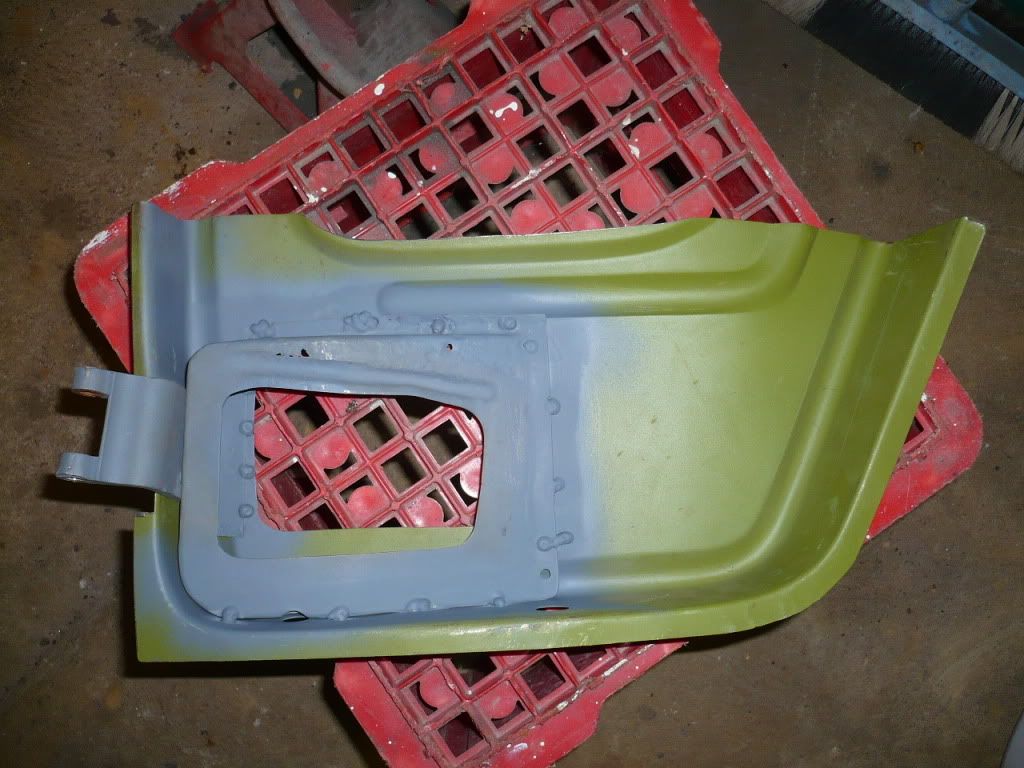
In etch primer ready to come home
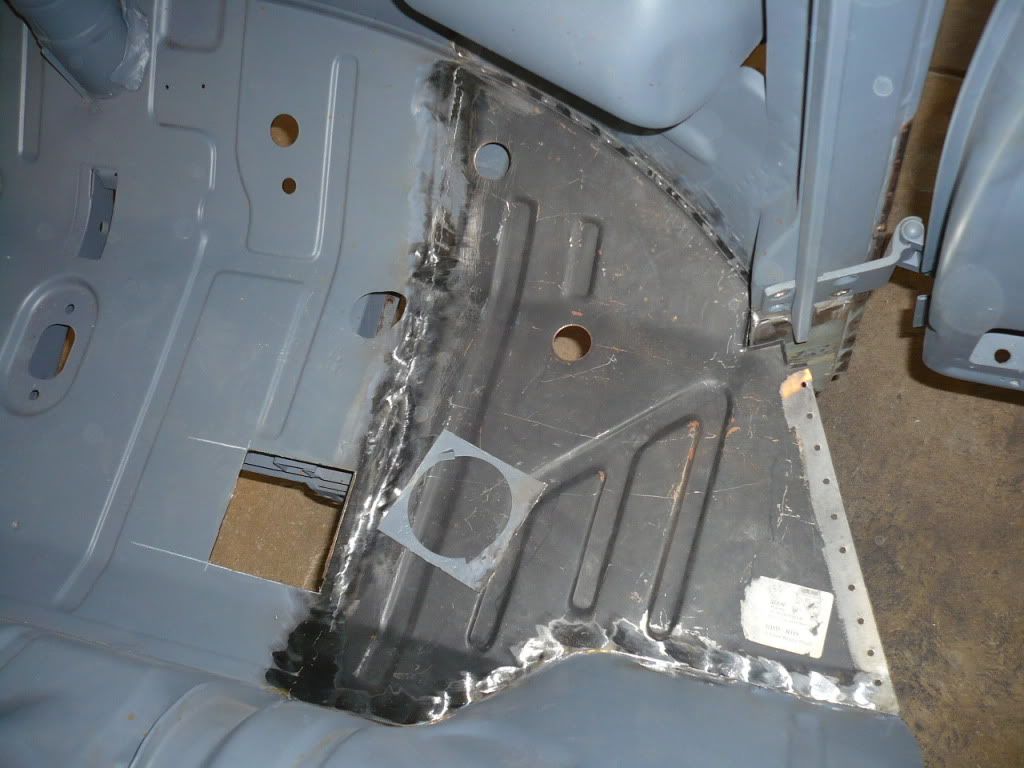
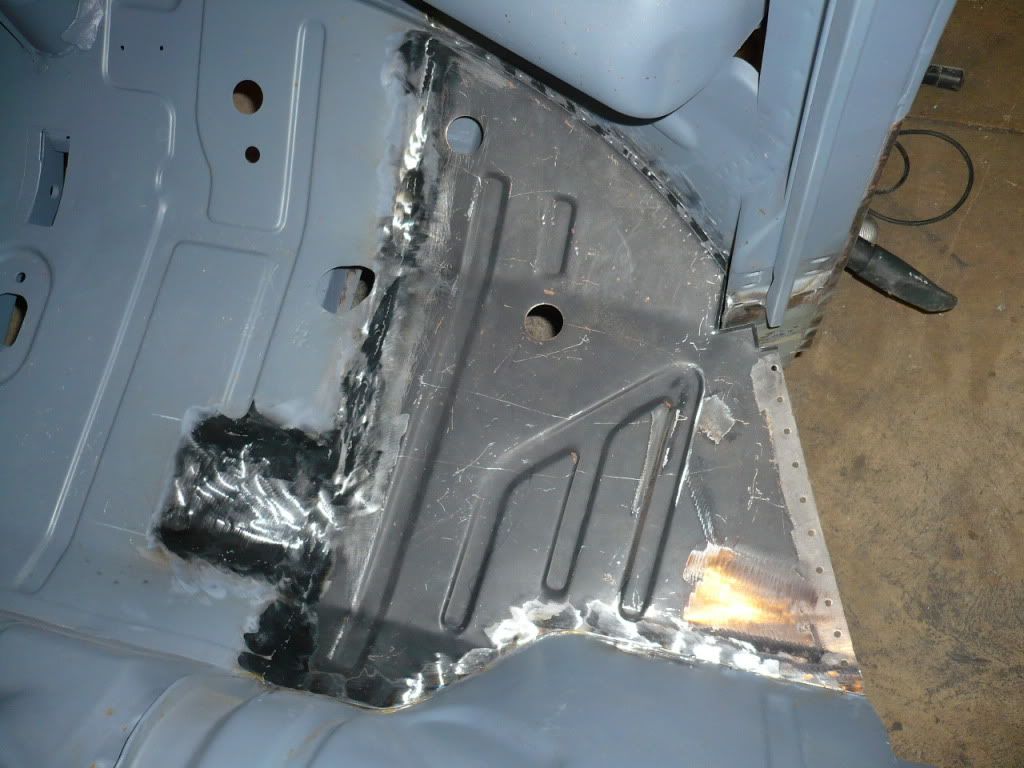
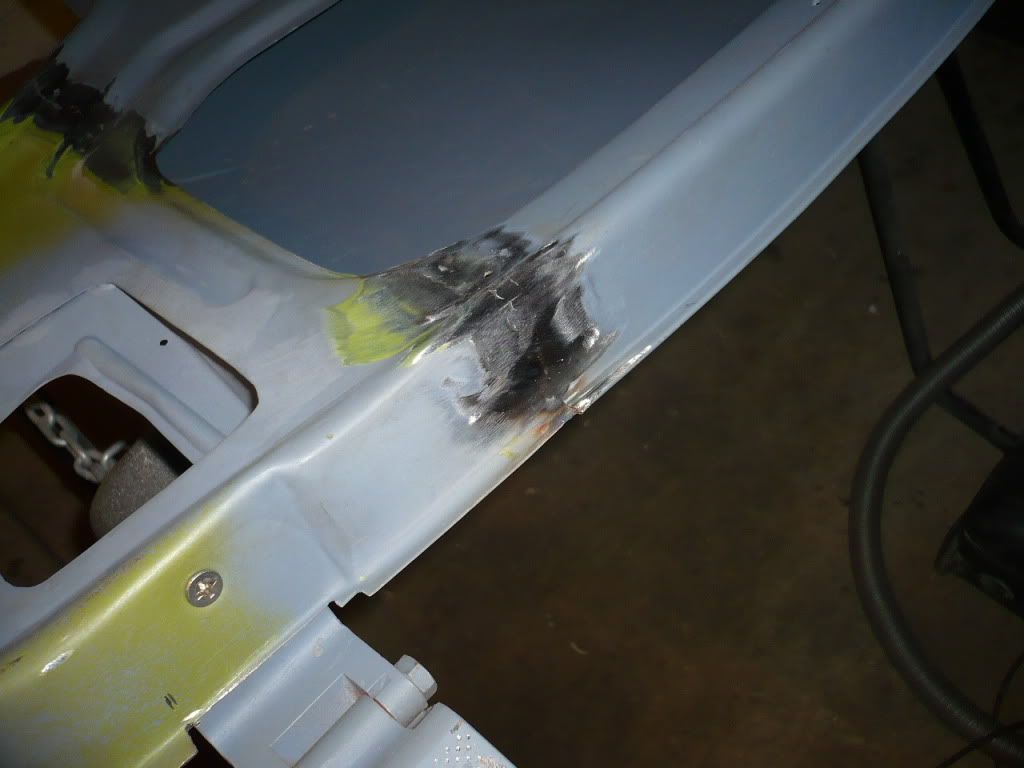
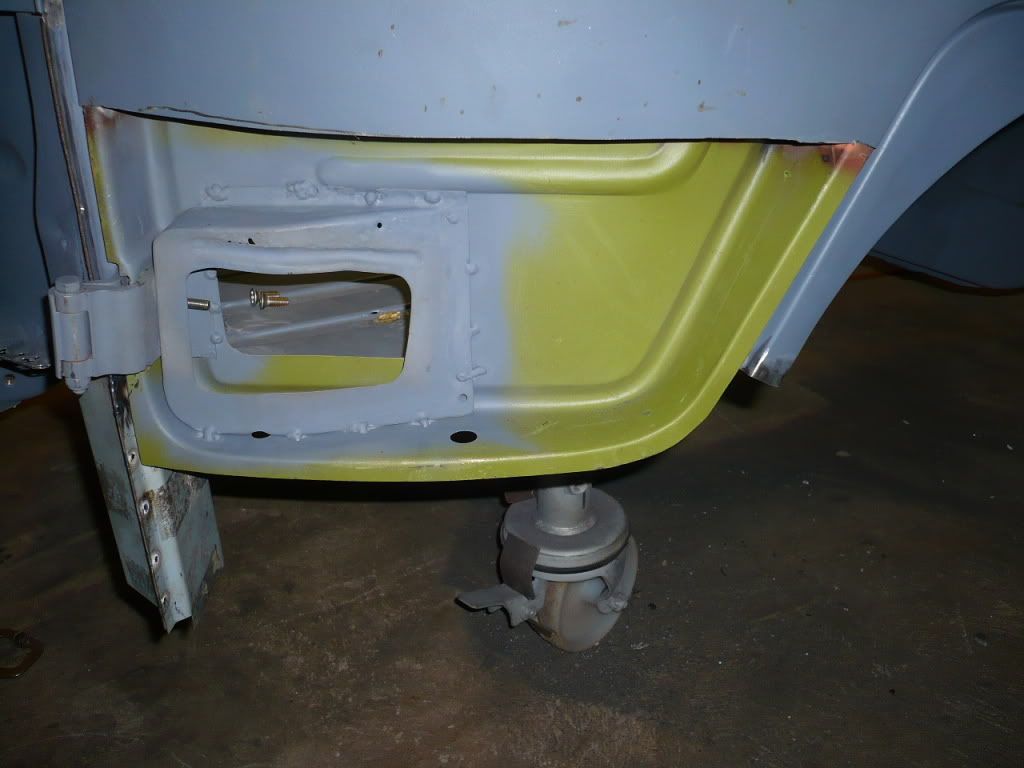
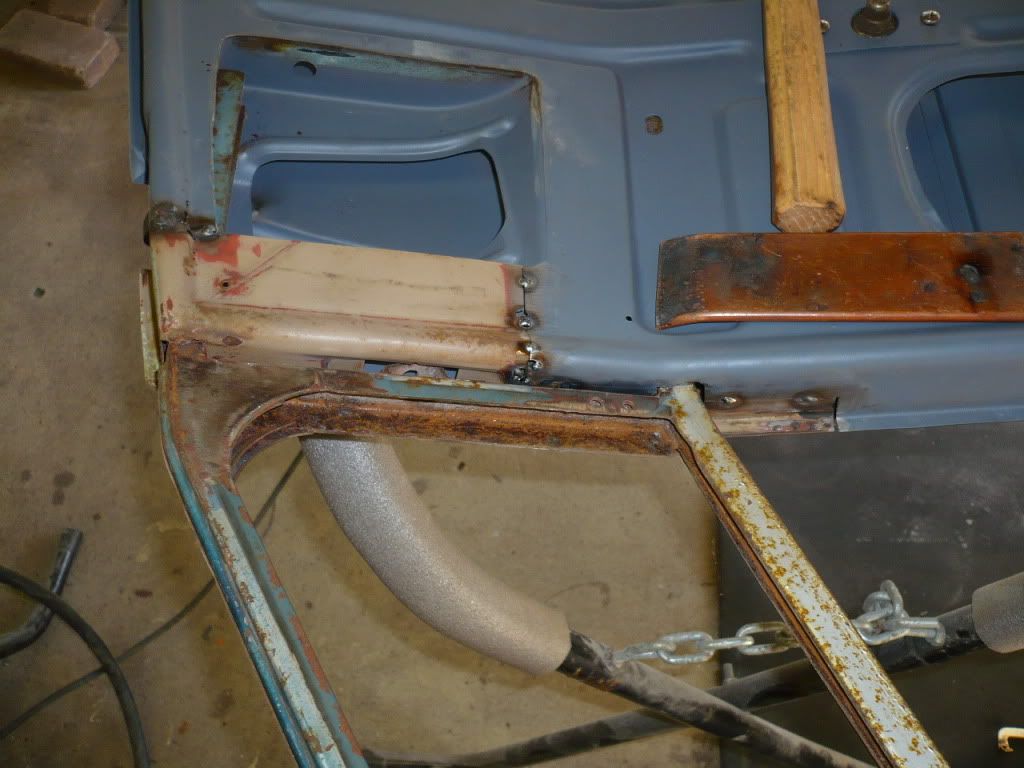
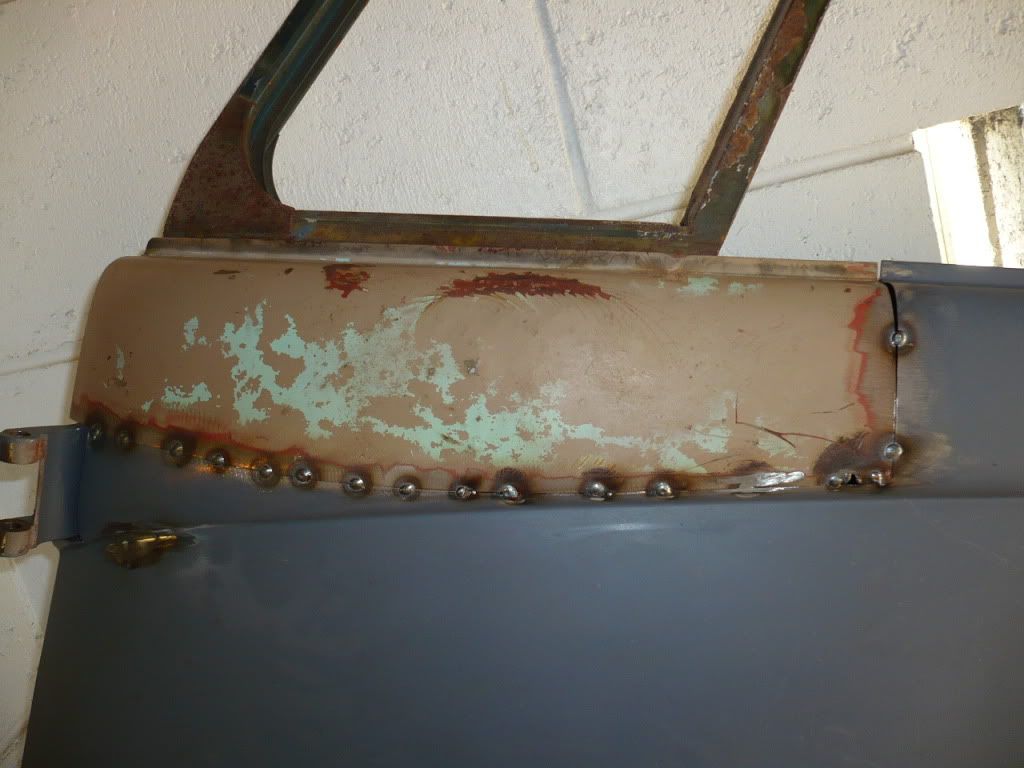
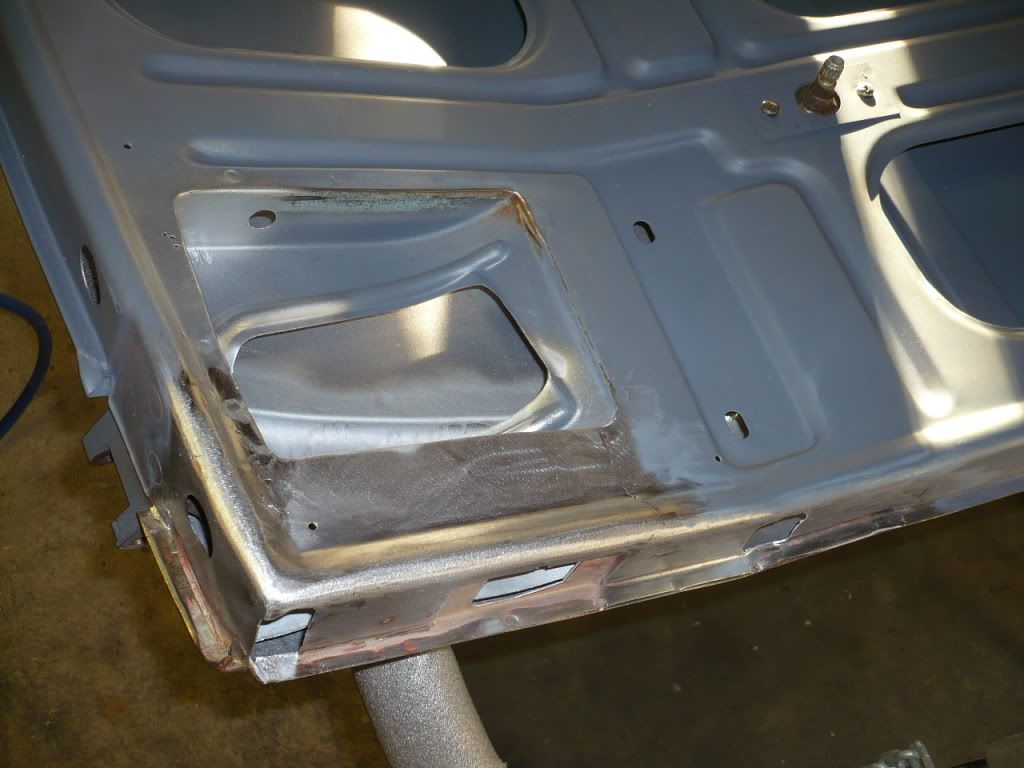
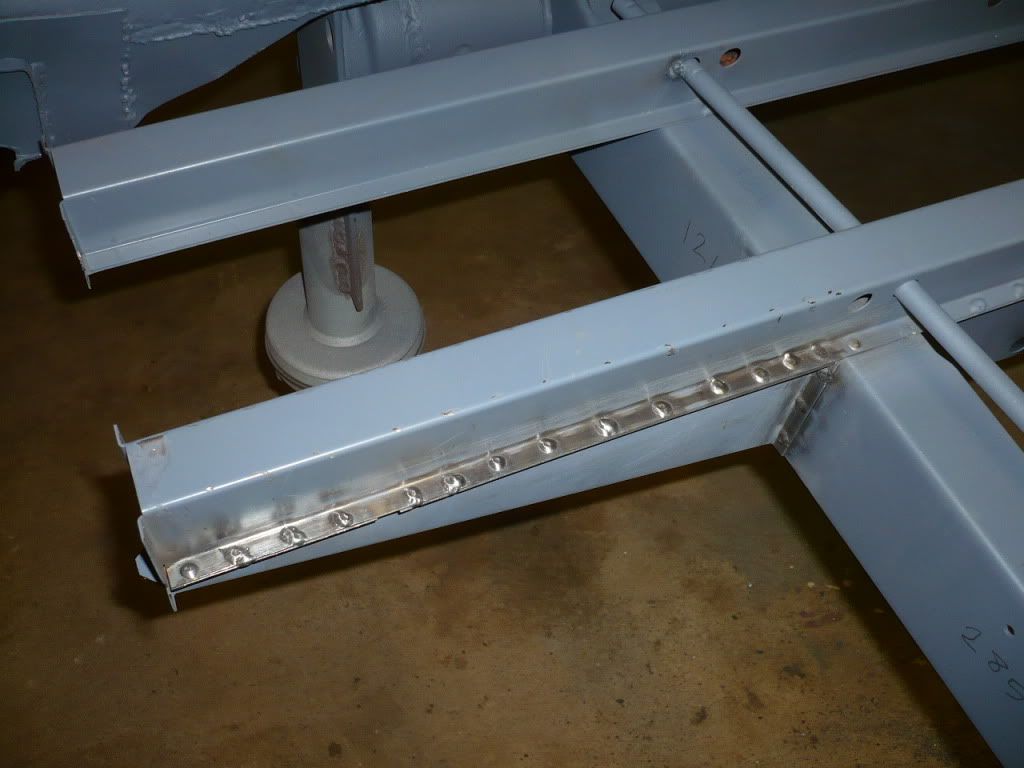
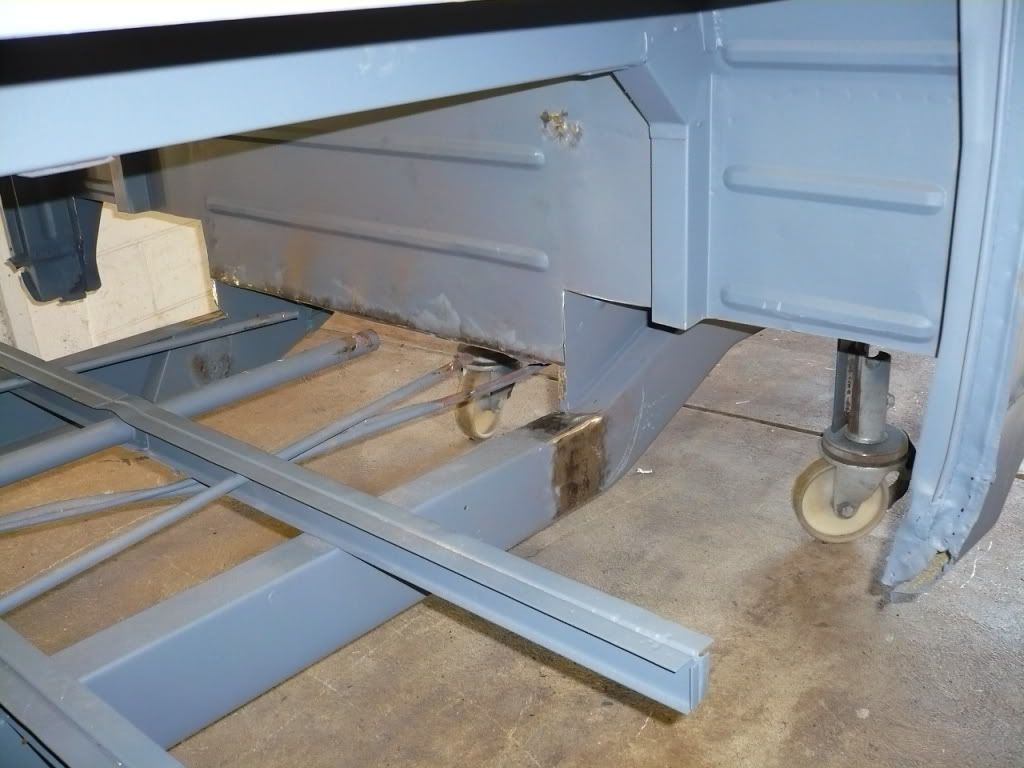
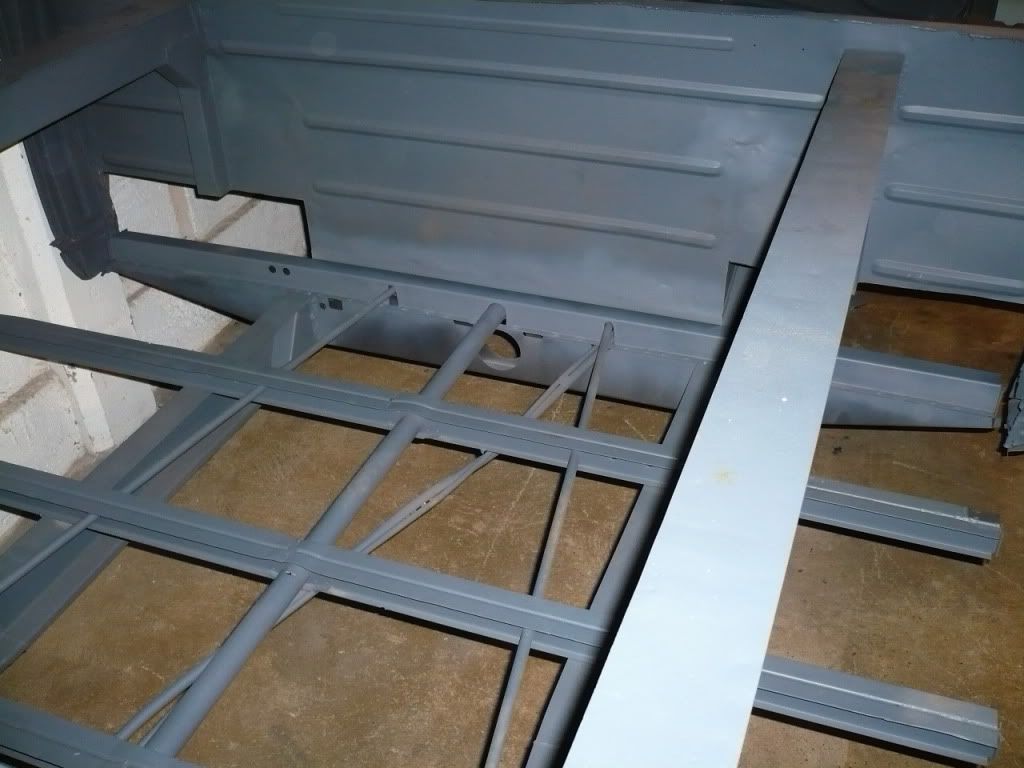
Starting to have a go at some welding doing the 3x top hat sections, outriggers, centre chassis sections front and back.
Drilling a 5mm hole then plug welding them for most of it.
Posted: Sat May 07, 2011 10:43 pm
by warb
Posted: Sat May 07, 2011 10:48 pm
by bluebus
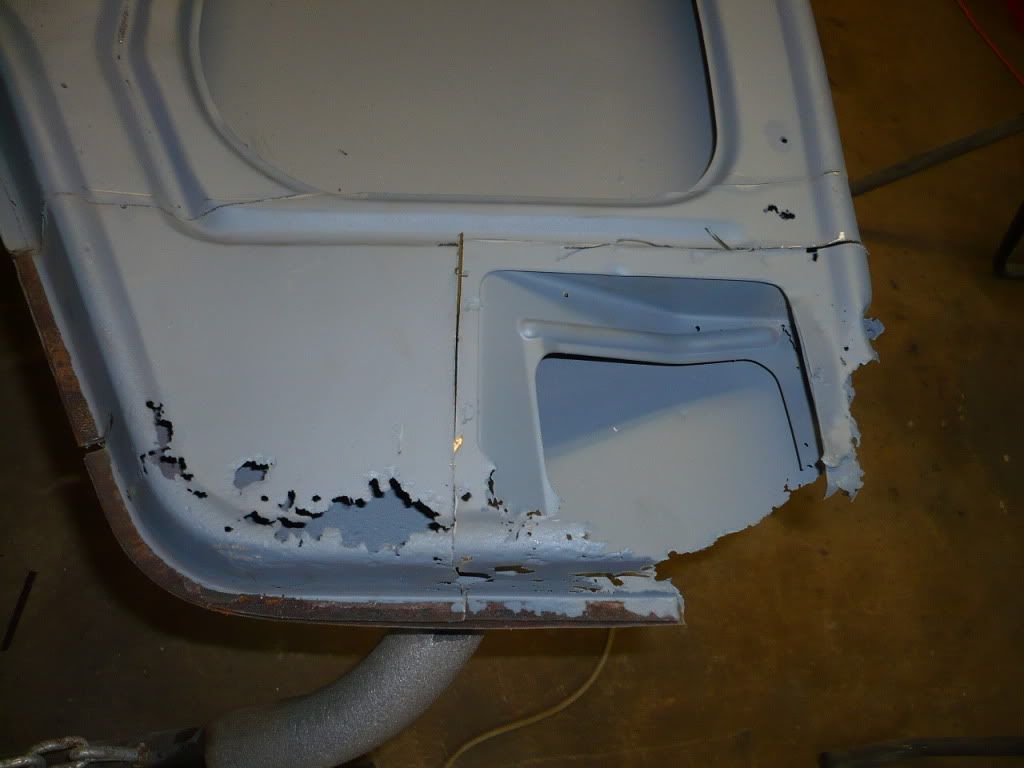
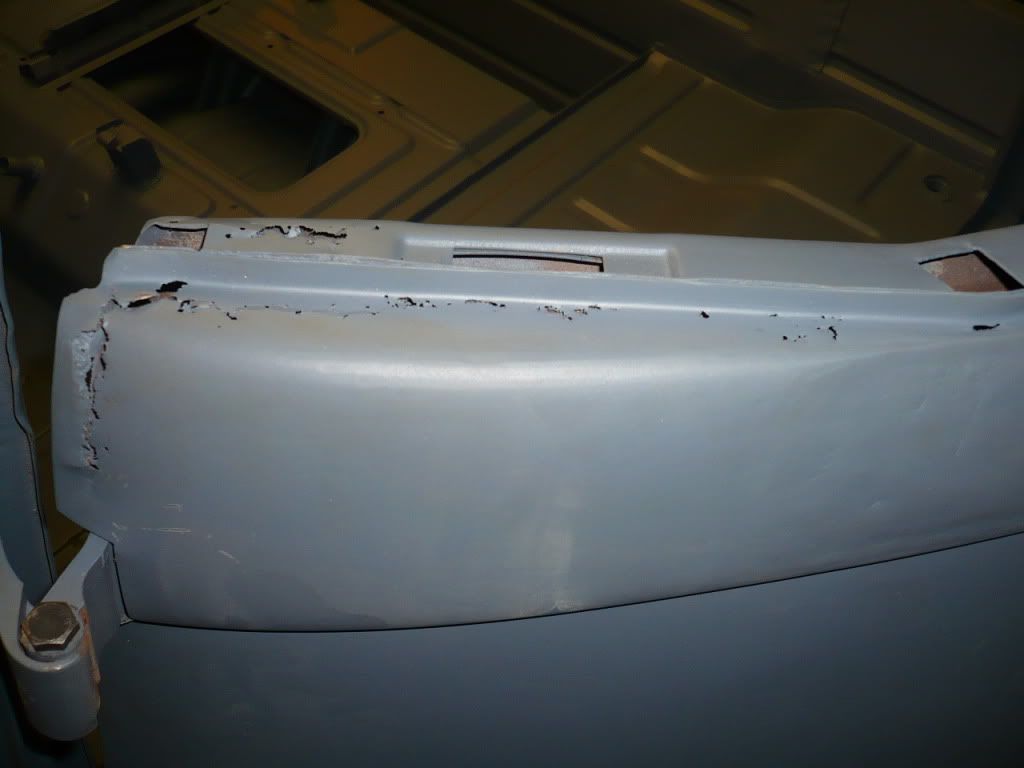
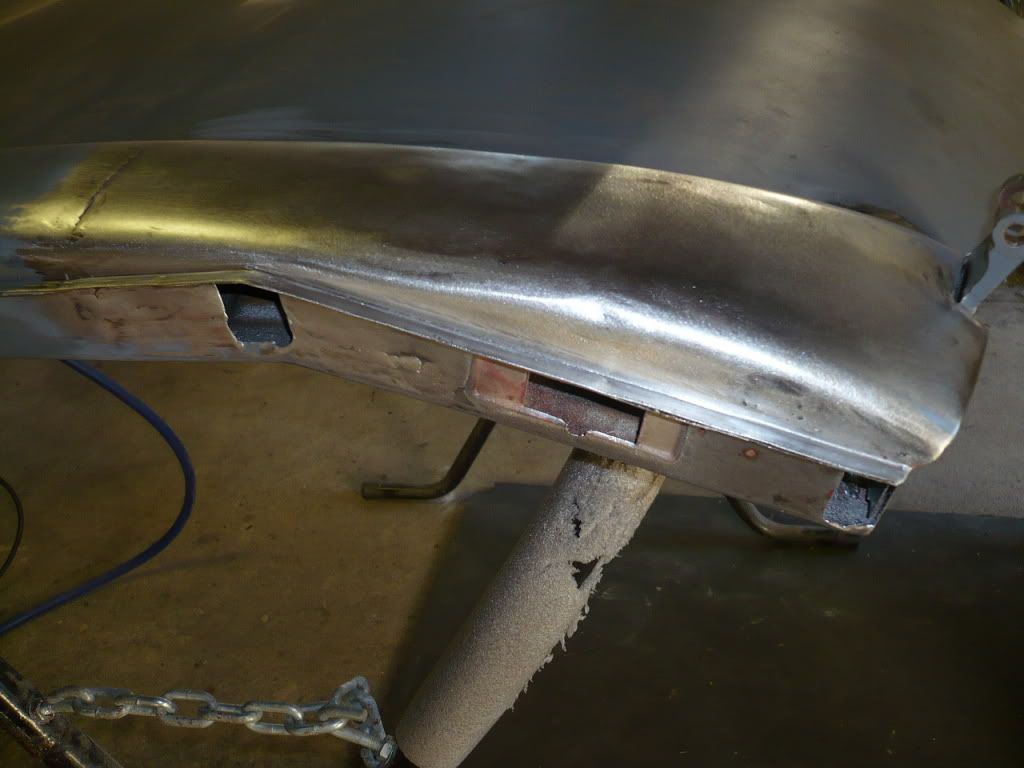
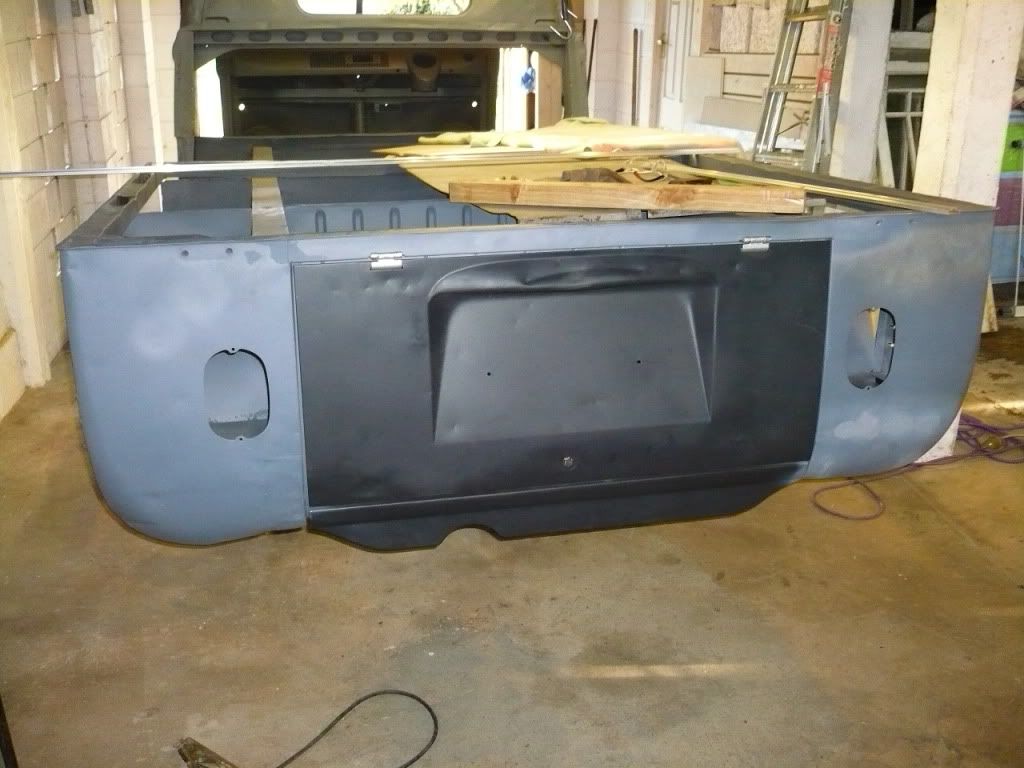
Having a go at straightening the engine lid hinge carrier and had to flex it past to get it straight using the gear i have at home but it worked.

Posted: Sat May 07, 2011 10:54 pm
by bluebus
Posted: Sat May 07, 2011 10:54 pm
by byronbus
Nice, remember seeing this at flockys...
Posted: Sat May 07, 2011 11:02 pm
by bluebus
Posted: Sun May 08, 2011 7:20 am
by splitbus
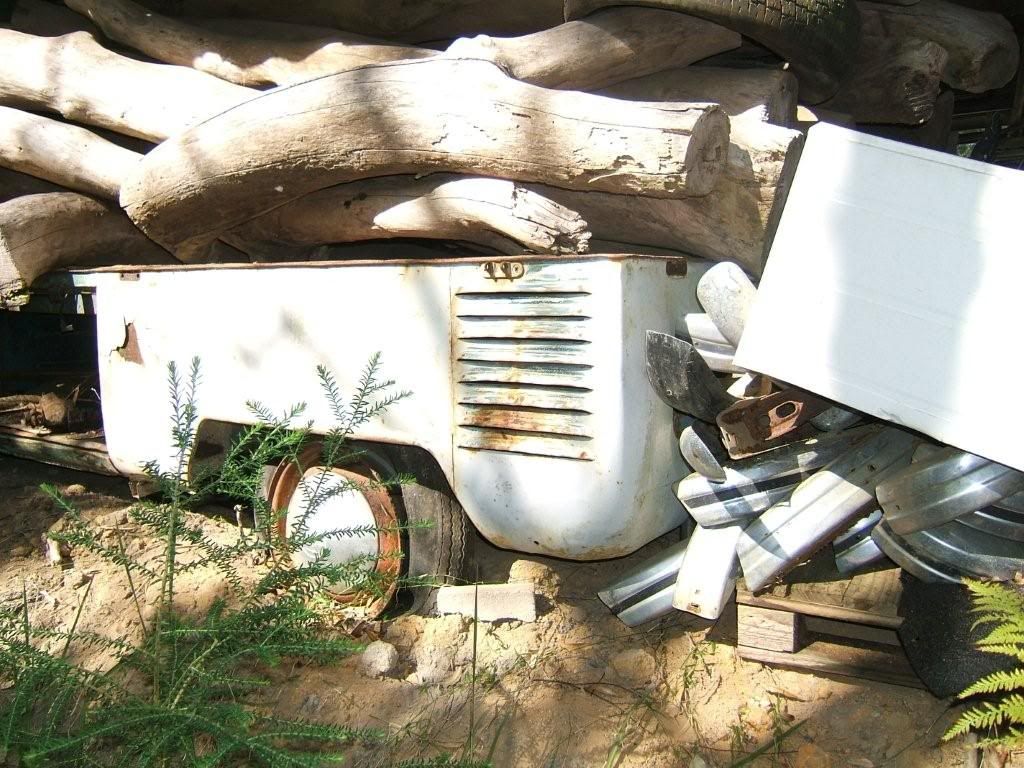
Some nice work there Rick, that is one he'll of a load in the first pic
Posted: Sun May 08, 2011 11:18 am
by Tonz Magonz
Rick
For someone whos not a welder etc. ,your approach is spot-on..
definately looks scary when you strip these things back to a skeleton ,but at least all work from now on ,is atttached to clean rust free steel..
Not telling you how to suck eggs...but follow the motto of measure 2-3 times before cutting /rewelding and continue to check chassis is square and untwisted..
Awesome effort...
Thanks for the pics..

Cheers Tonz
Posted: Sun May 08, 2011 12:02 pm
by Leroy
Some really nice work going on there.Keep at it, and thanks for sharing

!
Posted: Sun May 08, 2011 12:20 pm
by Frogsta
Good to see some progress, well done.
Make sure all the square holes are squared up with a file after welding where the window frame goes in.
Trial fit it just to be sure, nothing worse than doing mods after paint.
Posted: Sun May 08, 2011 1:06 pm
by beerdoc
RESPECT
Posted: Sun May 08, 2011 4:12 pm
by Ian 68
Nice one mate, good to see the progress.
Posted: Sun May 08, 2011 4:50 pm
by dakdak dk
Awesome resto Rick. Yeh, for a non welder/panel beater your definitely not shy...
Posted: Sun May 08, 2011 5:43 pm
by shark
Great build love the work. I wish I was as good with a welder