Page 5 of 29
Re: 60 11 window
Posted: Mon Feb 29, 2016 9:34 pm
by Leroy
WOW!! That's some incredible work there mate!

Thanks for sharing your updates. Keep em coming and get as much done as you can before baby. Because you will have zero time then

Re: 60 11 window
Posted: Thu Mar 03, 2016 8:13 pm
by braddick
Great work mate
C u in a few weeks
Re: 60 11 window
Posted: Thu Mar 03, 2016 10:34 pm
by Shaven
Matty awesome build thread man... some serious talent there. Congrats buddy
Re: 60 11 window
Posted: Fri Mar 04, 2016 7:19 pm
by gaz
Wow a small place to work on such a massive job, its good to see it can be done!
well done mate very inspirational stuff.
Re: 60 11 window
Posted: Sun Mar 06, 2016 10:39 am
by NevsOval
They really are a labour of love aren't they?
Makes me realise how far I've got to go with mine, brilliant job you're doing there.
Re: 60 11 window
Posted: Sun Mar 06, 2016 11:07 am
by KombiMadness
I'm always amazed when I see awesome restoration metal work on old, rusted, smashed splitties! I wouldn't say your work is inspiring because I could never even begin to do the amazing job you've done!!!
" morts -
Didn't know there was a degree in kombi restorations...! "
Mate, A+ and high distinctions in your "Kombi Restorations" degree.......
Re: 60 11 window
Posted: Sun Mar 06, 2016 7:15 pm
by splitthis
Thanks guys, you are all far too kind. I haven't had anymore time in the garage yet so no more progress to show but as everyone keeps reminding me I need to smash it out before bubs gets here so ill try and knuckle down over the next few weekends.
KombiMadness wrote: I could never even begin to do the amazing job you've done!!!
Mate I completely disagree, anyone can get stuck in and learn this stuff it just takes time and patience. I could already weld before I started the bus but I had only ever welded thick steel, sheetmetal is a whole different animal and it just takes practice. I don't work in a field that has any crossover at all, I have taught myself through trial, error and lots of internet hours. It's only metal and if you take your time you usually can't make it worse than it was, if im not happy with something I just cut it out and go again. I have learned so much from looking at all the build threads on here and the samba, thats the only reason I even put pics up. If one person can use one of my pics to help them then it has been worth it.
Re: 60 11 window
Posted: Thu Sep 08, 2016 8:59 am
by splitthis
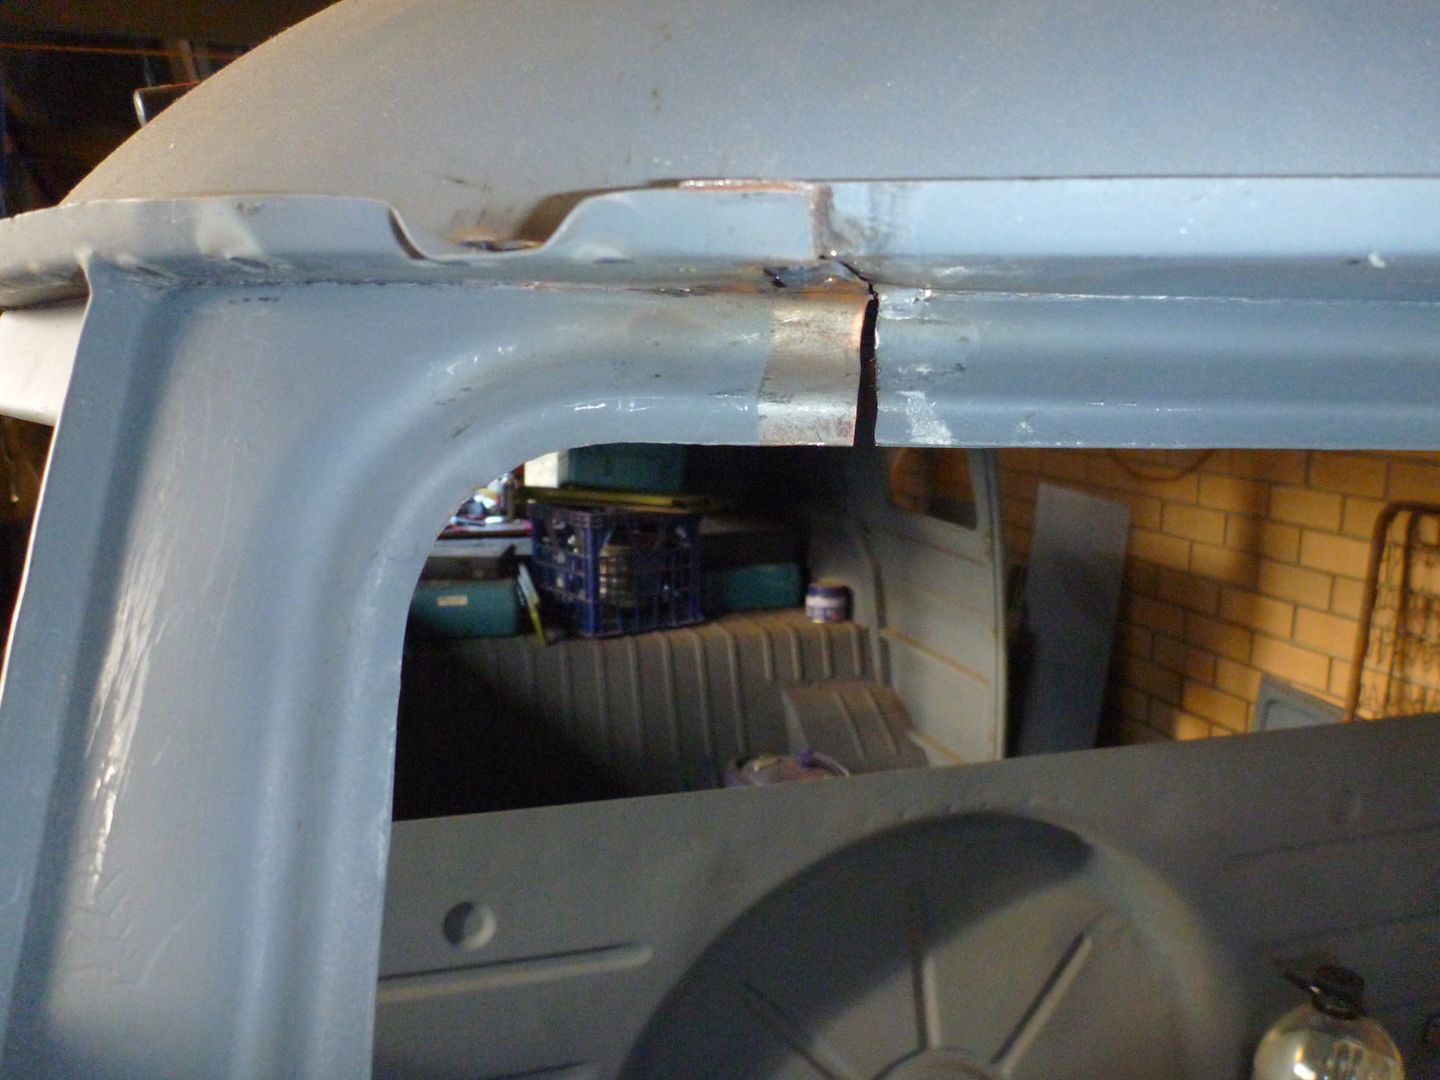
Ive had the last week and a half off of work specifically to work on the bus and have made some great progress. I will post pics up over the weekend. I was hoping one of you had some advice on how to fix this
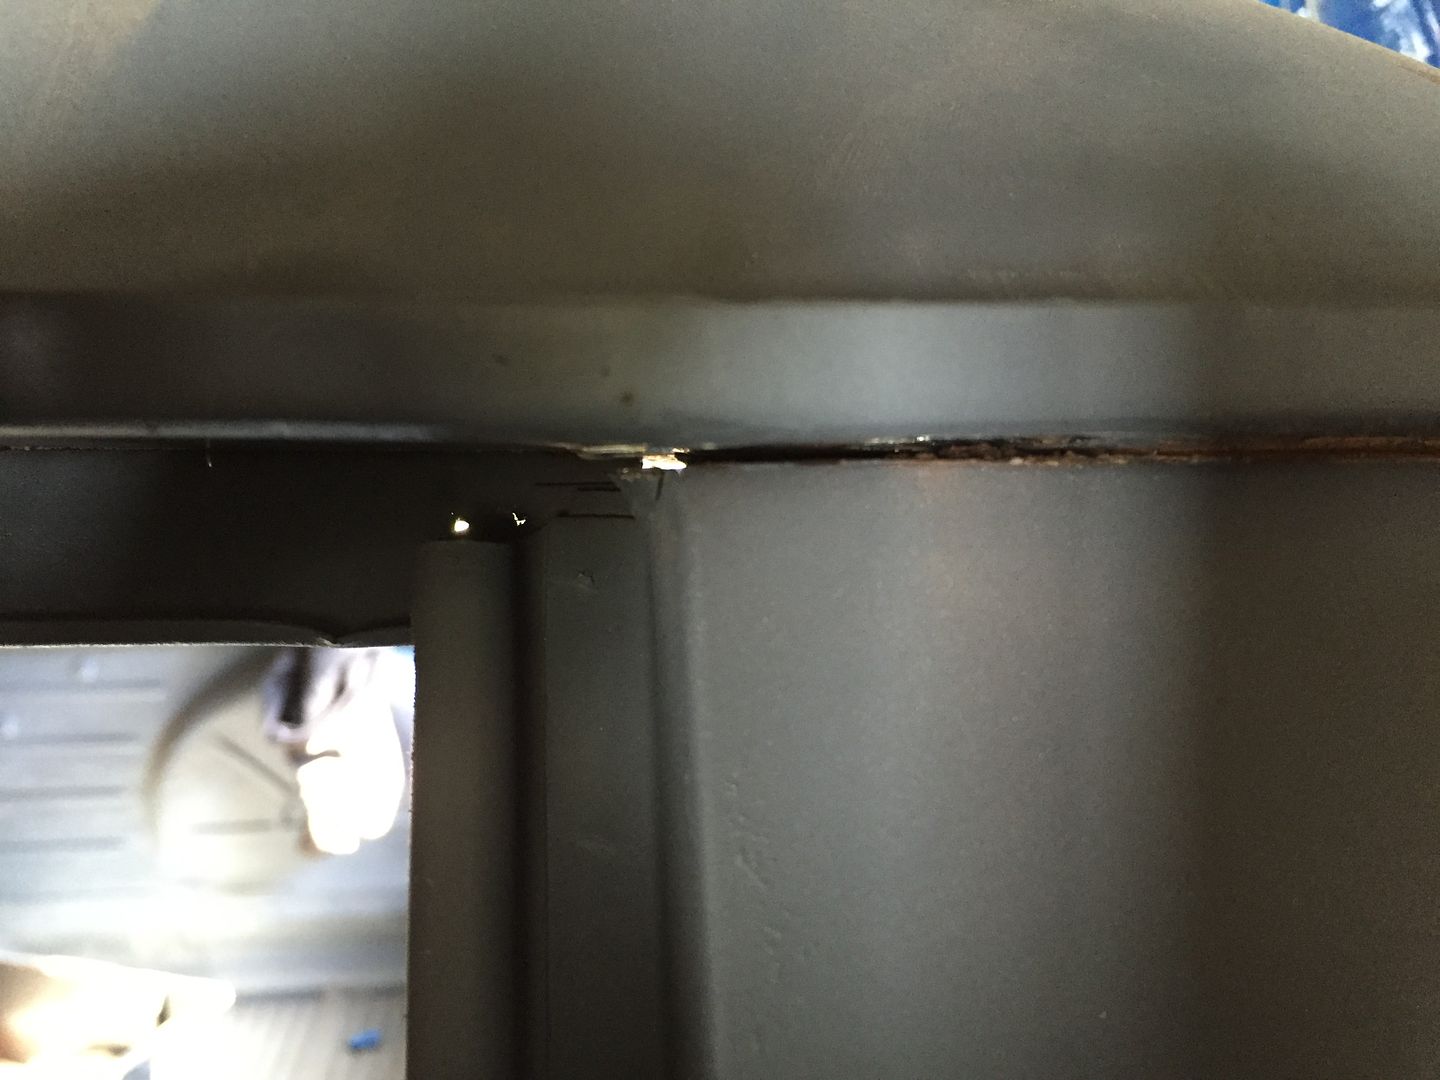
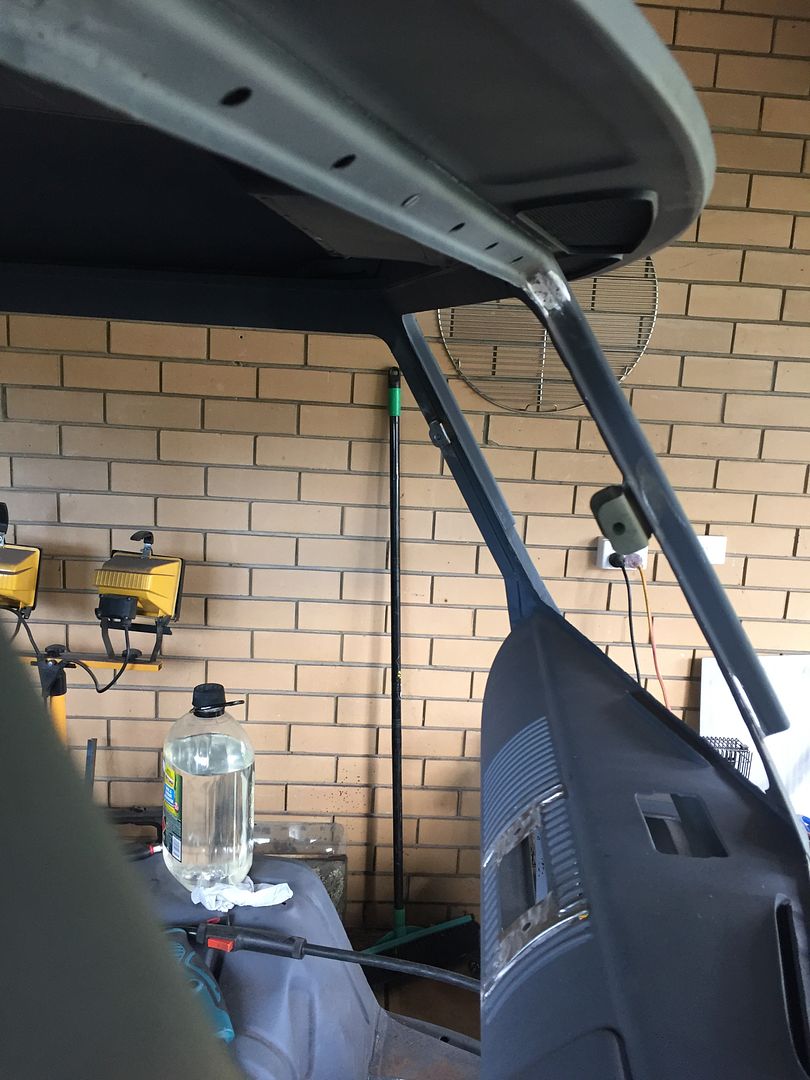
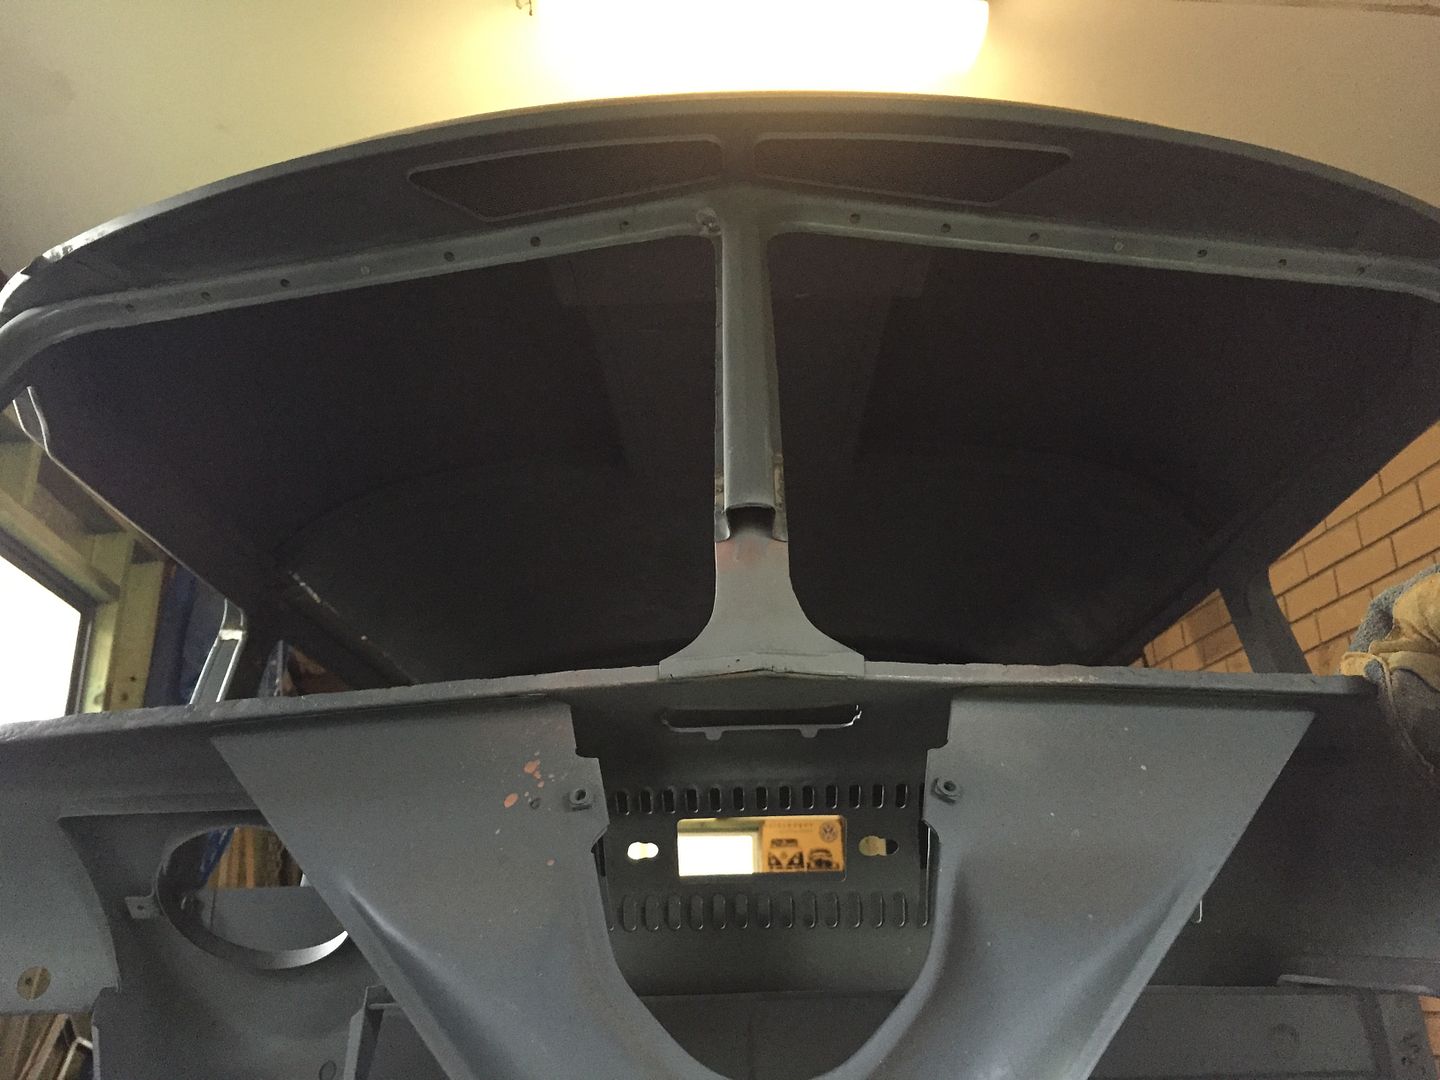
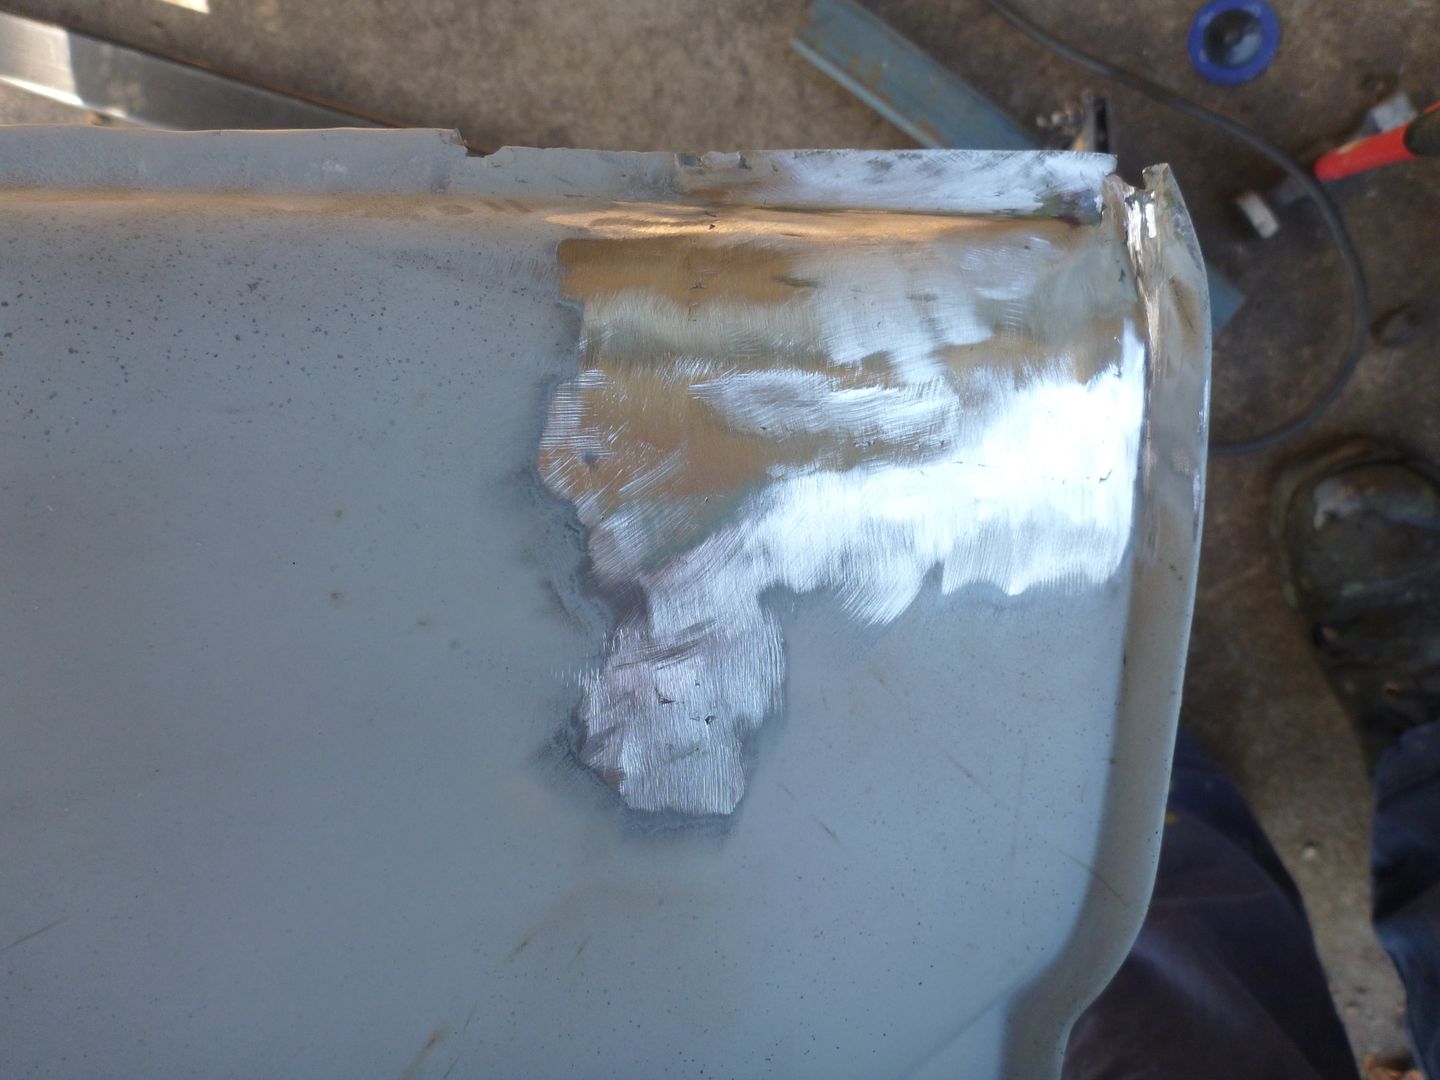
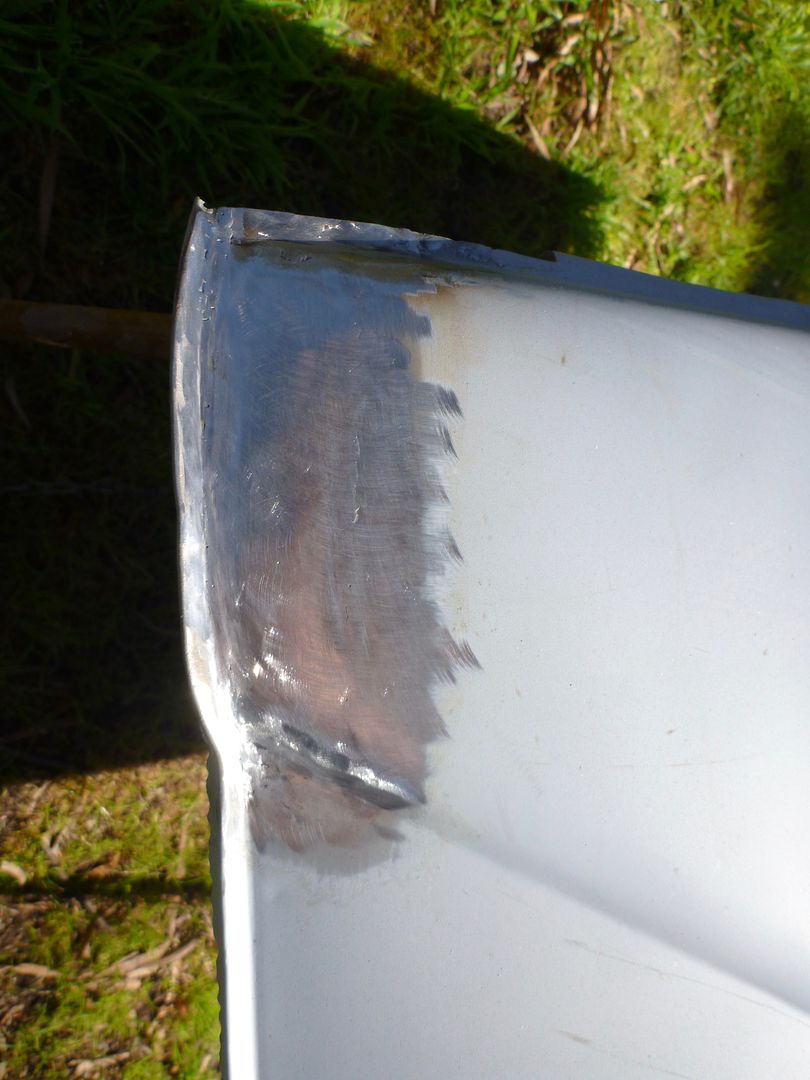
Alongside the rear hatch it looks like the gutter and the rear corner have separated (bus had hacked bulkhead so would have been a bit of flex I think), it's only a couple of mm and could probably be filled with seam sealer but I'd rather try and close it up and do it properly. Has anyone done this before? Any tips? I tried cutting the weld and then jacking the chassis rail on that side and I tried pulling the gutter down with a slide hammer but neither fixed it. Could really use some advice if anyone has fixed this before.
Re: 60 11 window
Posted: Thu Sep 08, 2016 10:38 am
by Cam Biscuit
I'd be drilling out a few of the spot welds in the gutter and plug welding it back together.
Or re- spot welding if you have one.
Re: 60 11 window
Posted: Thu Sep 08, 2016 12:58 pm
by splitthis
Cam Biscuit wrote:I'd be drilling out a few of the spot welds in the gutter and plug welding it back together.
Or re- spot welding if you have one.
The problem is the gutter is still fully attached to the roof, it looks more like the corner panel has dropped rather than the gutter going up. I've got other stuff to do for now but hopefully someone has seen it before.
Re: 60 11 window
Posted: Thu Sep 08, 2016 6:14 pm
by vanell
If the rear hatch still fits and has good gaps I would just weld that up from the outside, the weld will shrink and close that gap, grind it back, job done. Ian
Re: 60 11 window
Posted: Thu Sep 08, 2016 8:01 pm
by splitthis
vanell wrote:If the rear hatch still fits and has good gaps I would just weld that up from the outside, the weld will shrink and close that gap, grind it back, job done. Ian
Cheers Ian, I'll fit up the hatch and go from there.
Re: 60 11 window
Posted: Sat Sep 10, 2016 8:52 pm
by splitthis
So I obviously didn't get as much done before bubs arrived as I had planned but I've spent the last week and a half in the garage. Had to have a few breaks for baby nap time, and then a few jobs from the boss but managed to smash out a bit.
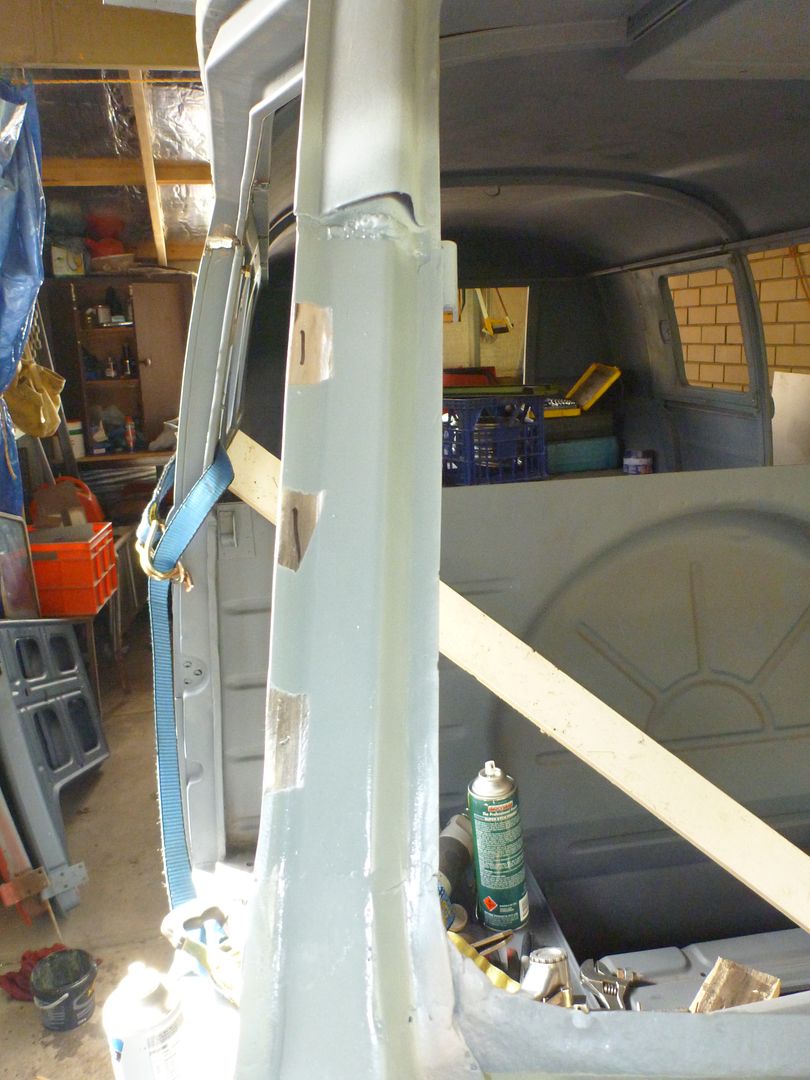
I started by finishing of the A pillar and window frame replacement which although 95% in had a little bit to go. I ended up having to tweak it a bit once the safaris were in because the gaps were off.
I started with this join which is where the two panels joined from the factory.
I got that all straight and welded up and then prepped the A pillar for a donor skin which came from a bus I cut up previously, I planned to use KF stuff but the whole window frame is big $$ and this was the only part I needed. My neighbour works at a metal fabricators and he bent up the inner A pillar for me.
Then the most exciting step of all.... SAFARIS! I was really looking forward to getting them in and even tough they were pretty low on my list of shit that NEEDS to be done, it helped get the A pillar and lower window frame in the right spot.
I installed CE stainless nut plates in the window frames and used CE primered safaris as I'm not big on the polished ones.
Re: 60 11 window
Posted: Sat Sep 10, 2016 9:06 pm
by splitthis
Re: 60 11 window
Posted: Sat Sep 10, 2016 9:28 pm
by splitthis
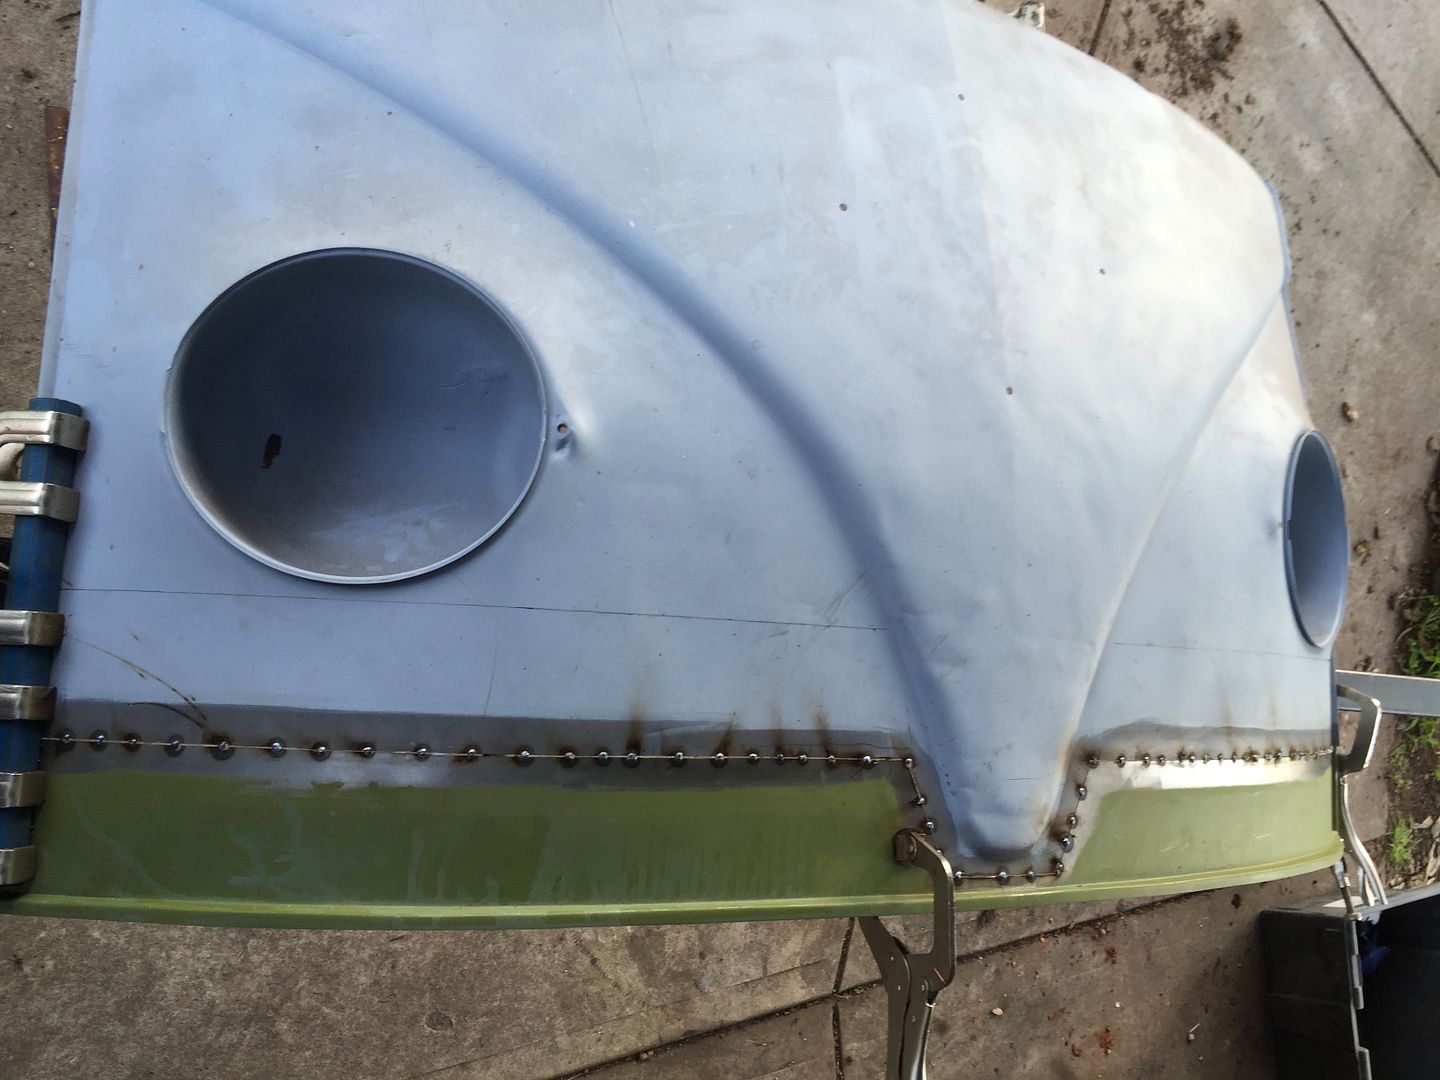
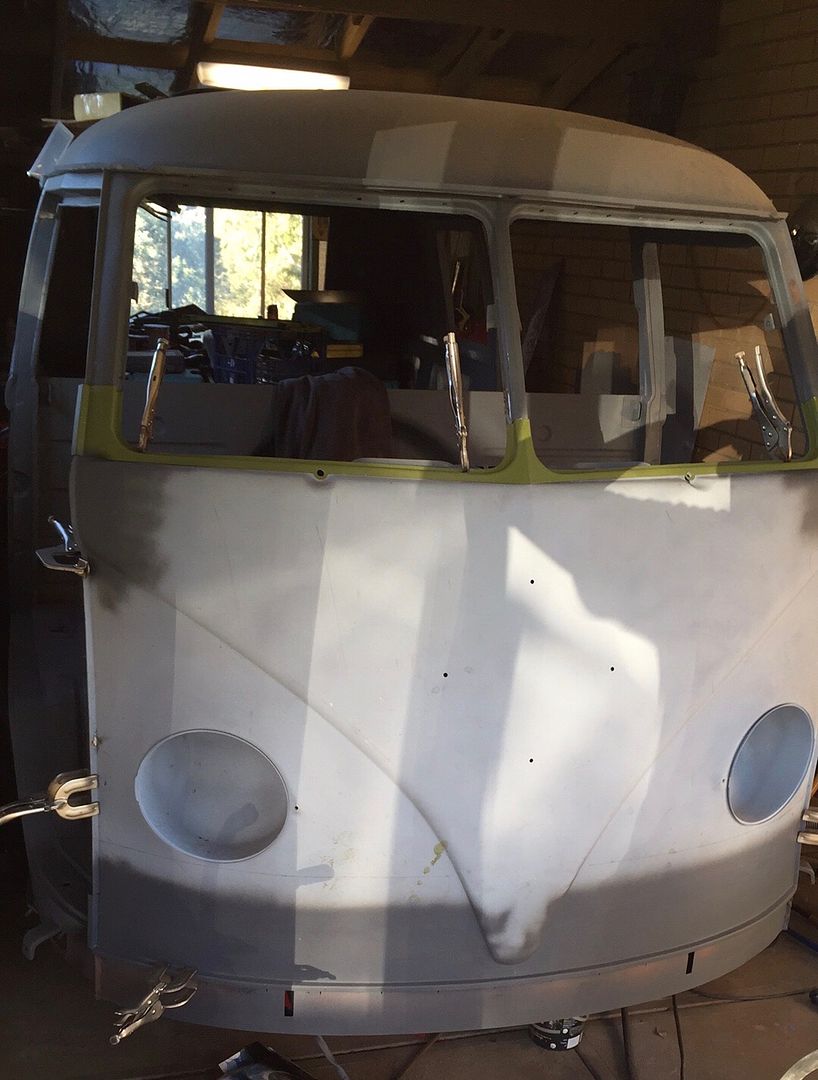
I really wanted to have the nose back on the bus by this weekend, I ended up getting screwed by my paint guy who still hasn't got my paint ready but once the inside of the nose and dash are painted it is all ready to go back on. i had already replaced the top section where the window frame mounts previously but didn't take any pics.
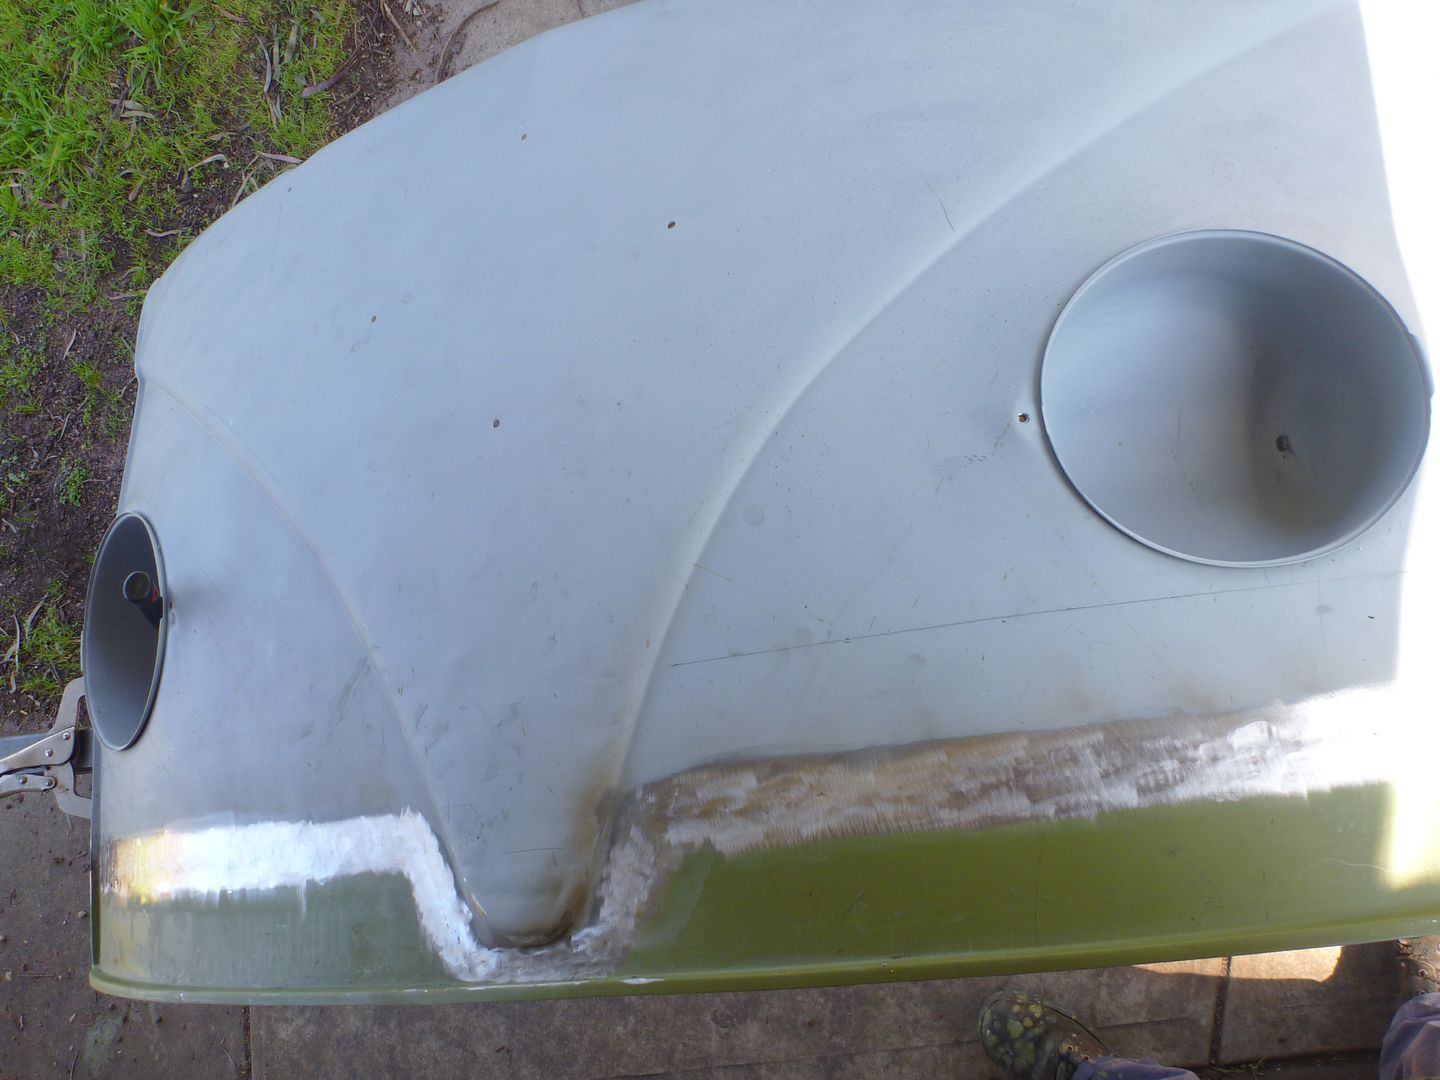
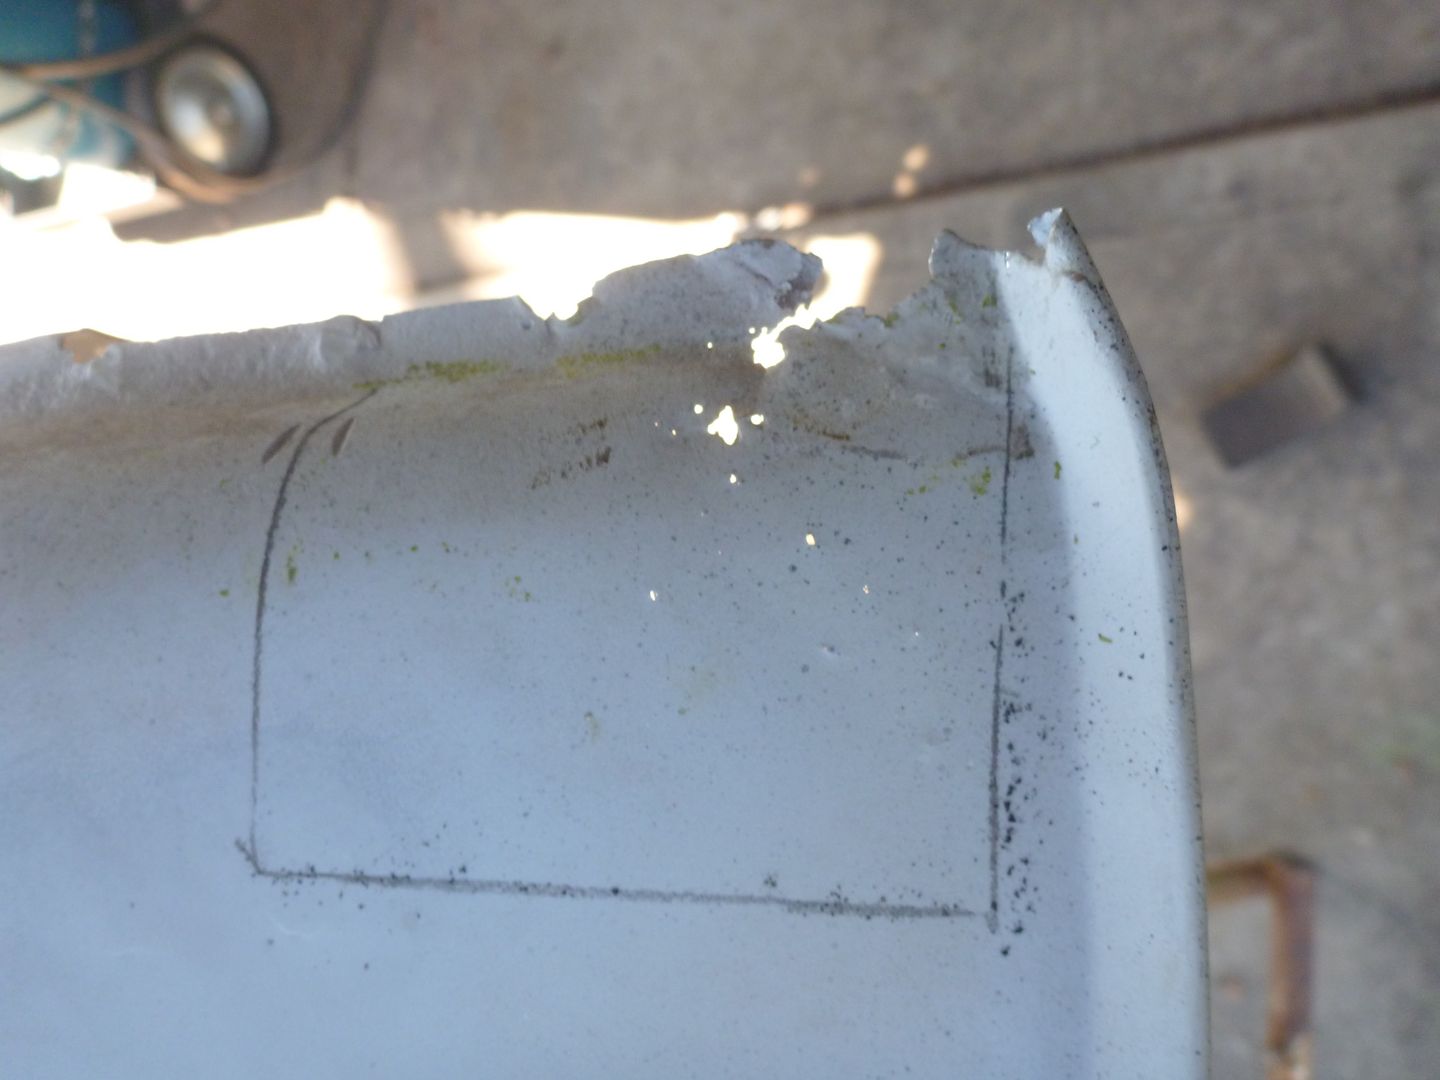
I started by replacing the bottom 100ish mm. Measure twice, mark, measure twice more then cut. I went around the V because i have seen that the KF panel sometimes doesn't match very well here and that area was all solid anyway.
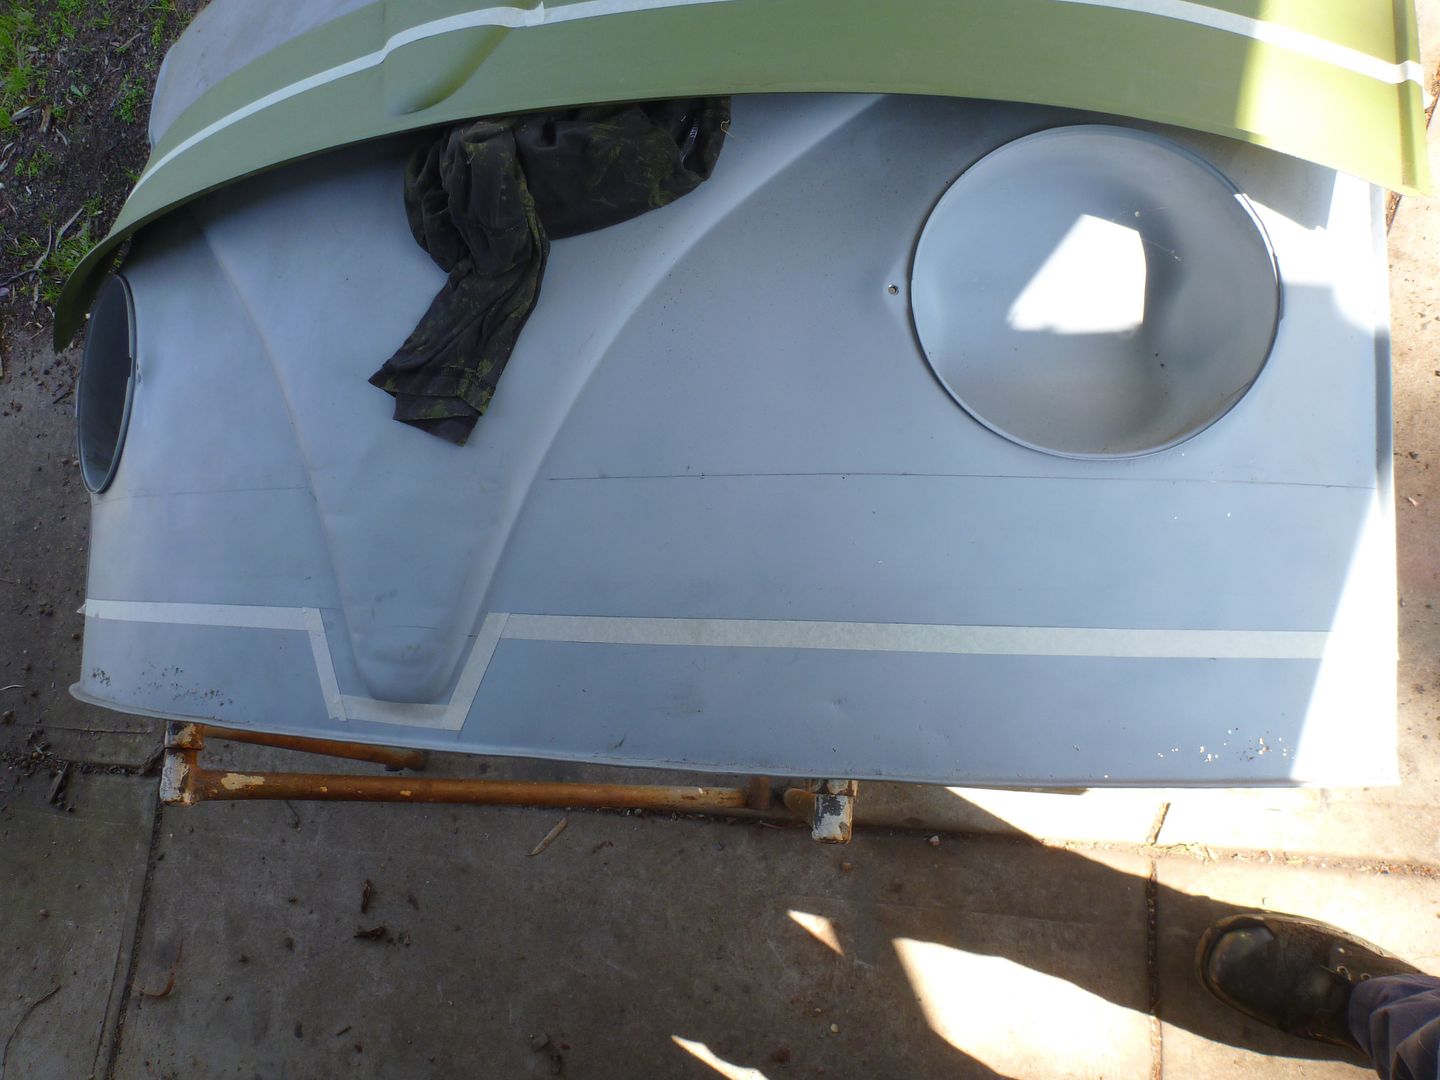
It actually looked reasonable from the front but because of the way these were put together they rusted from the inside, the back of the panel was super pitted and very thin in places.
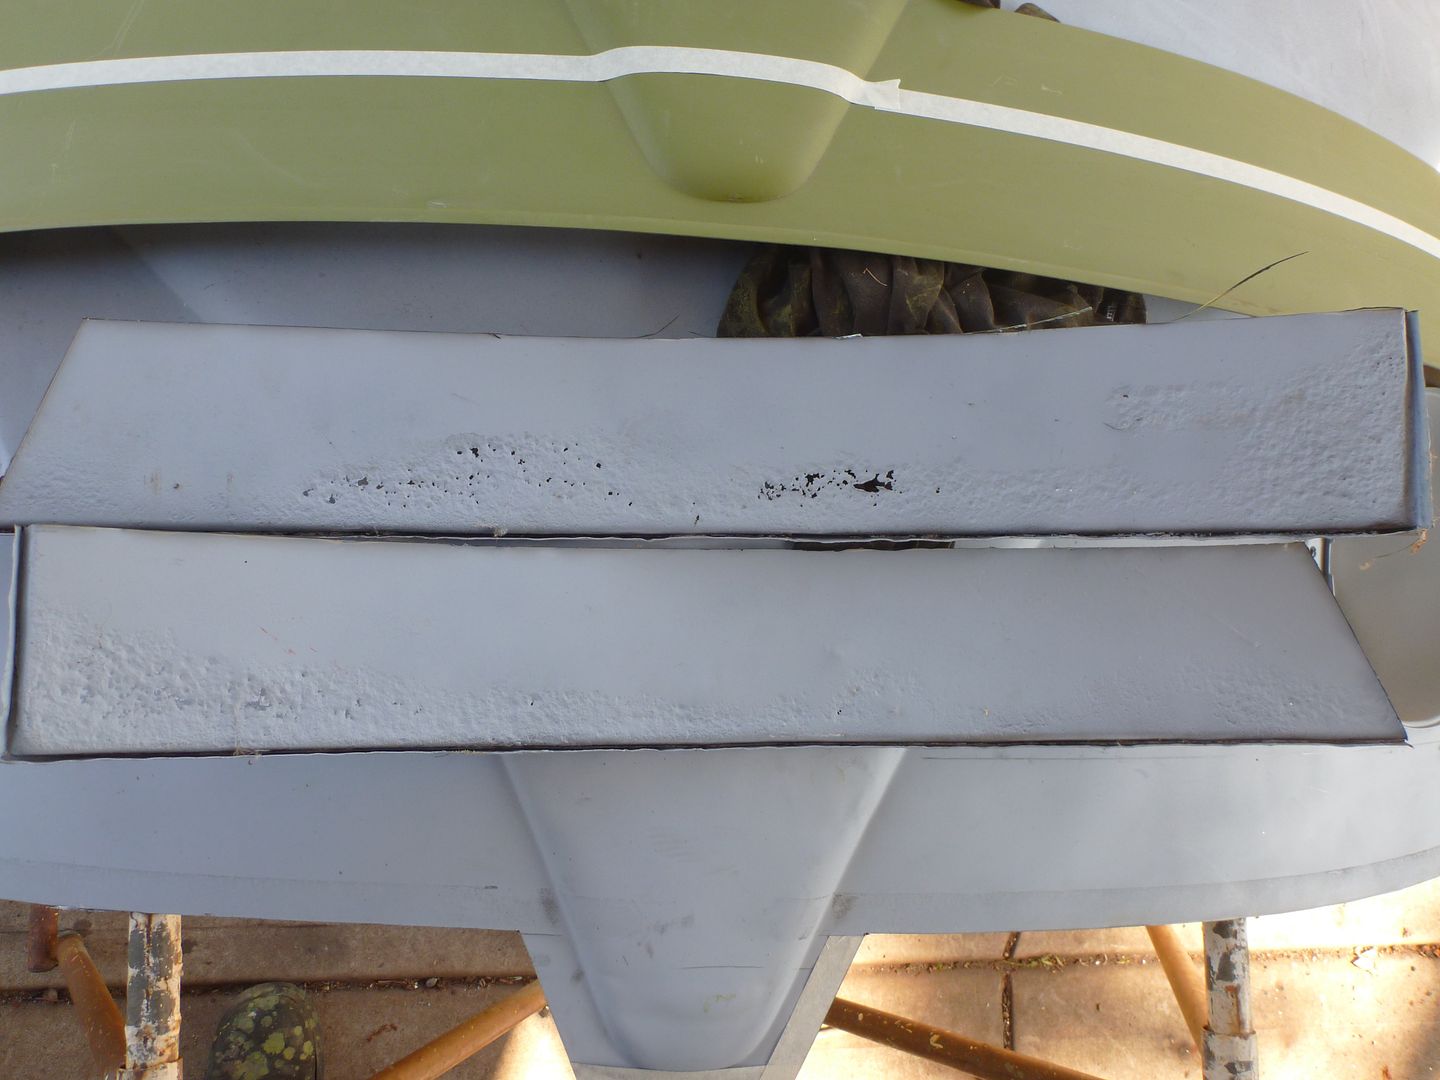
Slow and steady, cooling with the compressor between each tack
smooth as
If you remember back to the A pillars both sides were rotten around the top door hinges, well the nose skin was gone there too.
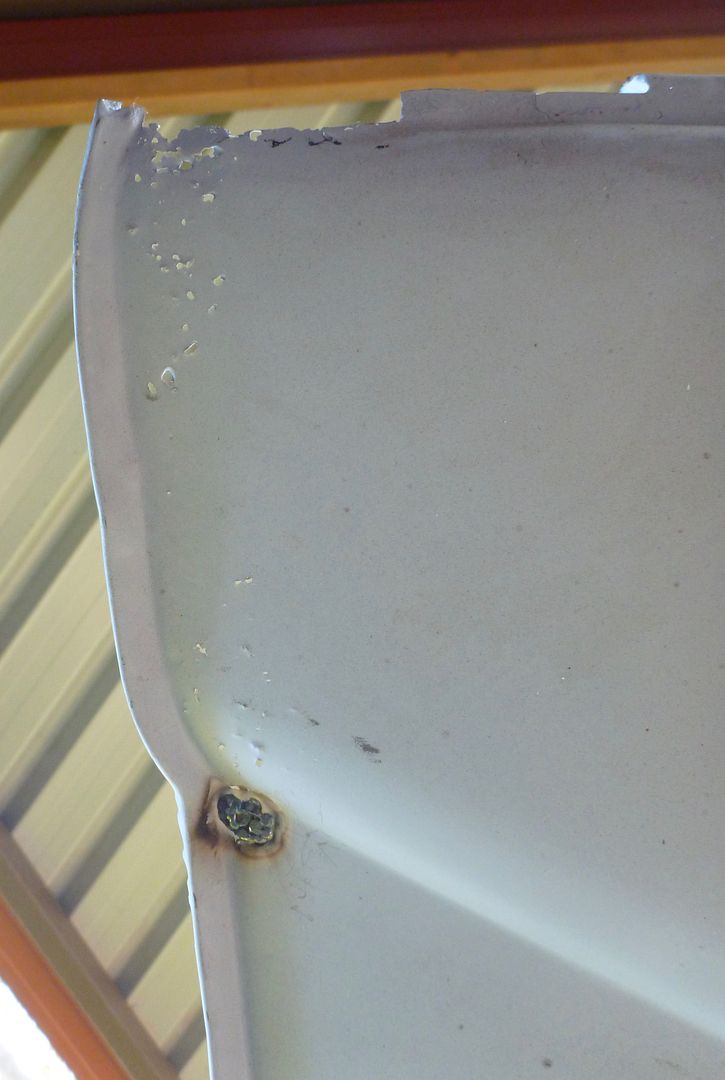
So I used some pieces of the KF lower nose panel that were left over and patched the corners up.
Once the nose was all solid again I got started on fitting the lower window frame. Quick mock up to get it roughed out.
As usual with KF panels it required some 'tweaking' to get it to fit but it turned out pretty good. I drilled holes in the nose panel and plug welded it from inside rather than welding it from the outside purely because it leaves a nicer finish on the visible panel and means less clean up.


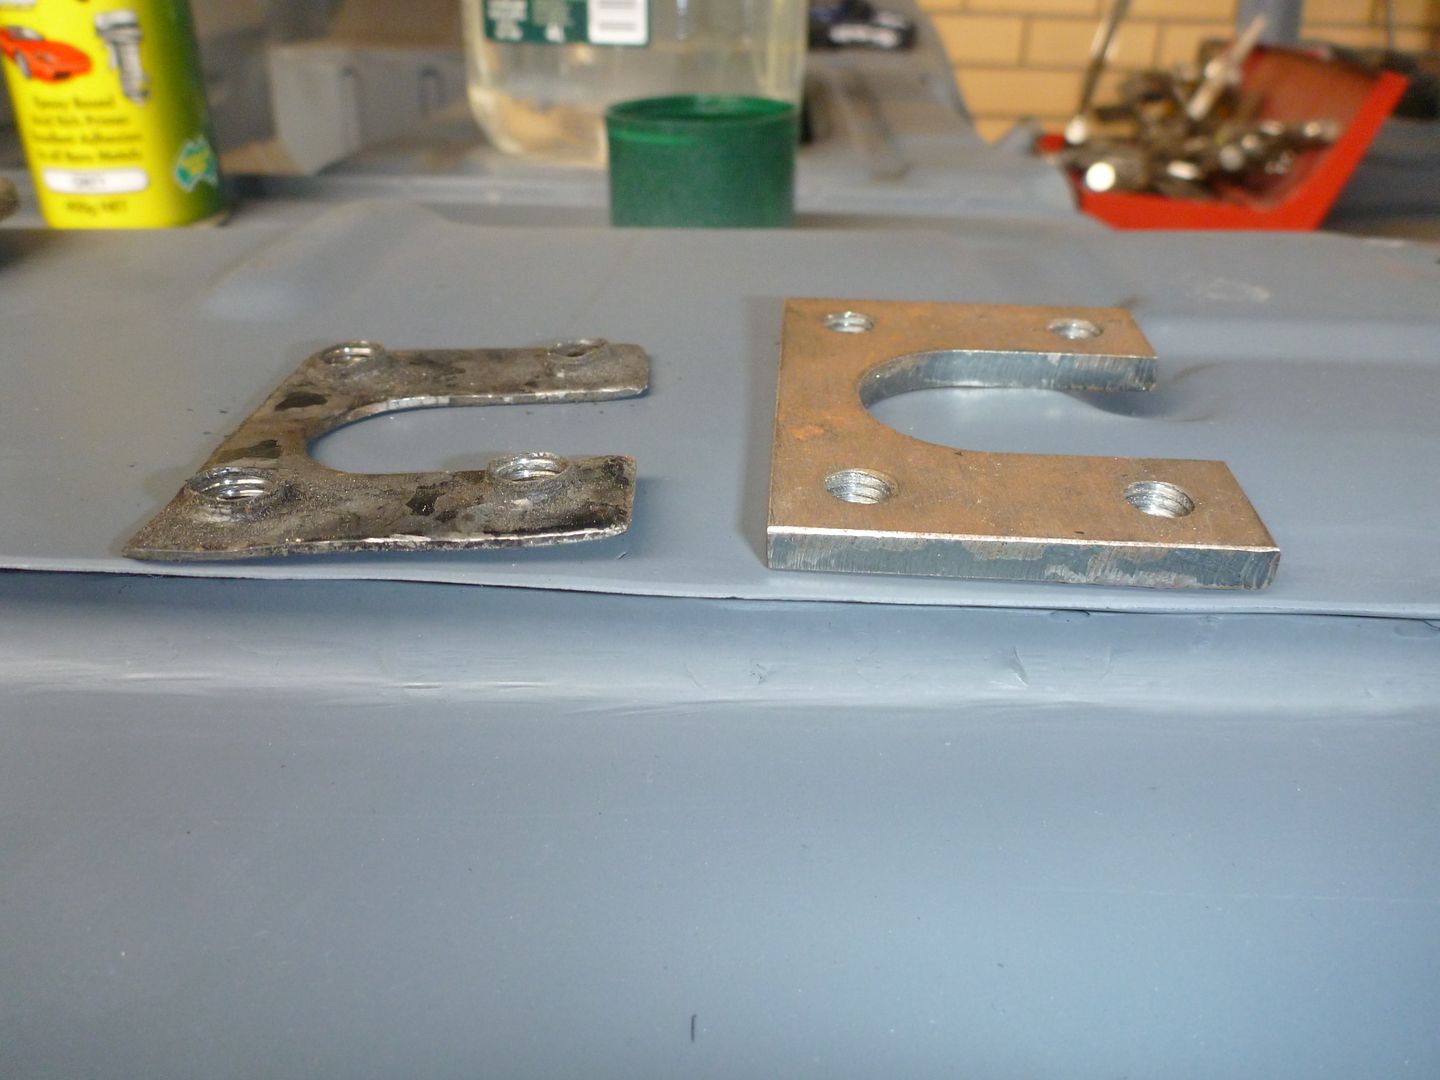
While I was messing around with the nose I also decided to open up the KF A pillar lower hinge and replace the captive nut plate..... glad I did s the KF one was crap, KF on the left was already stripping and was bent before I took it out, the inside of the cavity was also bare metal and already rusting so I gave that a bit of converter and primer. I know a guy who sells the super beefy nut plates on the right that will never strip, if anyone wants his details I'm happy to pass them on.