Page 2 of 3
Re: IVY
Posted: Wed Jun 05, 2013 8:25 pm
by MID WEST DUBBER
That looks tops jock!

Rusty.
Re: IVY
Posted: Wed Jun 05, 2013 8:57 pm
by Jockster
Thanks for the comments you lot....
Re: IVY
Posted: Wed Jun 05, 2013 9:22 pm
by Jockster
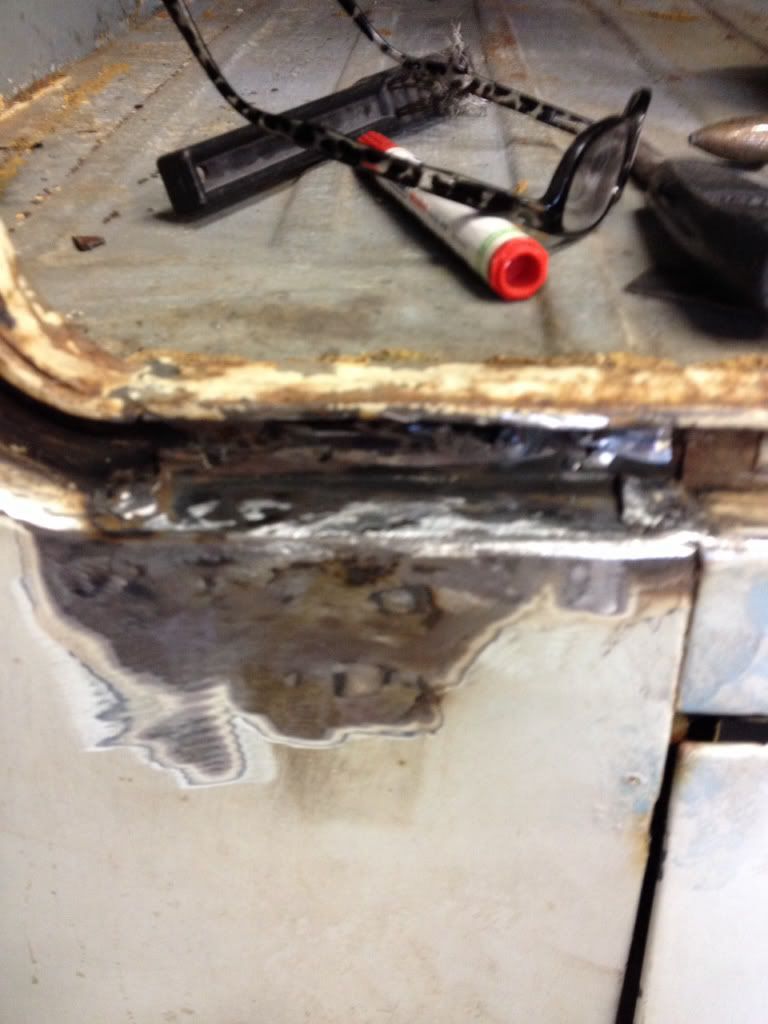
Some of the small repairs I have done so far
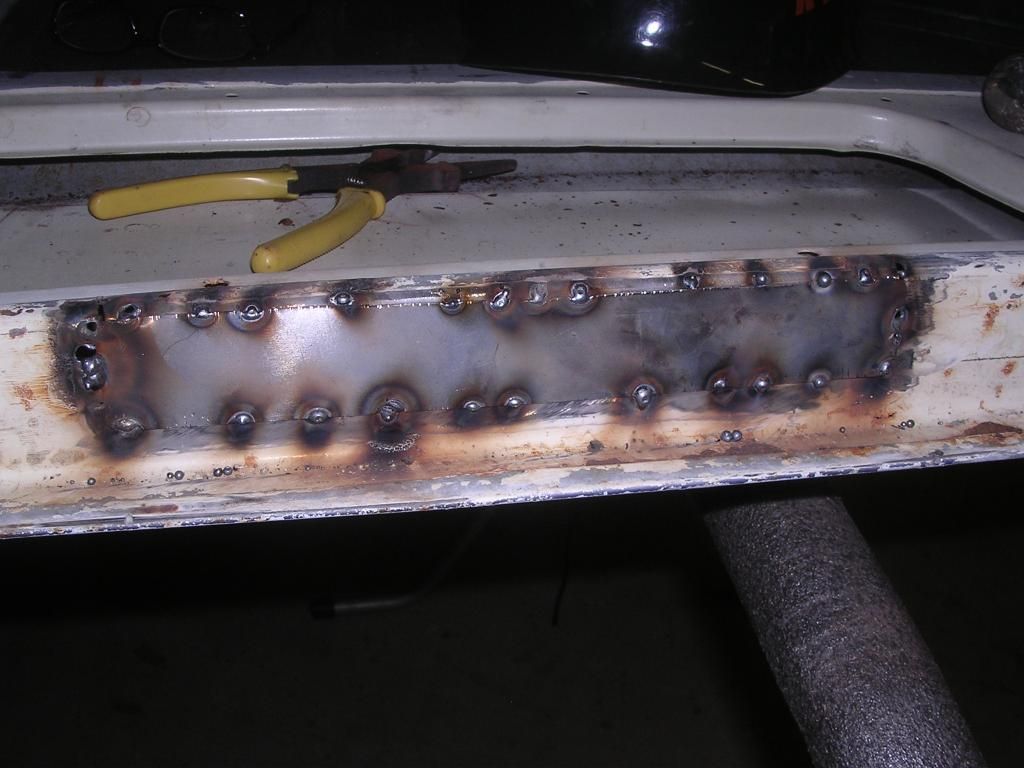
Repaired the drivers side floor
Underneath the drivers seat runner was rusted out so had to repair in 3 stages
First the floor
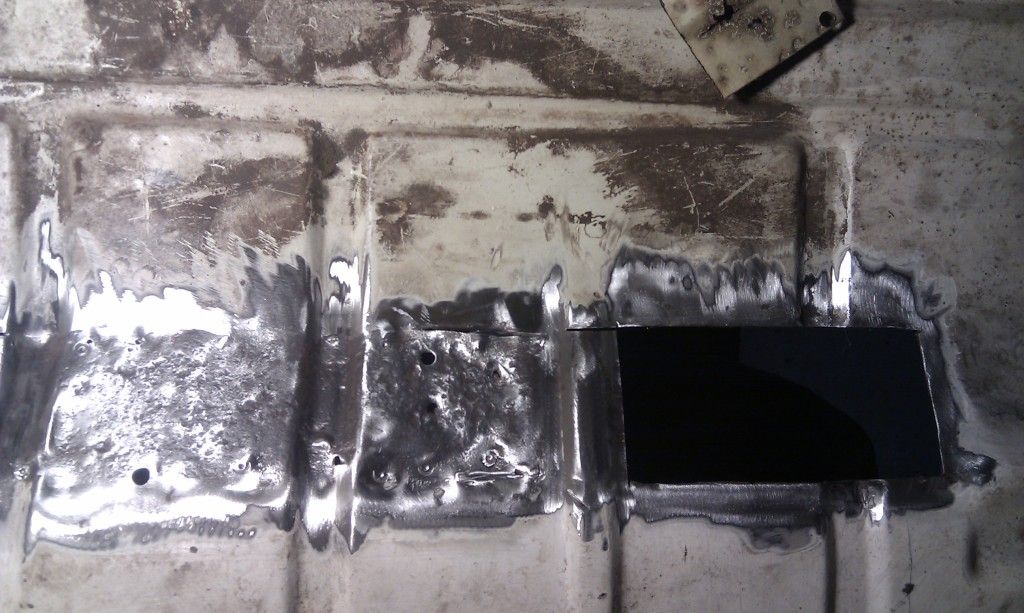
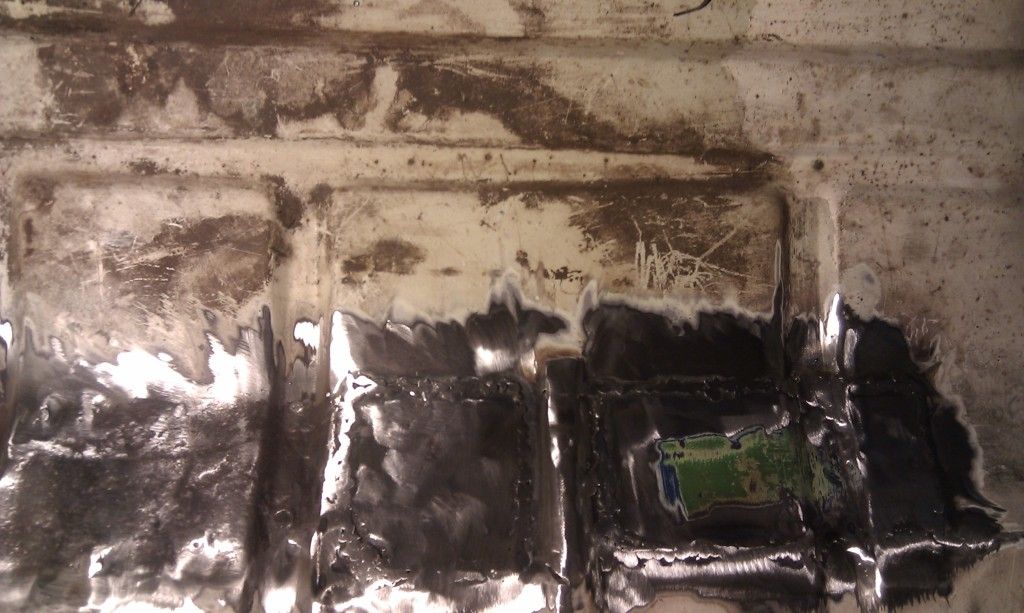
Then a reinforcing plate
And then finally the seat runner ready to be plug welded
Re: IVY
Posted: Wed Jun 05, 2013 9:31 pm
by Jockster
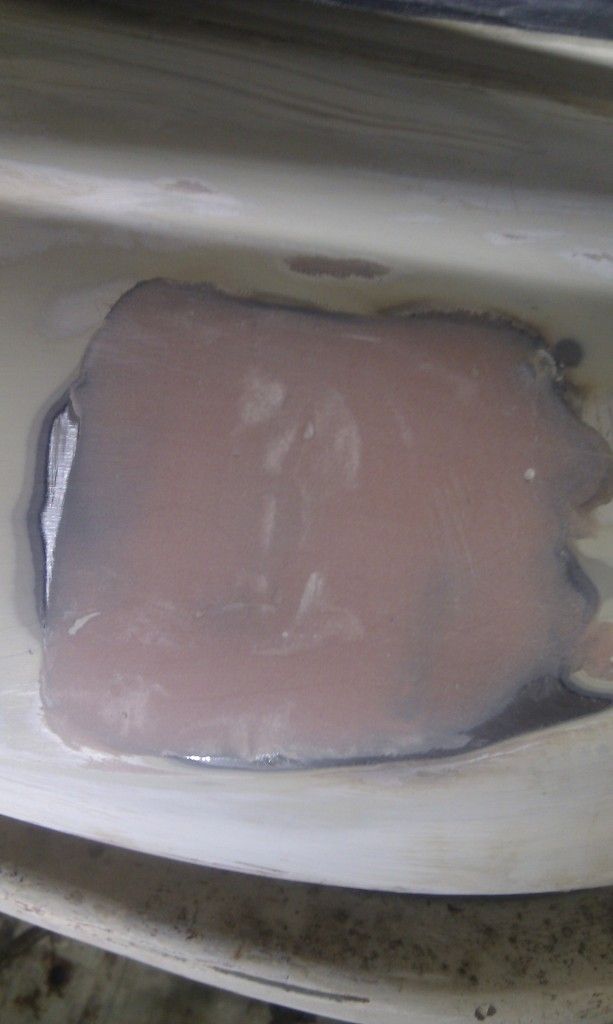
The dash had the fuel gauge hole cut into a square, so I had to patch it so I can redo the round hole.
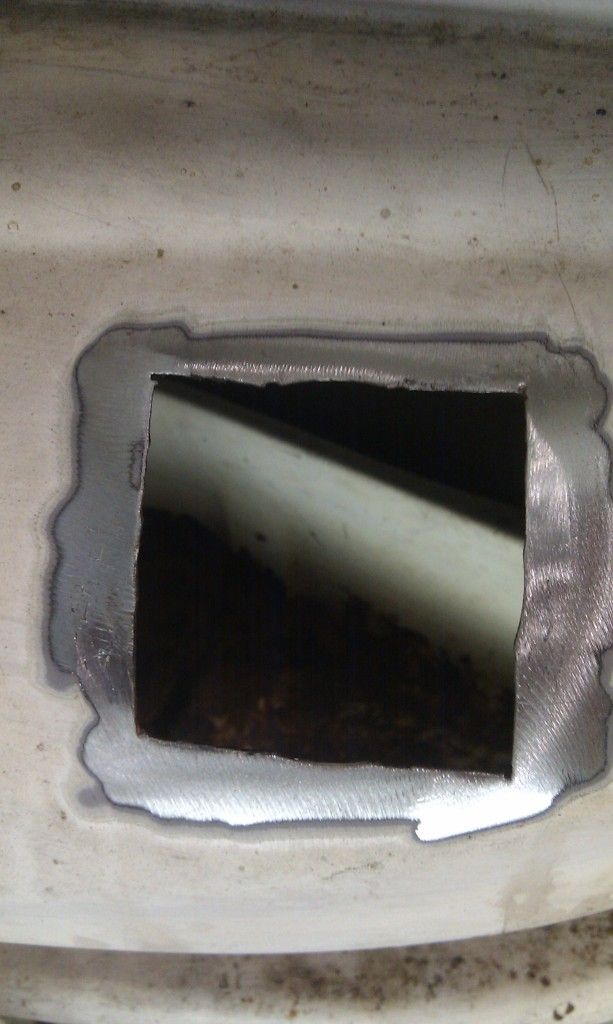
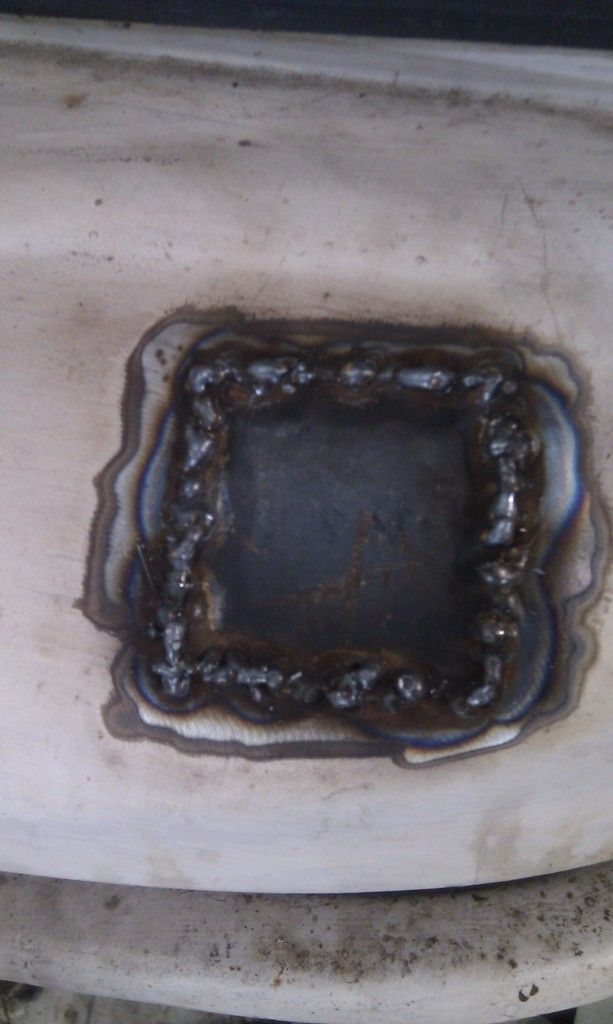
Ground back and a swipe of filler to level it up.
Re: IVY
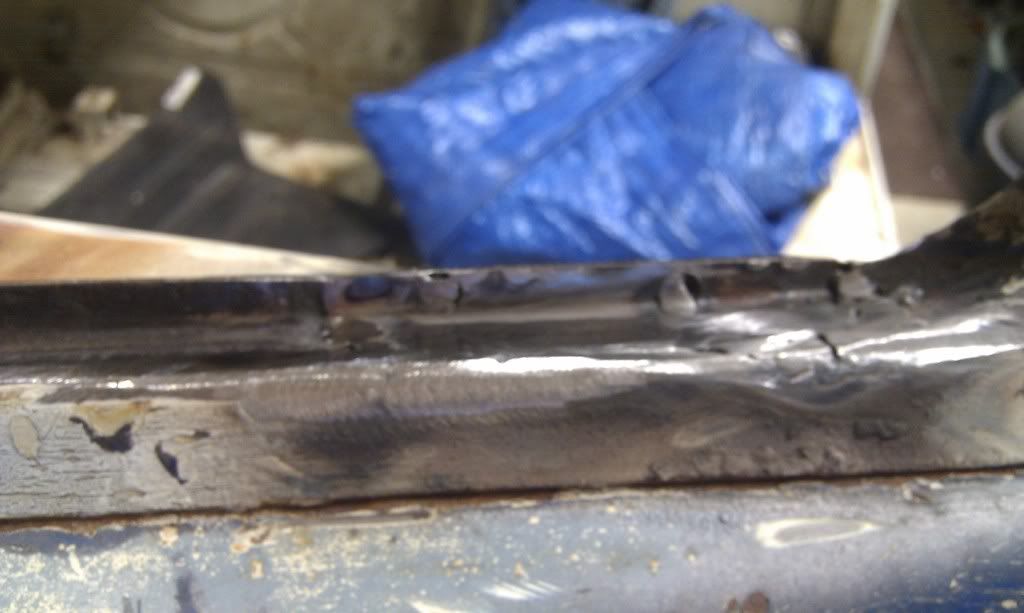
Posted: Wed Jun 05, 2013 9:40 pm
by Jockster
This welding does my head in, you think your going not to bad and then you start blowing the shit out of most welds. Have to keep telling myself that I have to be patient and I'm the boss not it!!
I'll keep going with the smaller repairs until I feel confident enough to tackle the bigger and more complicated repairs.
It will get done though.

Re: IVY
Posted: Wed Jun 05, 2013 11:19 pm
by Tonz Magonz
Moving along Jock..
Any progress is good..
Try slowing the wire speed a little at a time to reduce weld build up..
Only have to grind it off again..
Re: IVY
Posted: Thu Jun 06, 2013 12:24 pm
by Jockster
Thanks Tonz..

Re: IVY
Posted: Tue Oct 29, 2013 3:32 pm
by Jockster
Update time:
Been limited what I can do lately, so I' very been ticking the little boxes.
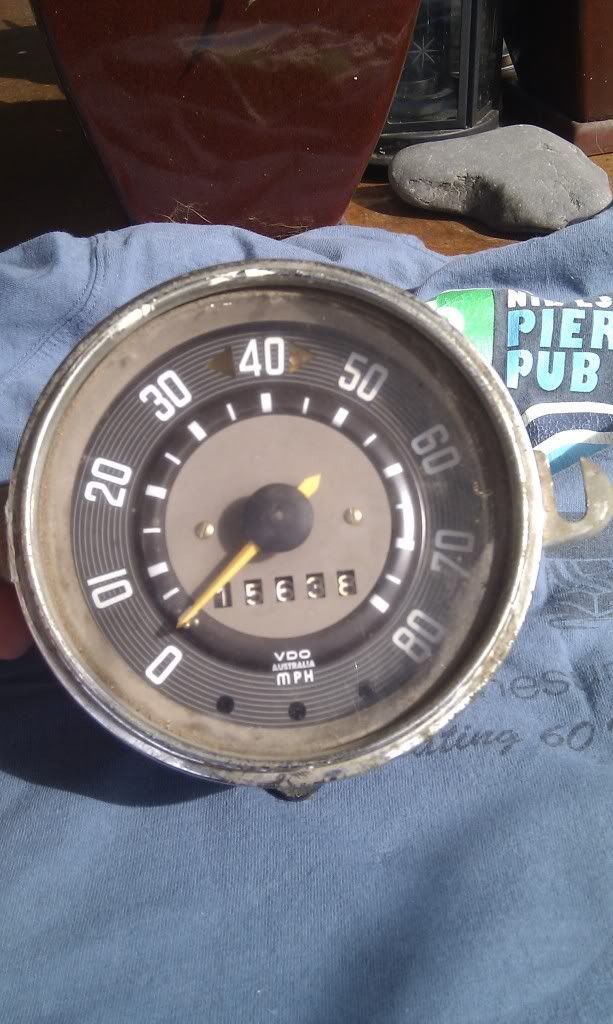
Speedo clean up
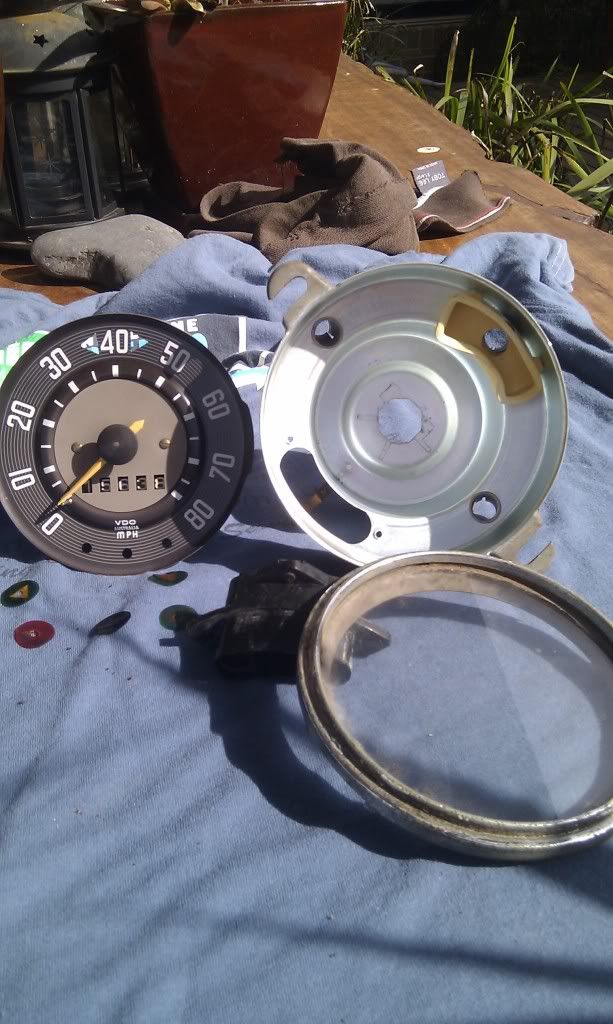
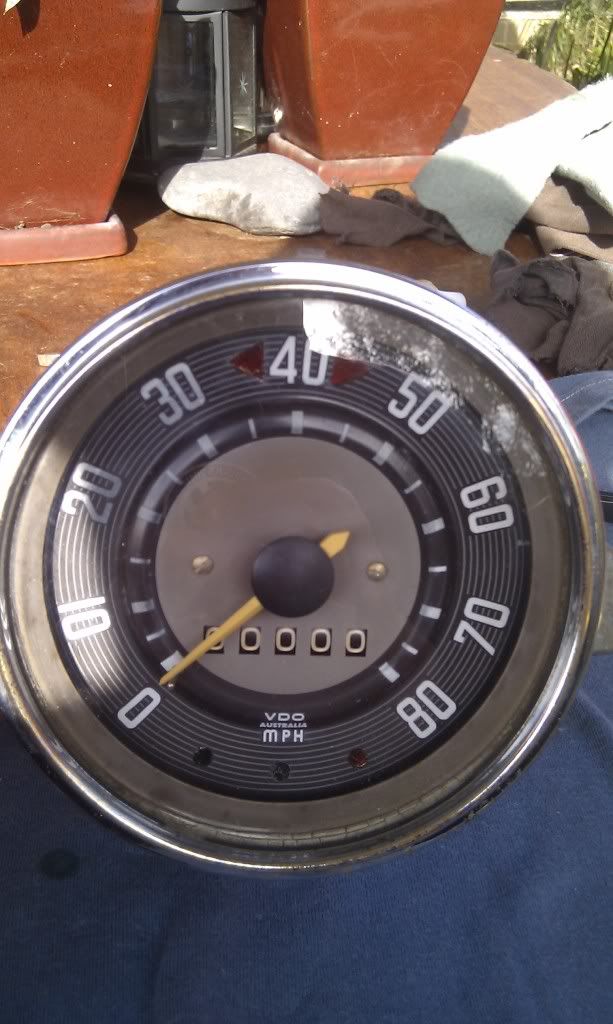
Passenger window repair
Re: IVY
Posted: Tue Oct 29, 2013 3:43 pm
by Jockster
Re: IVY
Posted: Tue Oct 29, 2013 4:05 pm
by Jockster
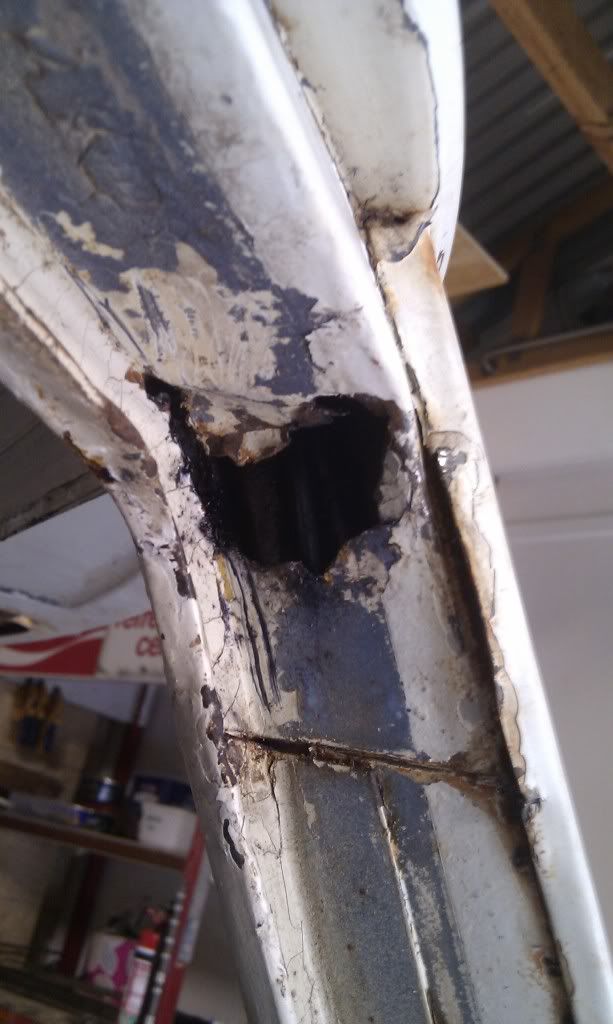
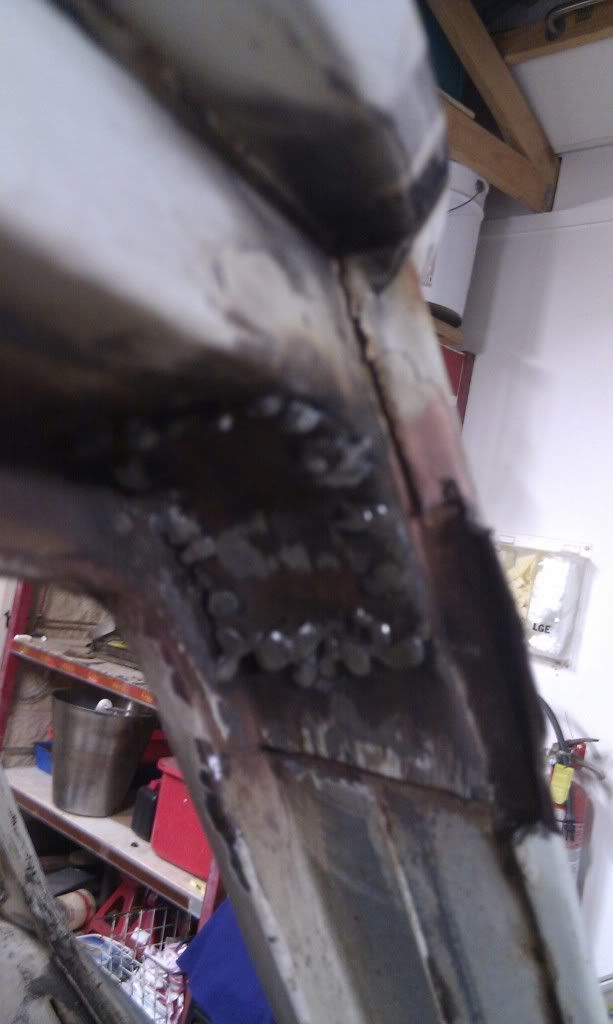
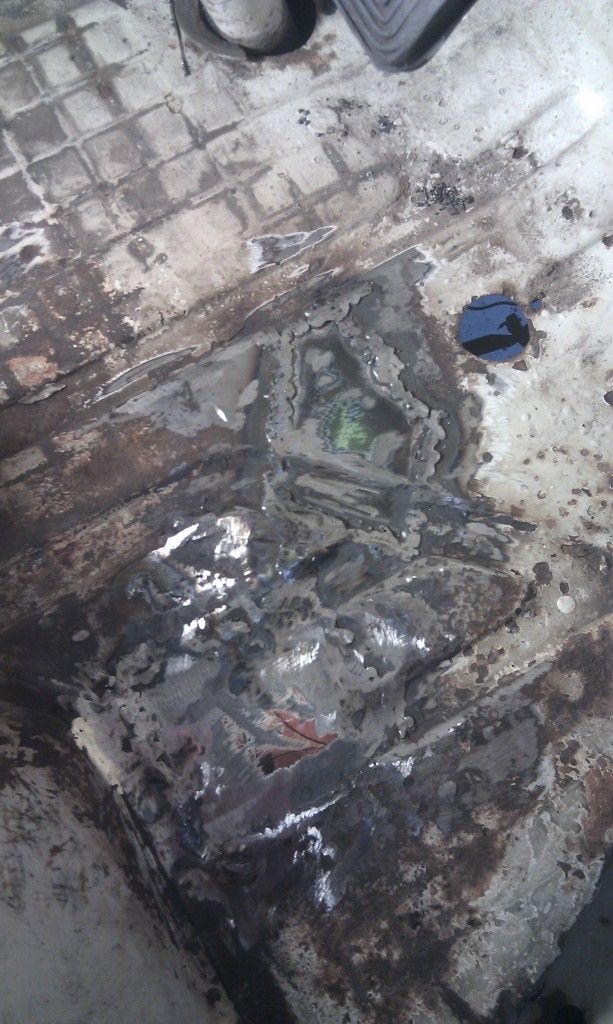
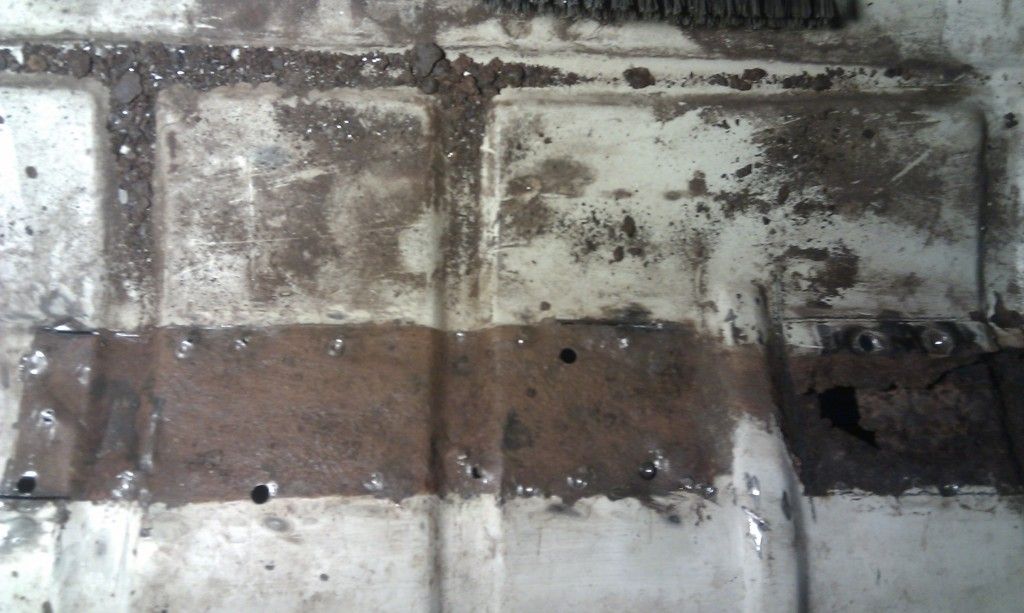
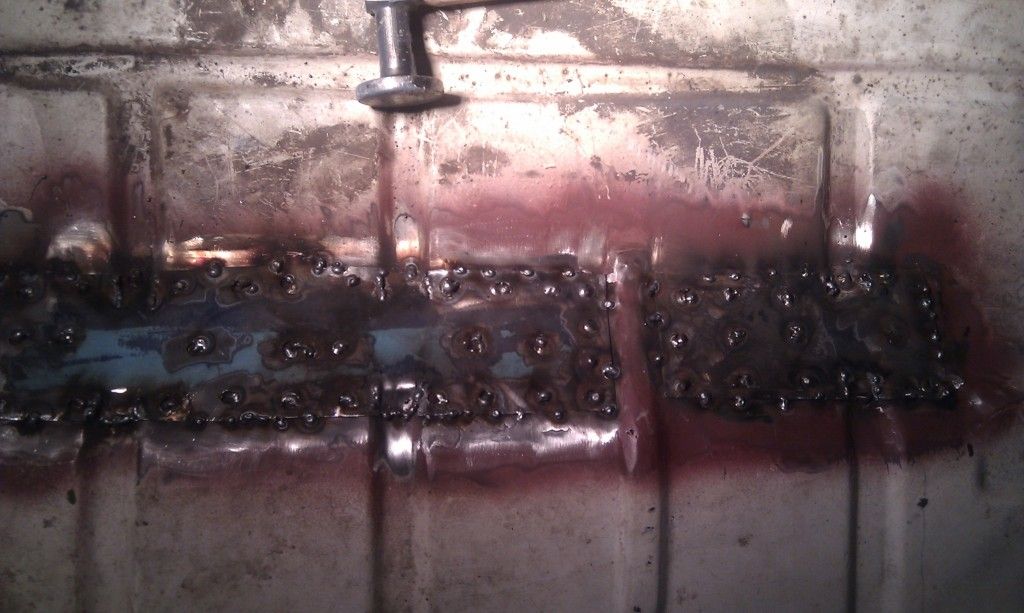
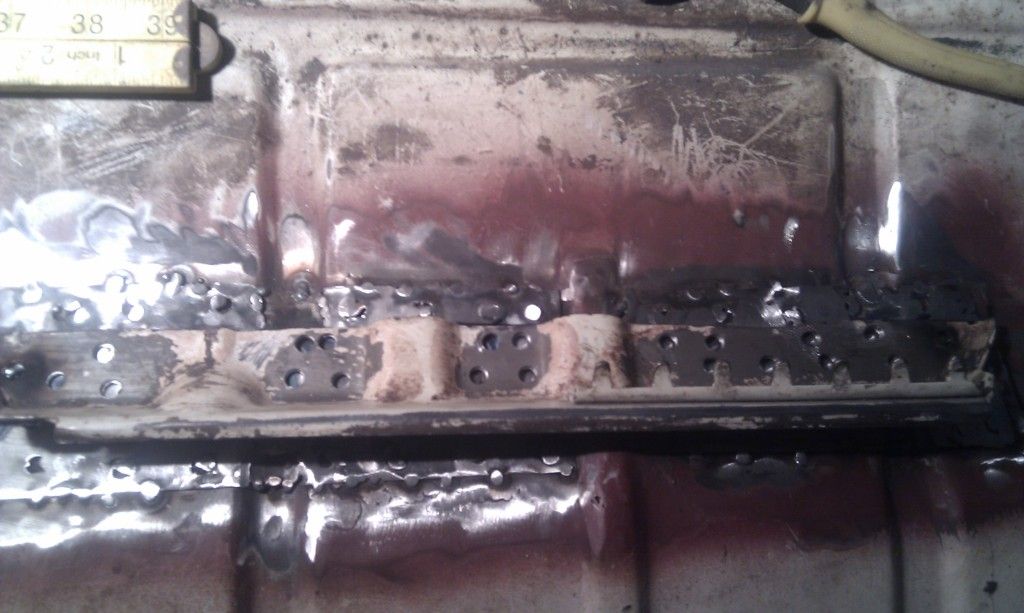
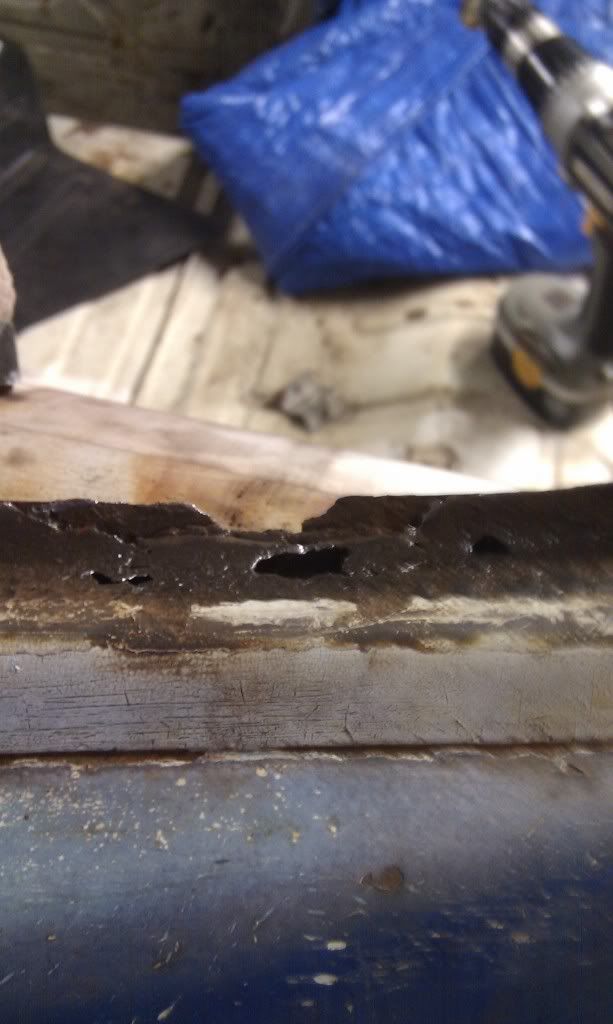
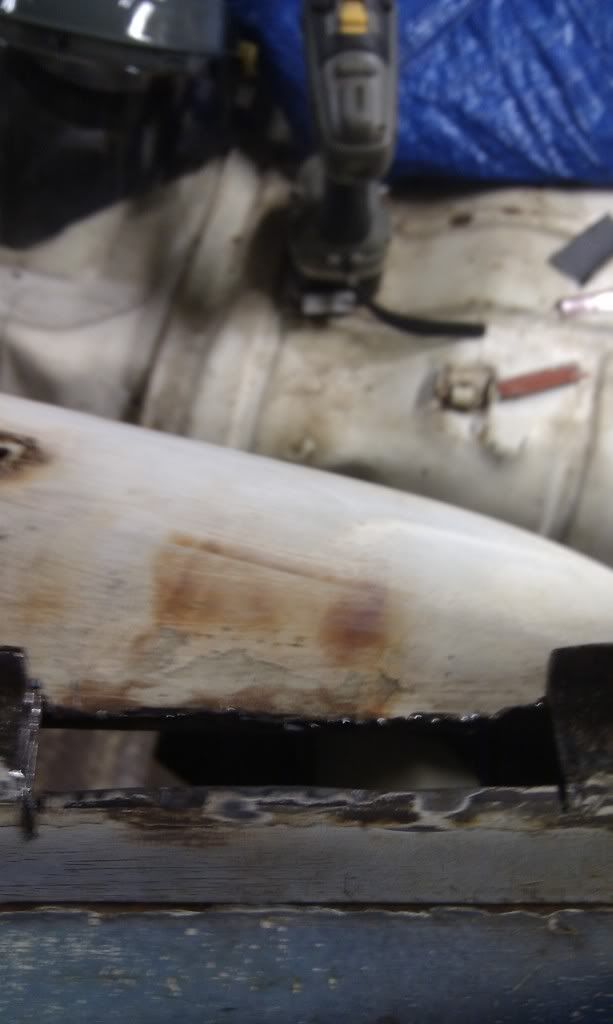
Next
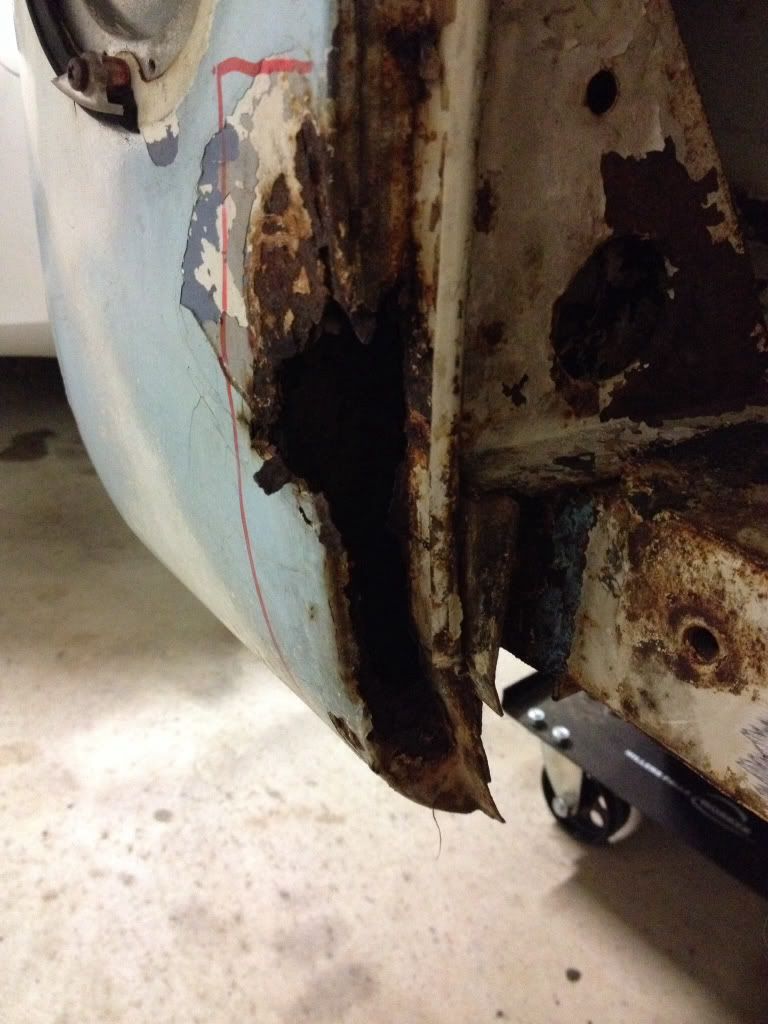
Had this sitting in the shed so apart it came

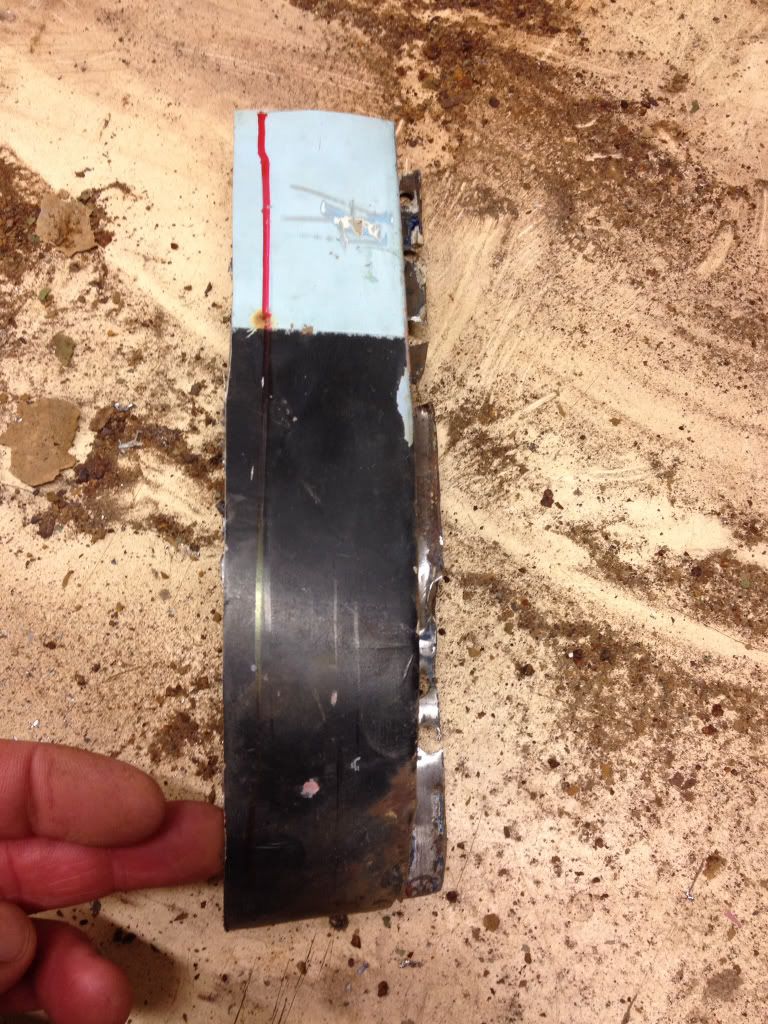
Pissed this mess off
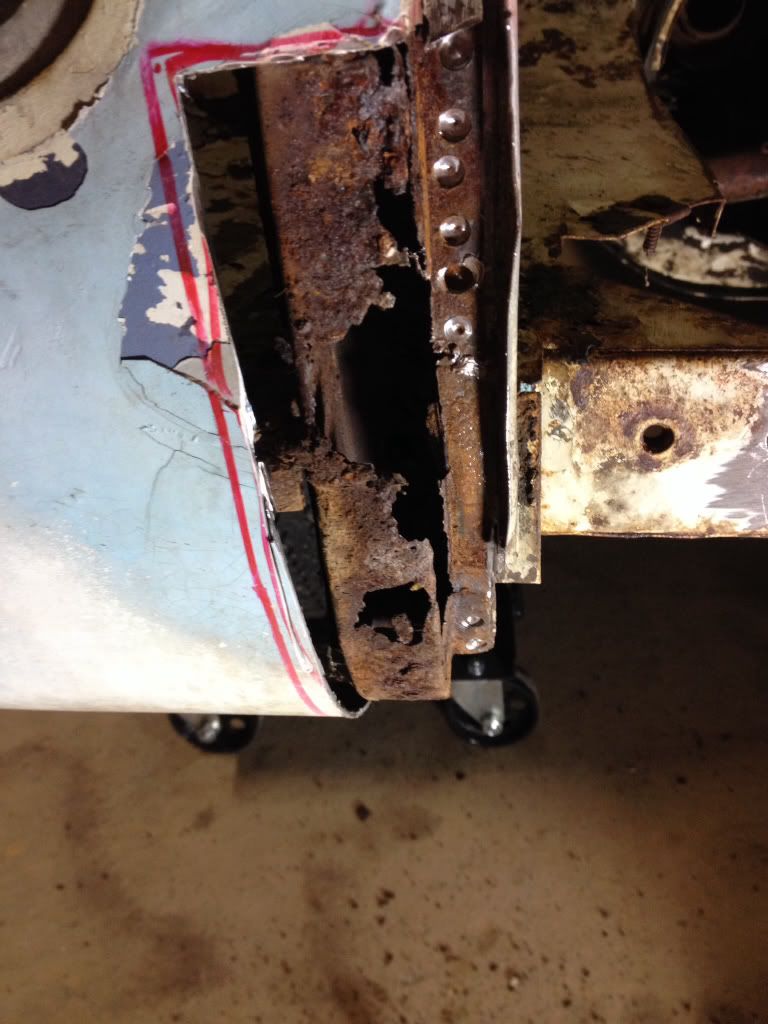
Cleaned it all up, patched that hole and gave it a lick of weld through primer
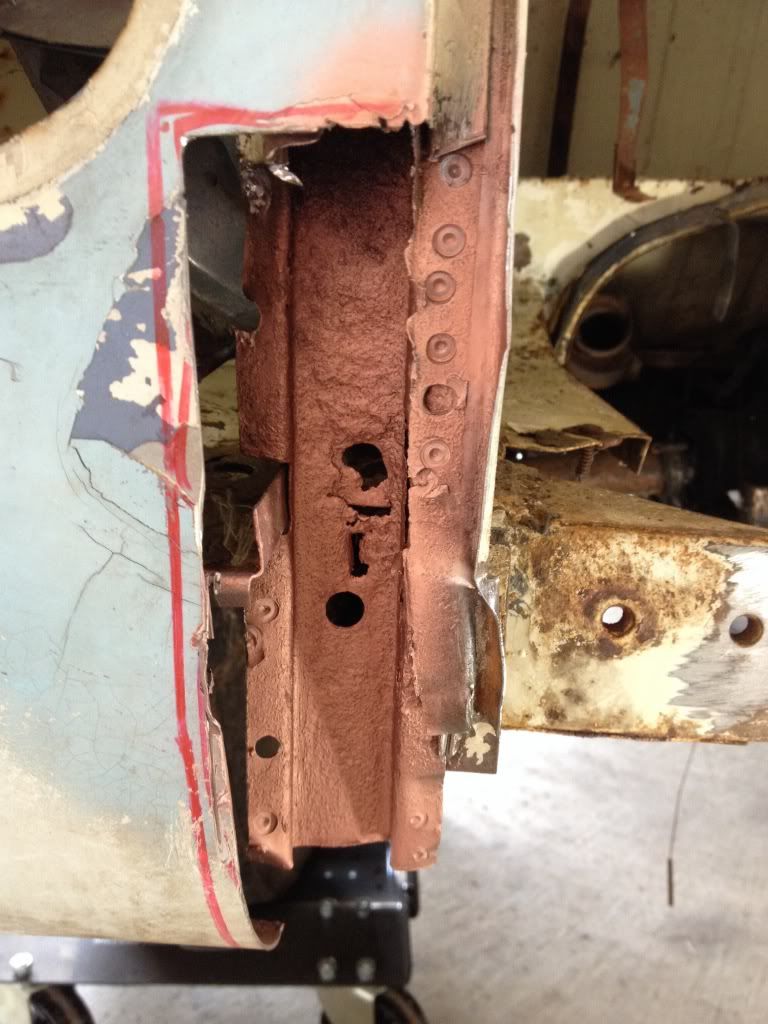
This section I had to make up out of the donor section. It was rusted in similar spots so I took the good metal from up higher to make one good one.

Found the finish welding a bit challenging trying to get it zipped up without distortion but with penetration......distortion won but I can live with that.
Re: IVY
Posted: Tue Oct 29, 2013 4:17 pm
by Jockster
Got myself a pressie..

Re: IVY
Posted: Tue Oct 29, 2013 6:32 pm
by scotty*85vw

nice work. you must have got the last pair of off white ones cause i have to wait til chrismas for mine.
Re: IVY
Posted: Tue Oct 29, 2013 8:09 pm
by Jockster
scotty*85vw wrote: nice work. you must have got the last pair of off white ones cause i have to wait til chrismas for mine.
Yeah it did show no stock on Al's sight after I got them.
Re: IVY
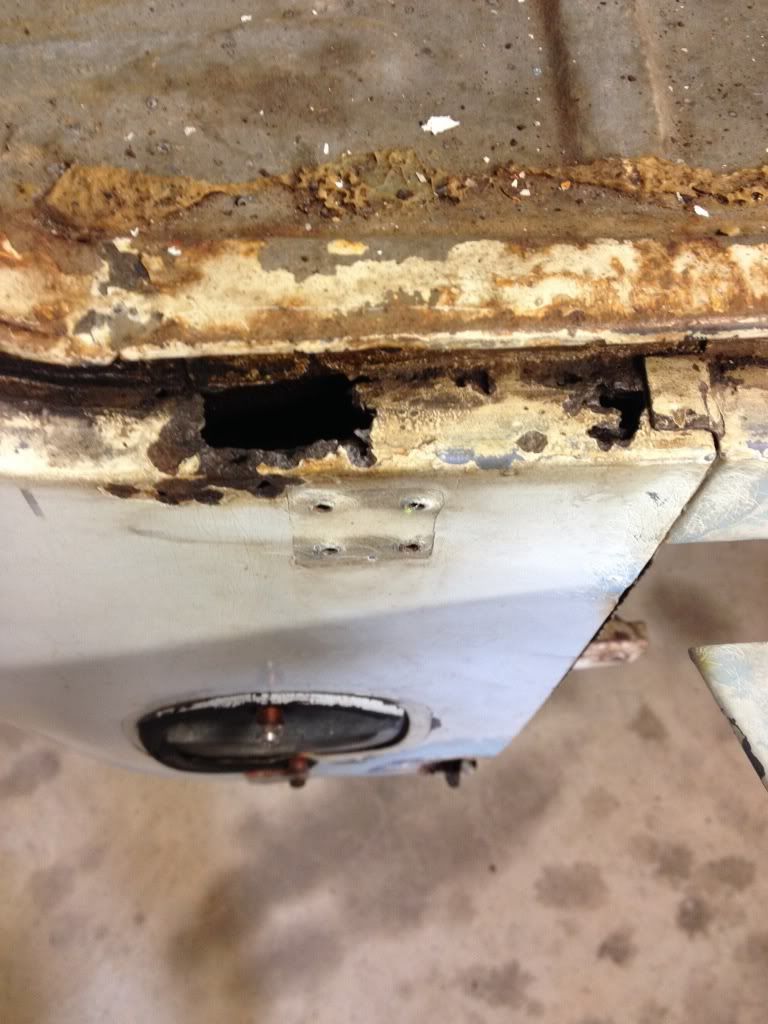
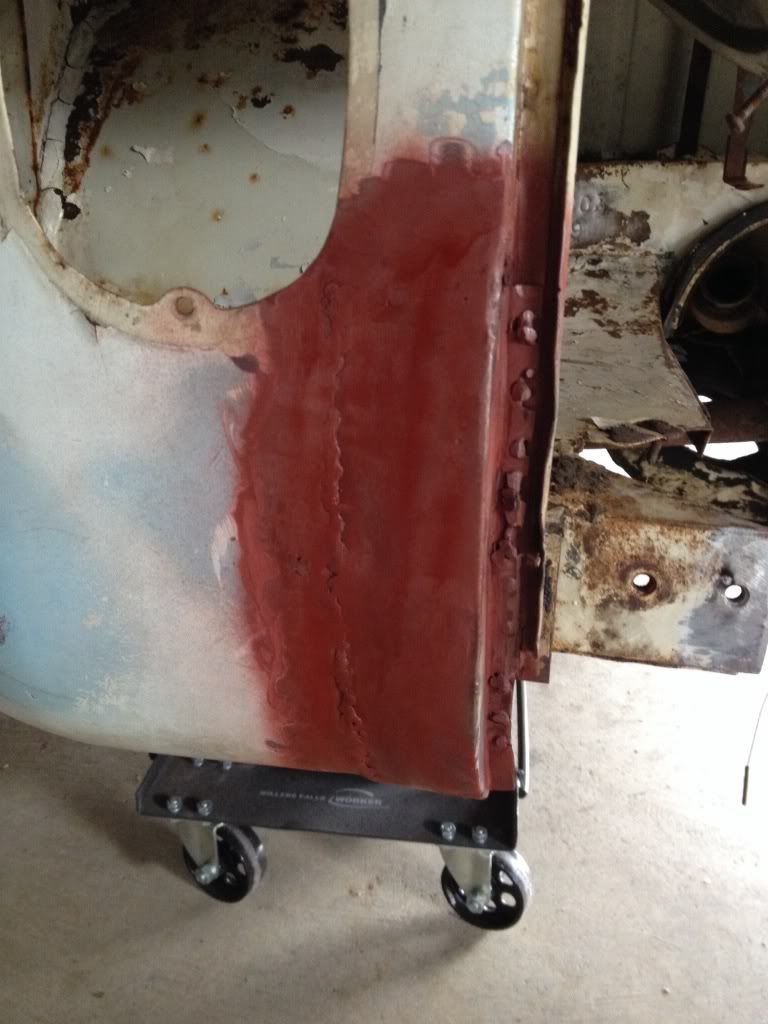
Posted: Mon Dec 02, 2013 6:43 pm
by Jockster
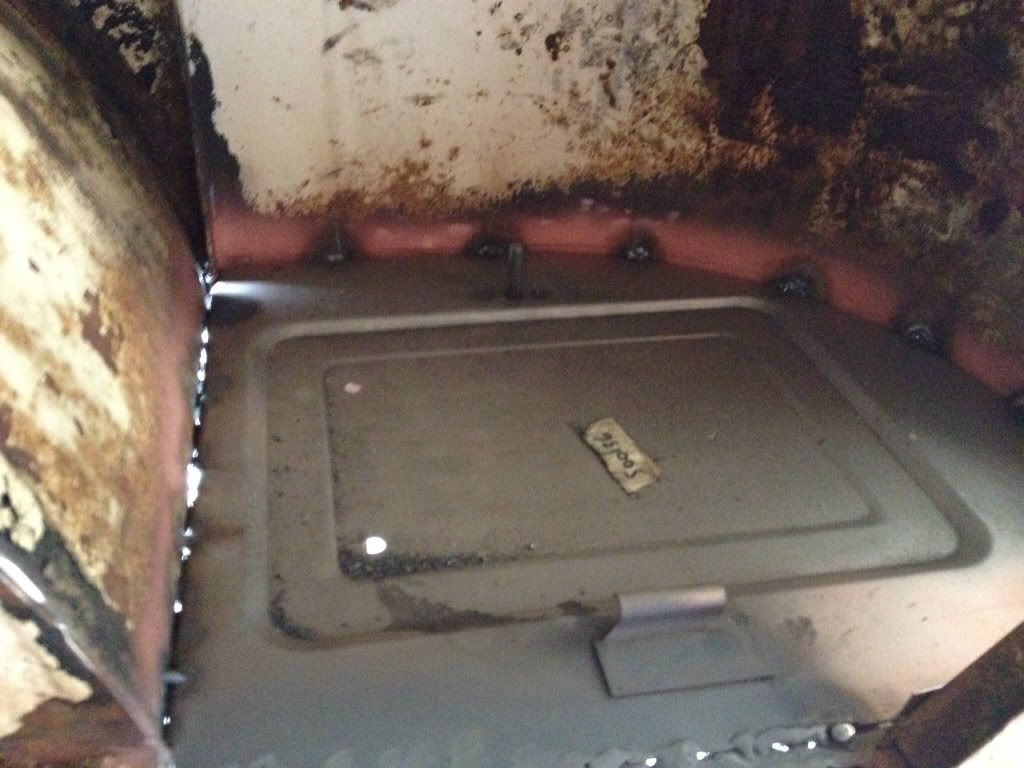
Quick update..
Got the rooted battery tray out and fitted the new one.
Still got a bit more to do on the rear corner.

Re: IVY
Posted: Mon Dec 02, 2013 6:51 pm
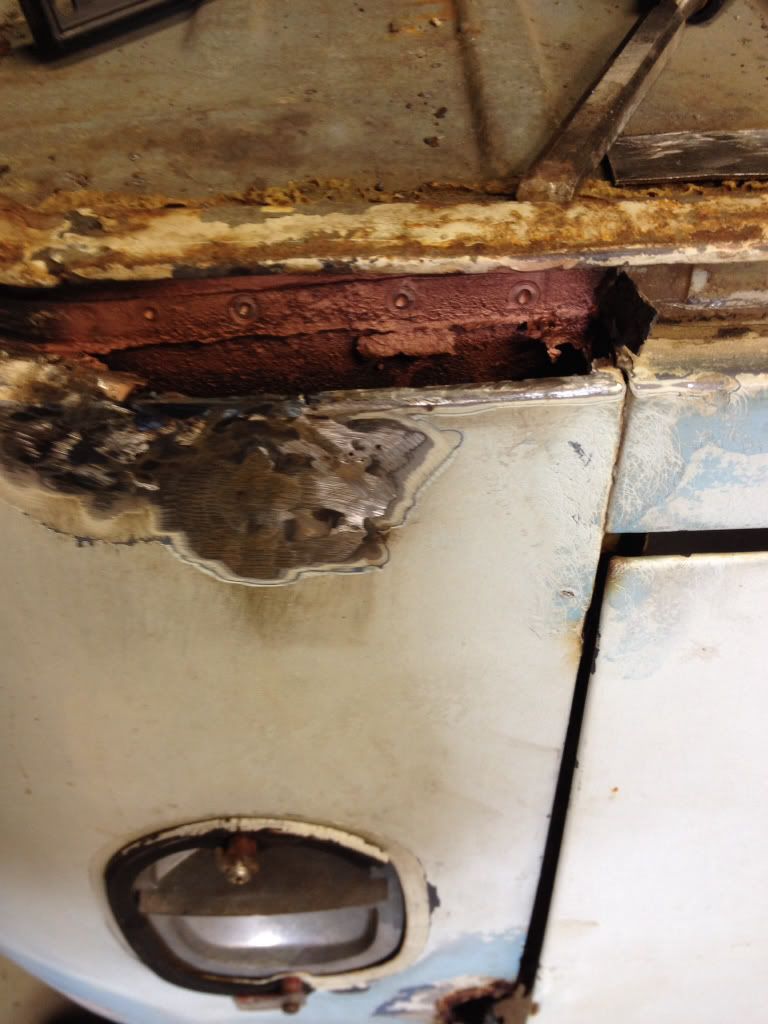
by Jockster
Finished of passenger side rear corner , pretty happy with end result.